
After fighting for a long time with different programs I finally managed to finish the outdoor shots. I guess I started from scratch about 5 times for each image. But now I’m satisfied with the result, at least for the most part.
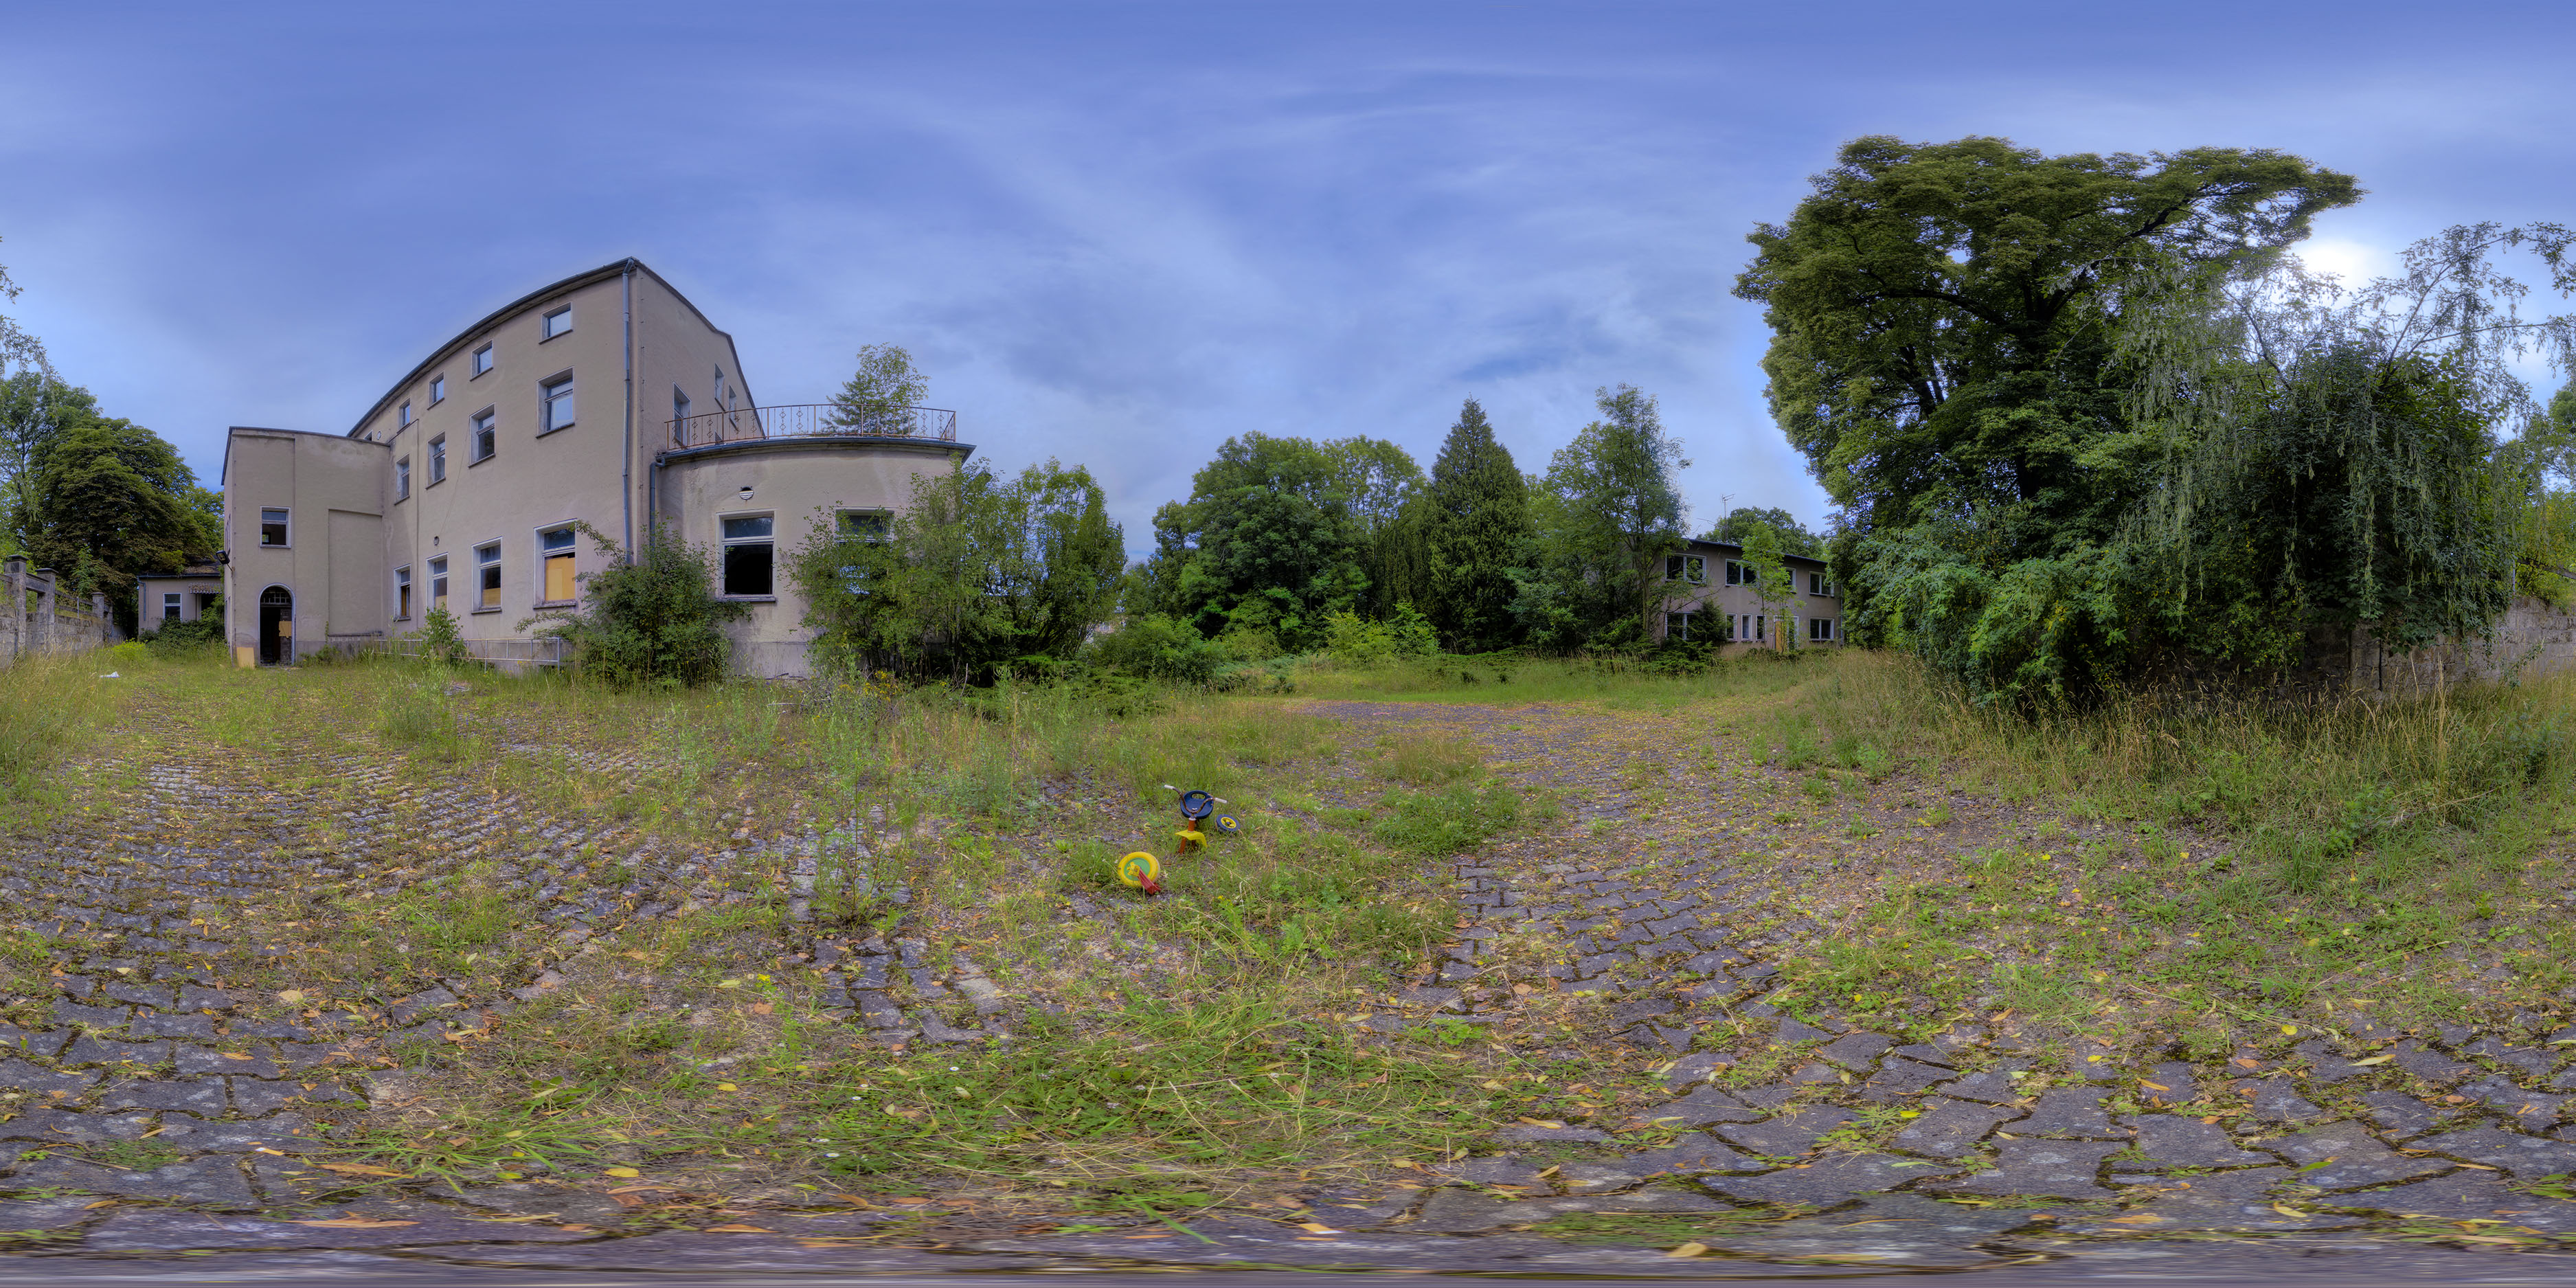
When I started this second approach to this project I thought that the outdoor panos are the easy part. That could not have been further from the truth. If you are interested in the details, look below the final images.

The next step is the virtual tour that I want to create with Pano2VR. This should not take too long that I can finally start the next project.
Issues with the project “elite boarding school”
1. Noise in 32 bit images
It’s a combination of poor camera settings and too many under-exposed source images. That leads to additional color and luminescence noise in the 32 bit files. The only program that created usable OpenEXR files so far is Photomatix.
Since I used too many exposure levels in the first place, I could simply remove the two most under-exposed ones before creating the HDRs that are used for the stitching.
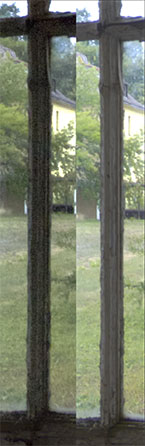
The image shows a screenshot of two HDR images in Affinity Photo. The left was created out of 7 exposures. The two lowest exposures were completely black. For the right image I used only 5 exposures with otherwise identical settings in Photomatix.
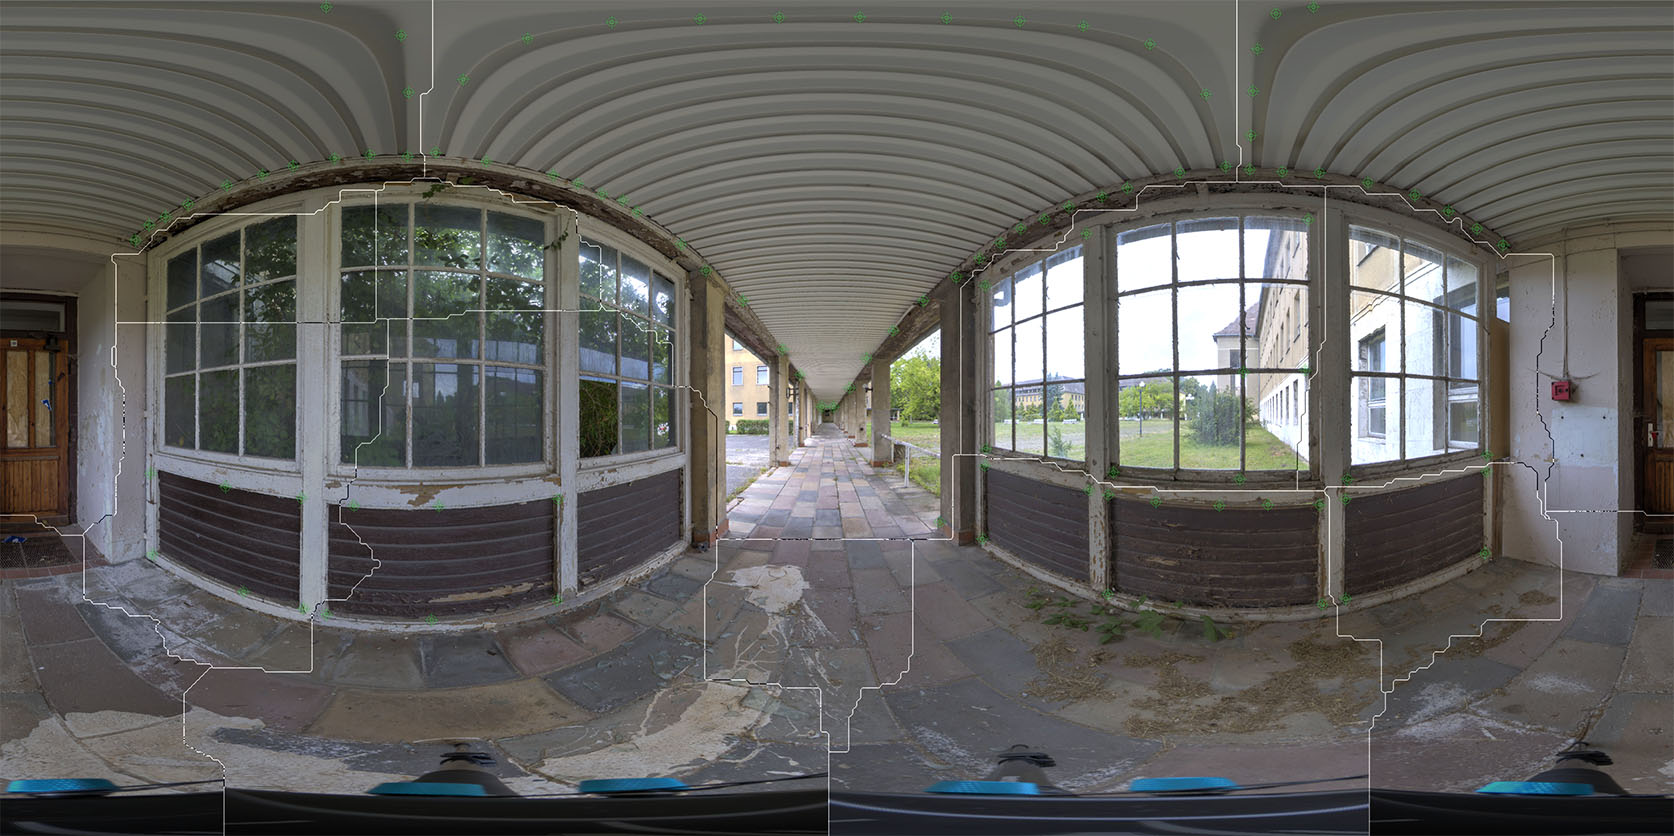
2. Stitching errors
I described this process in an earlier post already. These errors appear because the camera was not aligned properly. To some extent it’s possible to remove the errors in the stitcher. When there are two unaligned images, it might be possible to select a good location to blend between these. If a straight line spans across more than two images it becomes more and more unlikely that it can be fixed so easily. Then it is required to fix the misalignments by retouching the final panorama.

3. Insufficient retouching tools
I wrote the details in a previous article. Working with Photoshop for 32 bpc images is very painful (bpc = bits per channel). Switching to Affinity Photo for this step resolved the issues. It contains great tools to adjust the projection (external links to Vimeo: 360 Live Editing, 360 Advanced Editing, 360 Retouching) and all retouching tools work in 32 bit mode. Although Photo is easy to learn, it took some time to get used to it.
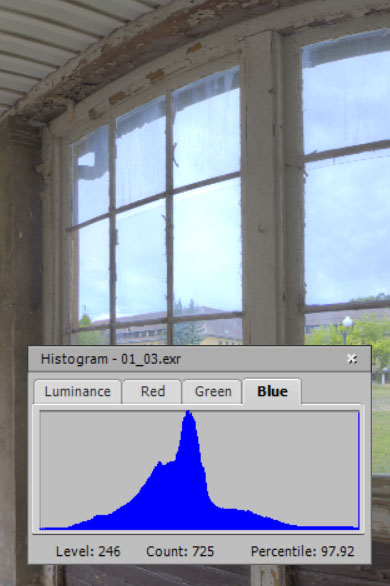
4. Saturated tonemapping
The next step after the 32-bit retouching is the tonemapping. I learned a lot about color correction in Photoshop before I noticed that my issues started earlier. When I started paying attention to the histogram in Photomatix I could resolve the color issues during the last step easily.
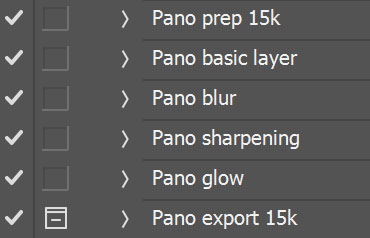
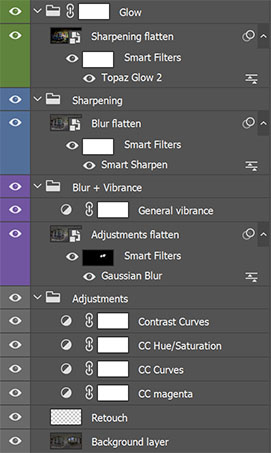
5. Finishing touch
I refined my workflow in Adobe Photoshop and developed new actions. This allowed me to have a reliable reproducible workflow for color corrections, contrast improvement, sharpness and look. Unfortunately, Affinity Photo has only a rooky macro recorder that can’t compete with Photoshop’s actions. So, I’m stuck with Photoshop for that step at the moment.
6. Distractions
Another reason for the delay was my employer. Around Christmas they announced large organizational changes. But besides ensuring ongoing uncertainty and the guarantee that they fire people this year, nothing else happened. This had (and still has) a significant negative impact on my creativity.