
After a couple of dry runs in the living room we (mother, brother, brother in law) went to a playground to put the little that we knew to work. I ended up with two acceptable images, both licensed under CC BY-NC 4.0

I shot 46 photos this night. I didn’t care about the basic rules of image composition which you can notice in the results. After all, these are just intended as experiments to learn more about lightpainting. I used my trusted Canon EOS 70D with a 24-105 lens. This is not the best choice for lightpainting but so far I don’t have the small change to get the best gear for a specific purpose.
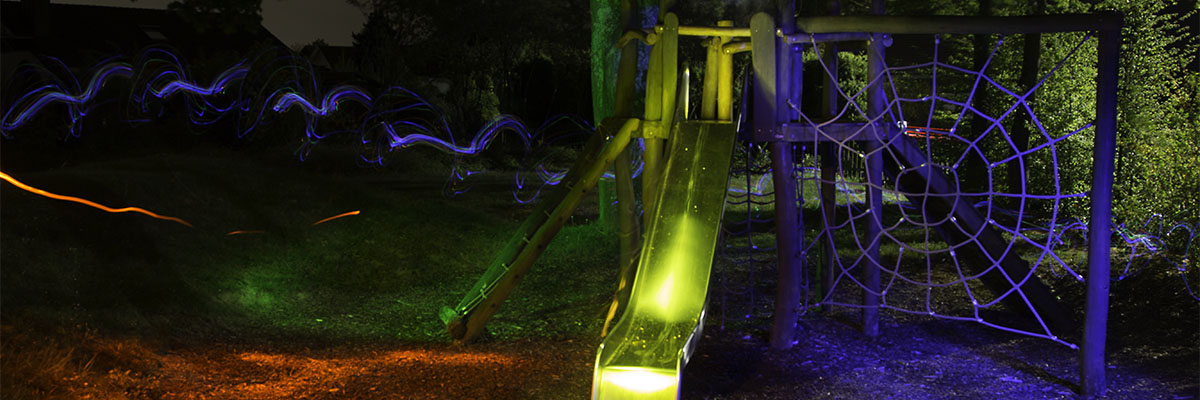
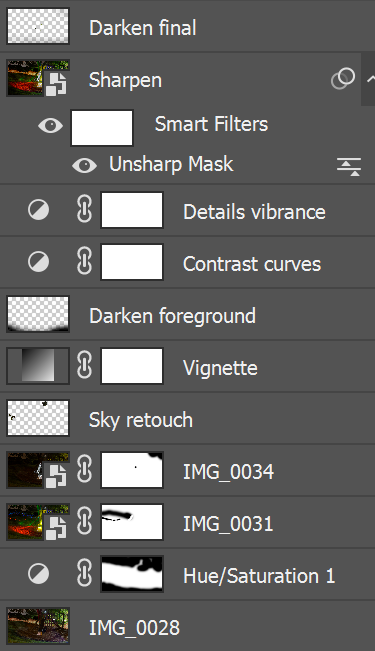
Details image 1
Although it’s frowned by the lightpainting community, I combined multiple photos during image processing.

Image 28 was one of many experiments using the Pixelstick. For background elements like this fire it’s the ideal tool. However, for foreground elements it’s possible that the resolution is insufficient. The closer the stick comes to the camera the more likely it is that you can distinguish the LEDs, giving you stripes instead of a solid image.
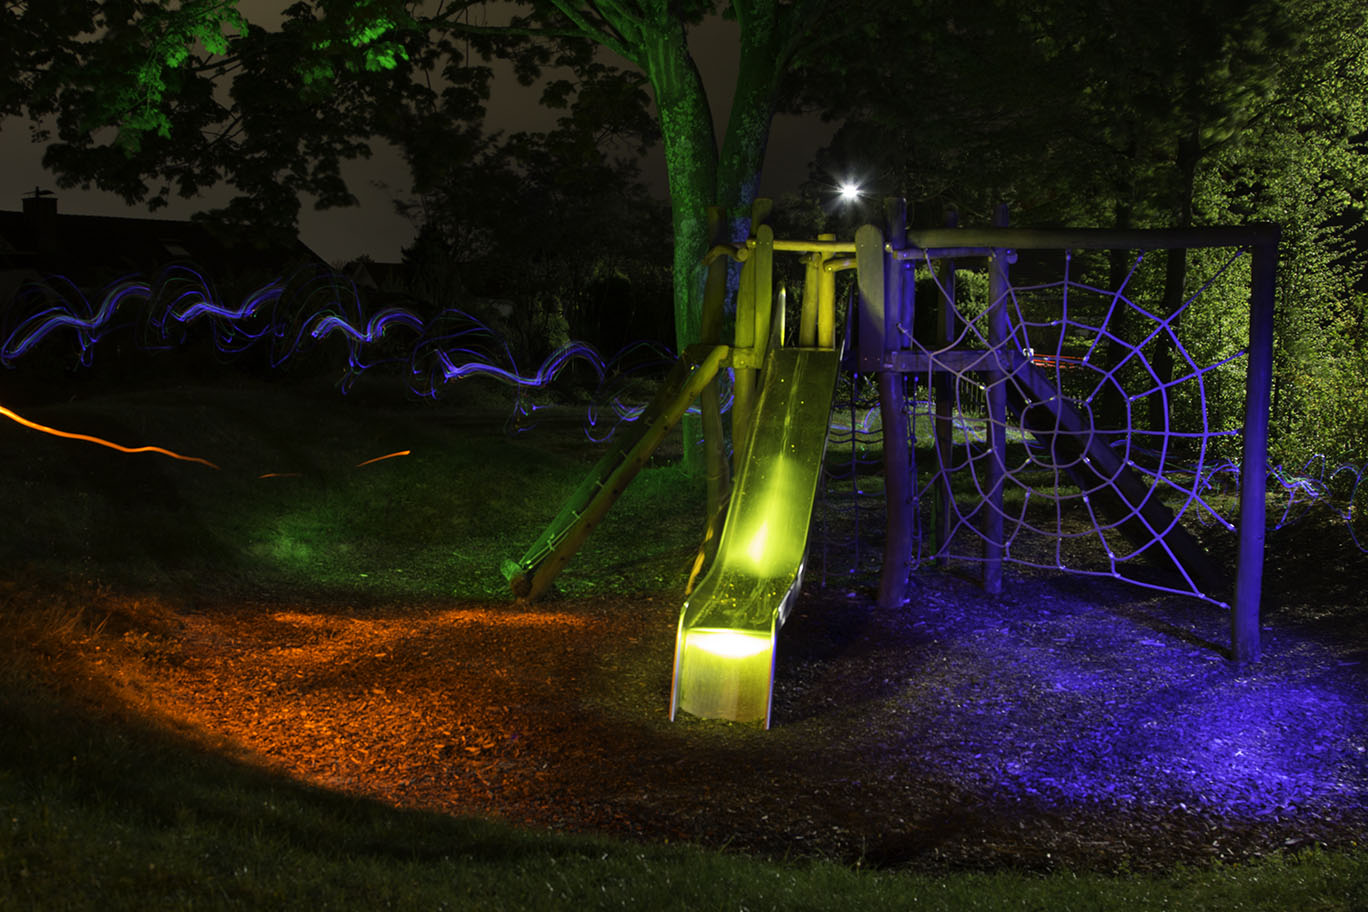
I used image 31 for the general light mood. I removed most of the background and the error from the flashlight.
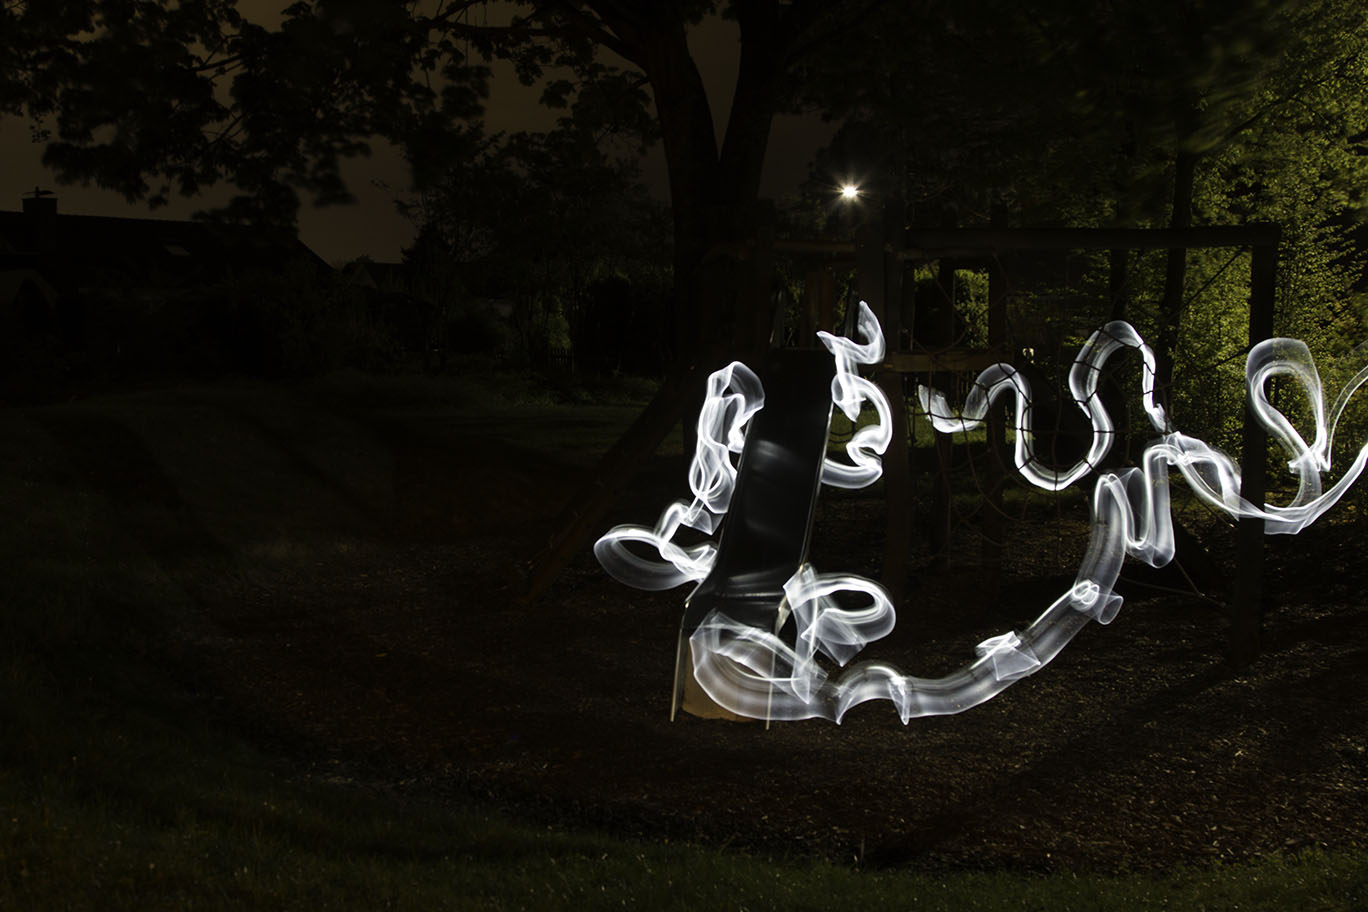
Image 34 contains only the light trail of a light blade.
There are several layer blending modes that can be used. For this one, I used “Lighten” which closely resembles how the image would have looked like if I would have taken everything with a single shot. The remaining layers are just color and brightness adjustments and some retouching of the sky and the slide.
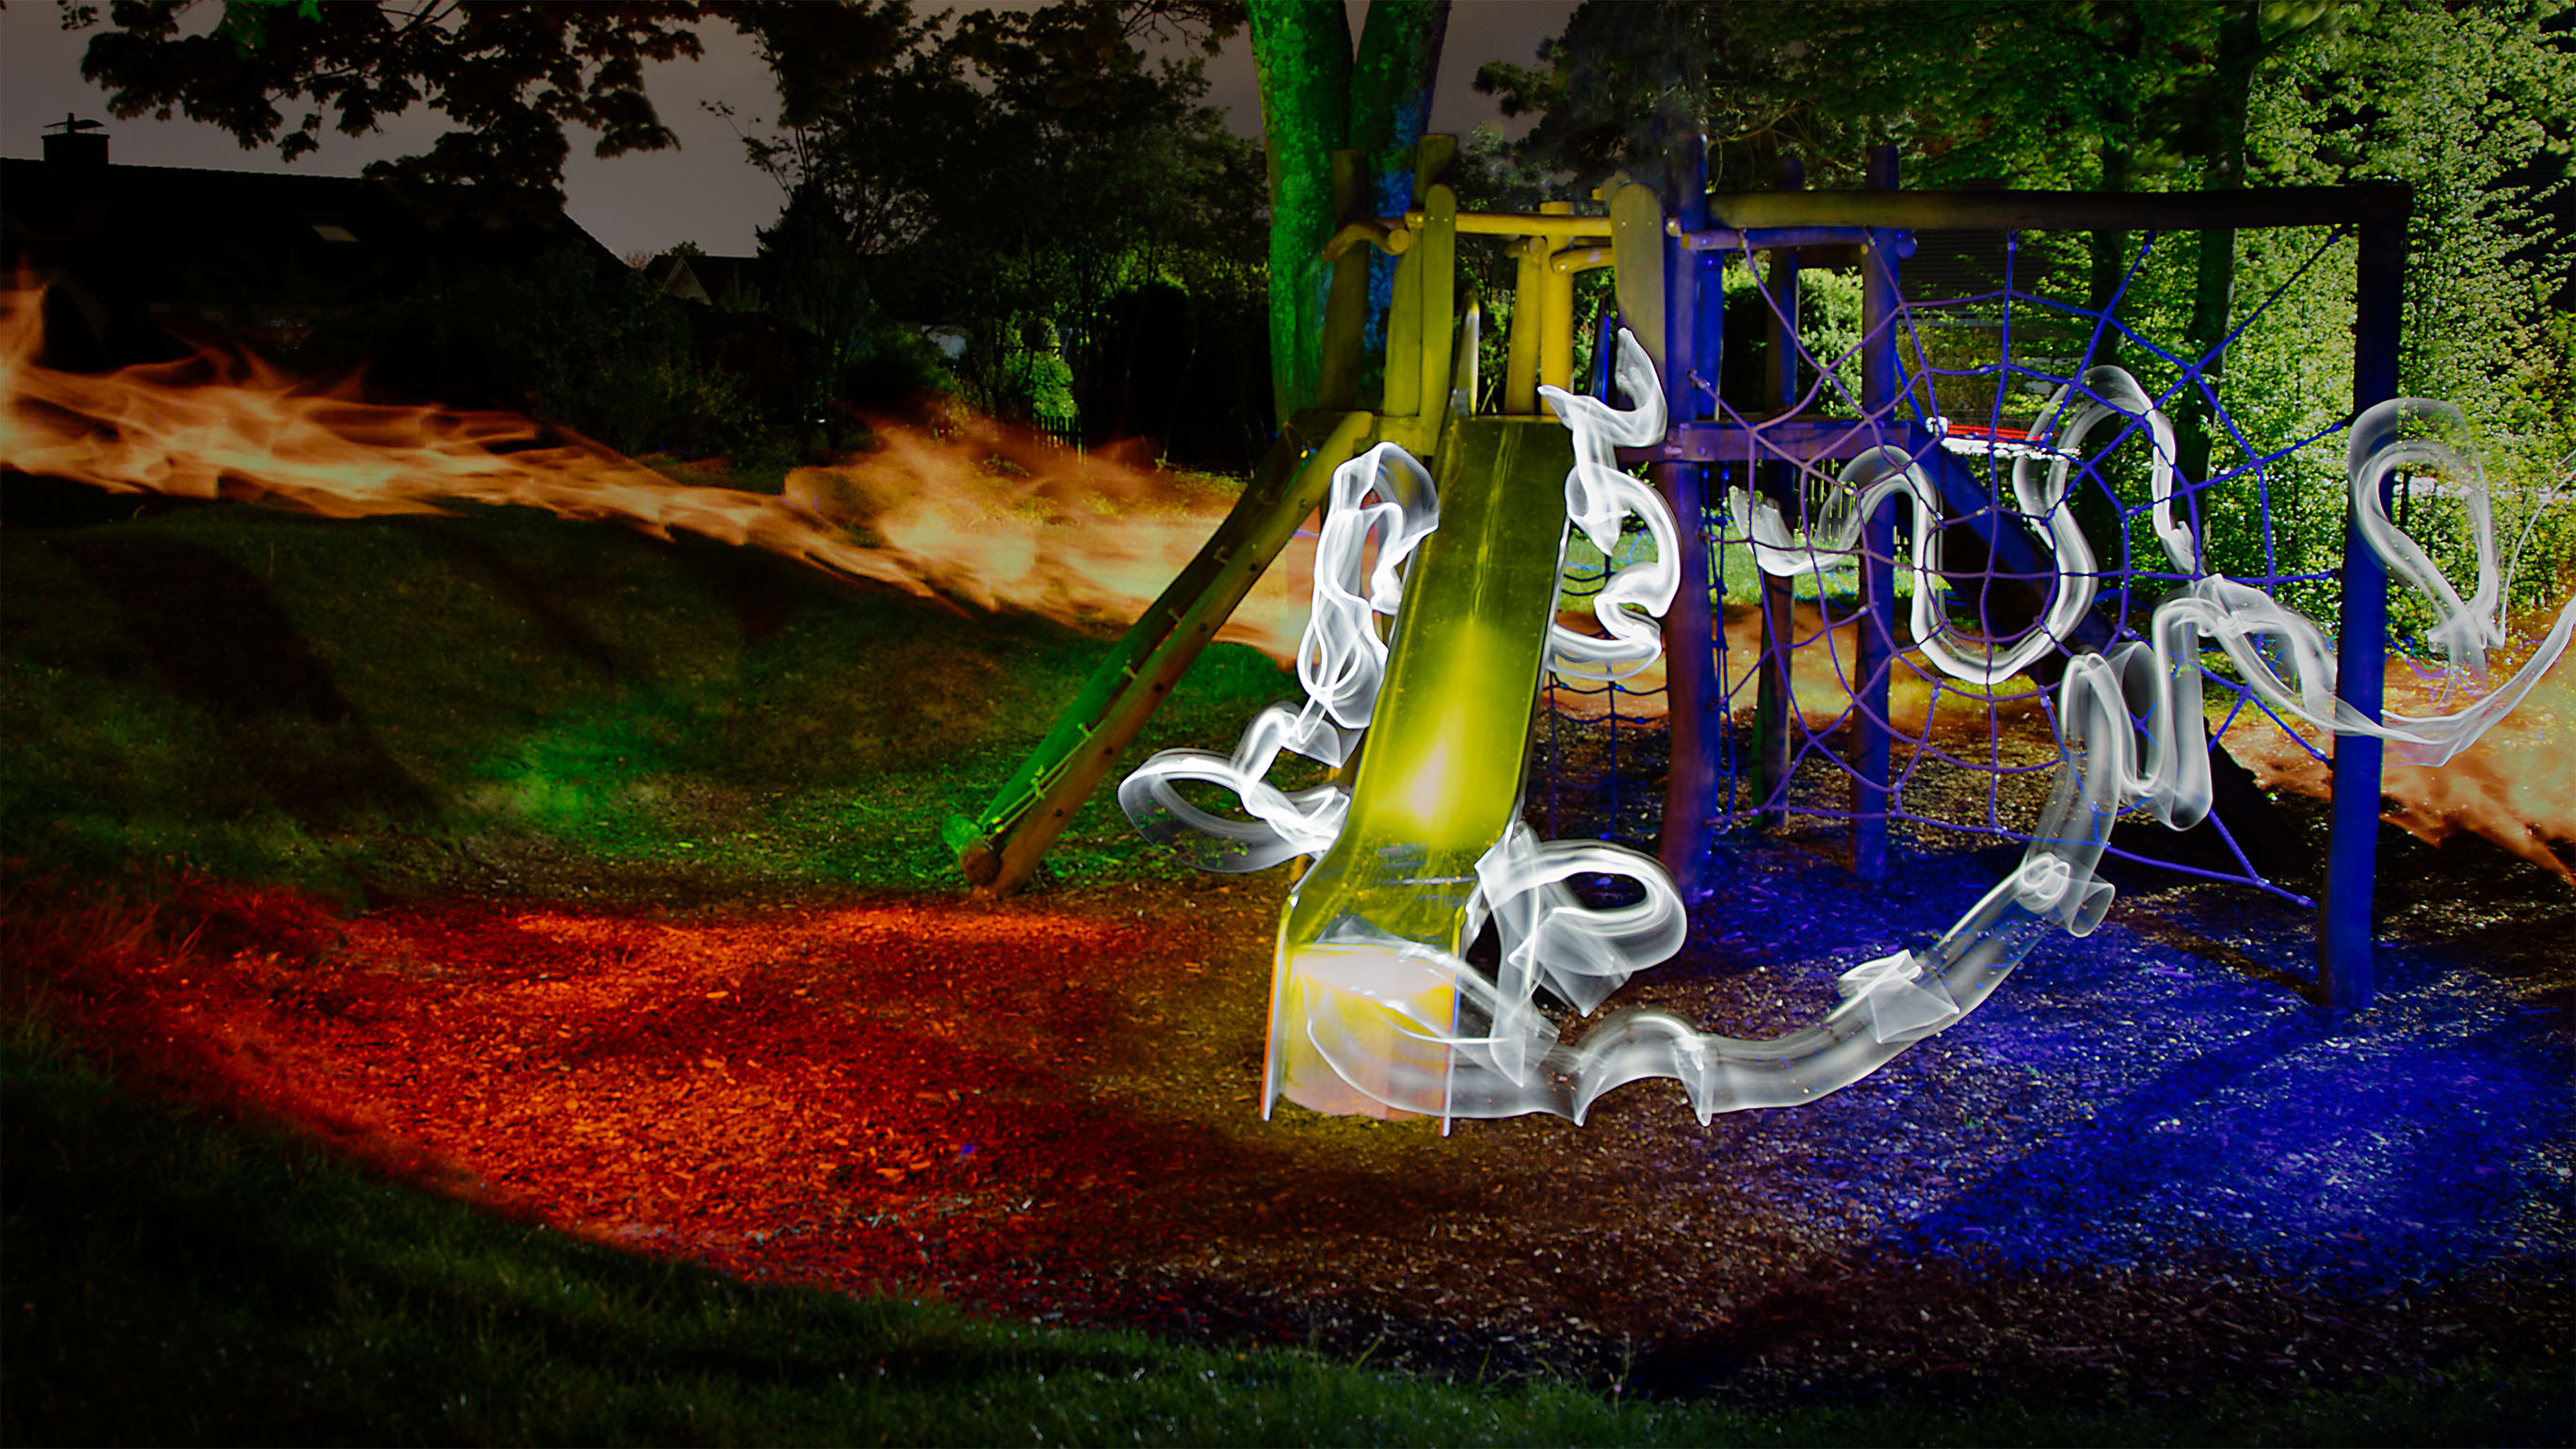
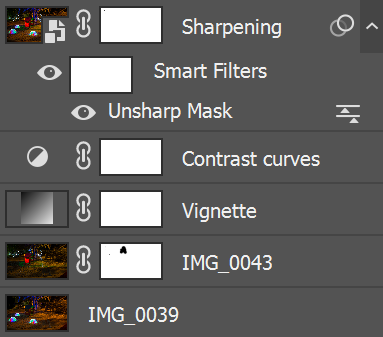
Details image 2
For the second image, I used only two photos.
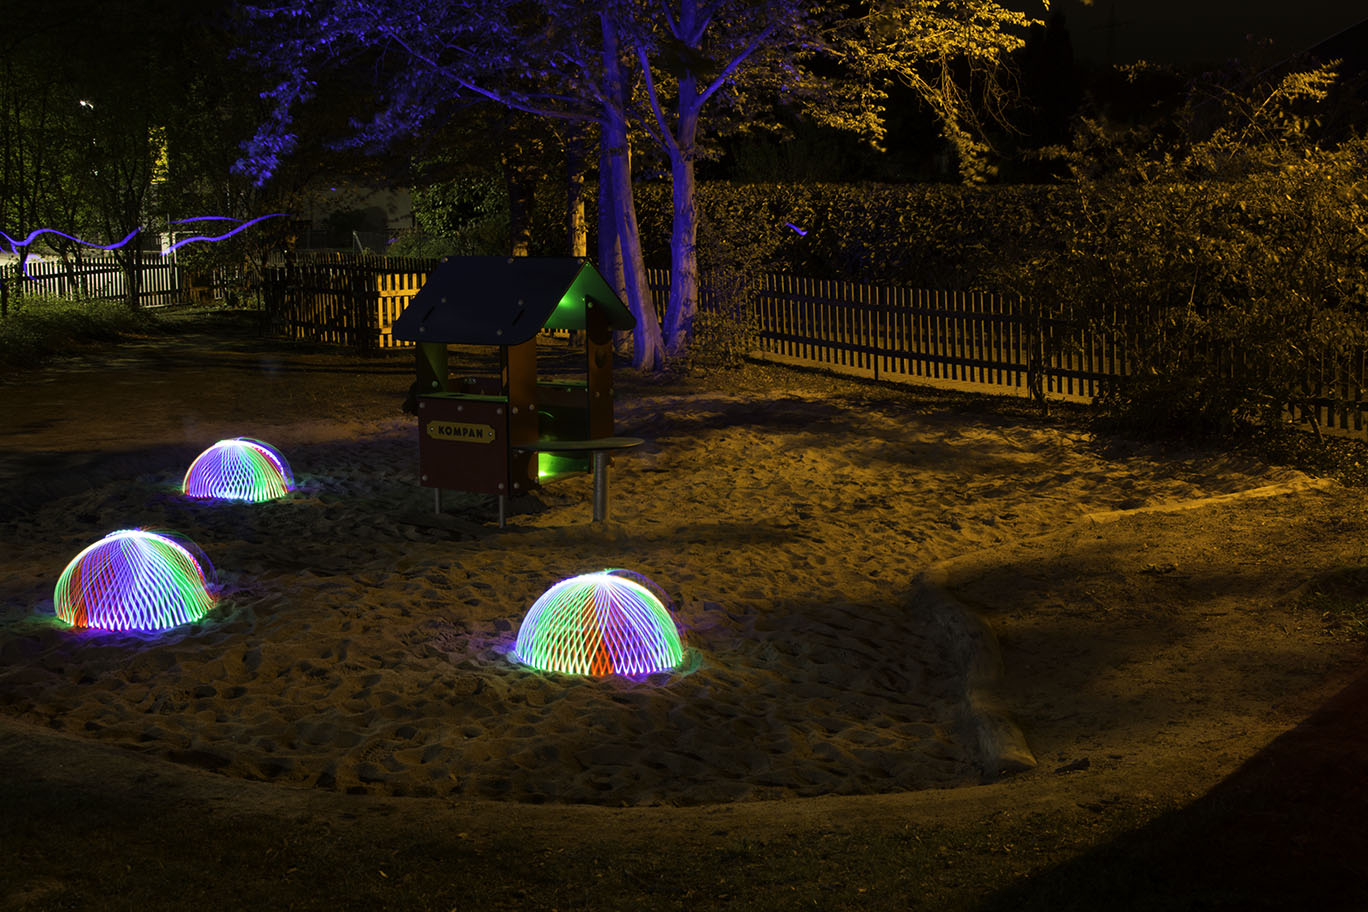
Image 39 contains mostly the light domes. Sand is not a good surface to crate straight domes, though. Furthermore, the LEDs are too bright for the close distance to the camera even though they are dimmed to the minimum brightness already.
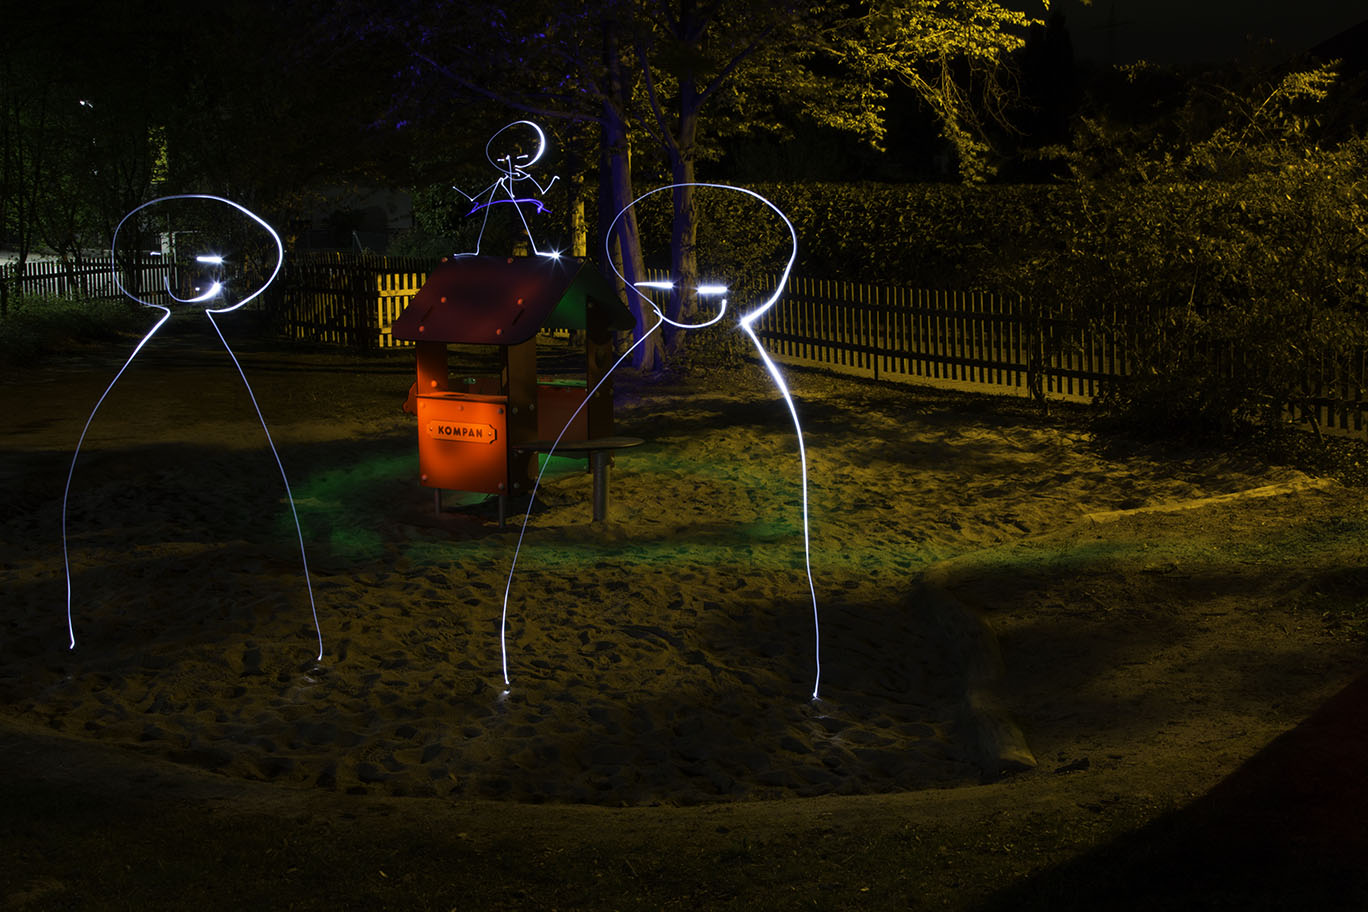
Image 43 contains one try of drawing figures. In this case, friendly neighborhood ghosts. This is something where we need more practice. Of course, we tried several shapes but all had similar defects like the stick figure on the roof. This is something that should be practiced in the living room until it’s no longer necessary to think how to draw them.
For this second image, the layer stack is simpler. Image 34 uses the blend mode “lighter color” which is different from shooting a single image. The remaining layers adjust brightness, contrast and sharpness.
Summary
I learned a lot about lightpainting during that night on the playground.
- Even when just doing experiments, think at least a little about image composition. There could be something useful in the end. Visit the location at daylight, place the camera at different spots with different focal lengths.
- Shiny surfaces like the slide are your enemy. Be very thoughtful about how you point the light sources towards them.
- Before starting, do some test exposures of the brightest and darkest light sources. This should give you a feeling about the maximum and minimum possible exposure length and about how fast you can move a light source.
- When drawing figures or writing with light, practice the movement a lot before going into the wild.
- It’s possible to place a dome everywhere – just not on uneven ground.
- Trees like red light, so don’t use it to light them. Yellow and green works perfectly. Blue requires very long exposure times but works, too. Red is absorbed by most leaves. It can be used for the trunk but the leaves would be black.
- Combining multiple shots during image processing works nicely and offers additional flexibility to do more experiments while on site.
- You’re carrying around a lot of stuff when doing lightpainting. Do a reasonable selection in advance to minimize the luggage. Mark everything that you can find it in the dark. For example, when using different color filters for flashlights mark them with something that you can feel to grab the right color without having to use additional light to find the right tool.
- Dark playgrounds offer many interesting motives to practice lightpainting.
While I used my trusted Canon, my brother in law used one of the Olympus OM-D series. This camera series has some very nice features for lightpainting. Although I think this is in direct contrast to the desire to capture everything in a single shot. After all, the camera just combines multiple exposures just like you could do with much more control during image processing.
Anyway, I would prefer one of the Olympus cameras for lightpainting over all other brands and series at the moment – at least if you have the required pocket change for body and lens(es).