
Summary
The ZOLAQ light painting workshop for beginner ( http://www.zolaq.de/ ) left a positive impression. Jenja and Olaf are very friendly and deliver the selected topics very well. I can only recommend this course for everybody that is interested in light painting. It doesn’t matter if the focus of the participants is in front or behind the camera. Both aspects are covered in this workshop.
Jenja and Olaf build most of their light painting tools themselves. They give a general overview how to create them even with a limited budget and with limited crafting skills.
This article is a report about the ZOLAQ light painting workshop for beginner and features some selected photos that we shot during the workshop.
Workshop
Introduction
Jenja and Olaf start with a general overview about light painting and the required tools.
The most important tool is the light source. Torch lights in every size and shape, starting with a finger-size mini torch to a 2000 lumen monster. Besides torch lights there are chains of lights, rope lights, LED strips and EL wires.
After the light sources, they show different light shaper: PET bottles, plastic cups, foils, deconstructed toys like light sabers, light blades, wheels, glass fiber and pole structures. Jenja and Olaf don’t stop at the presentation but they also describe how to craft them with little effort.
Matchstick men, women and animals
Essentially, light painting means paint with light. Just point a light source towards the camera and move it more or less coordinated. You only need to consider that the light source is not too bright or the image will be over exposed.
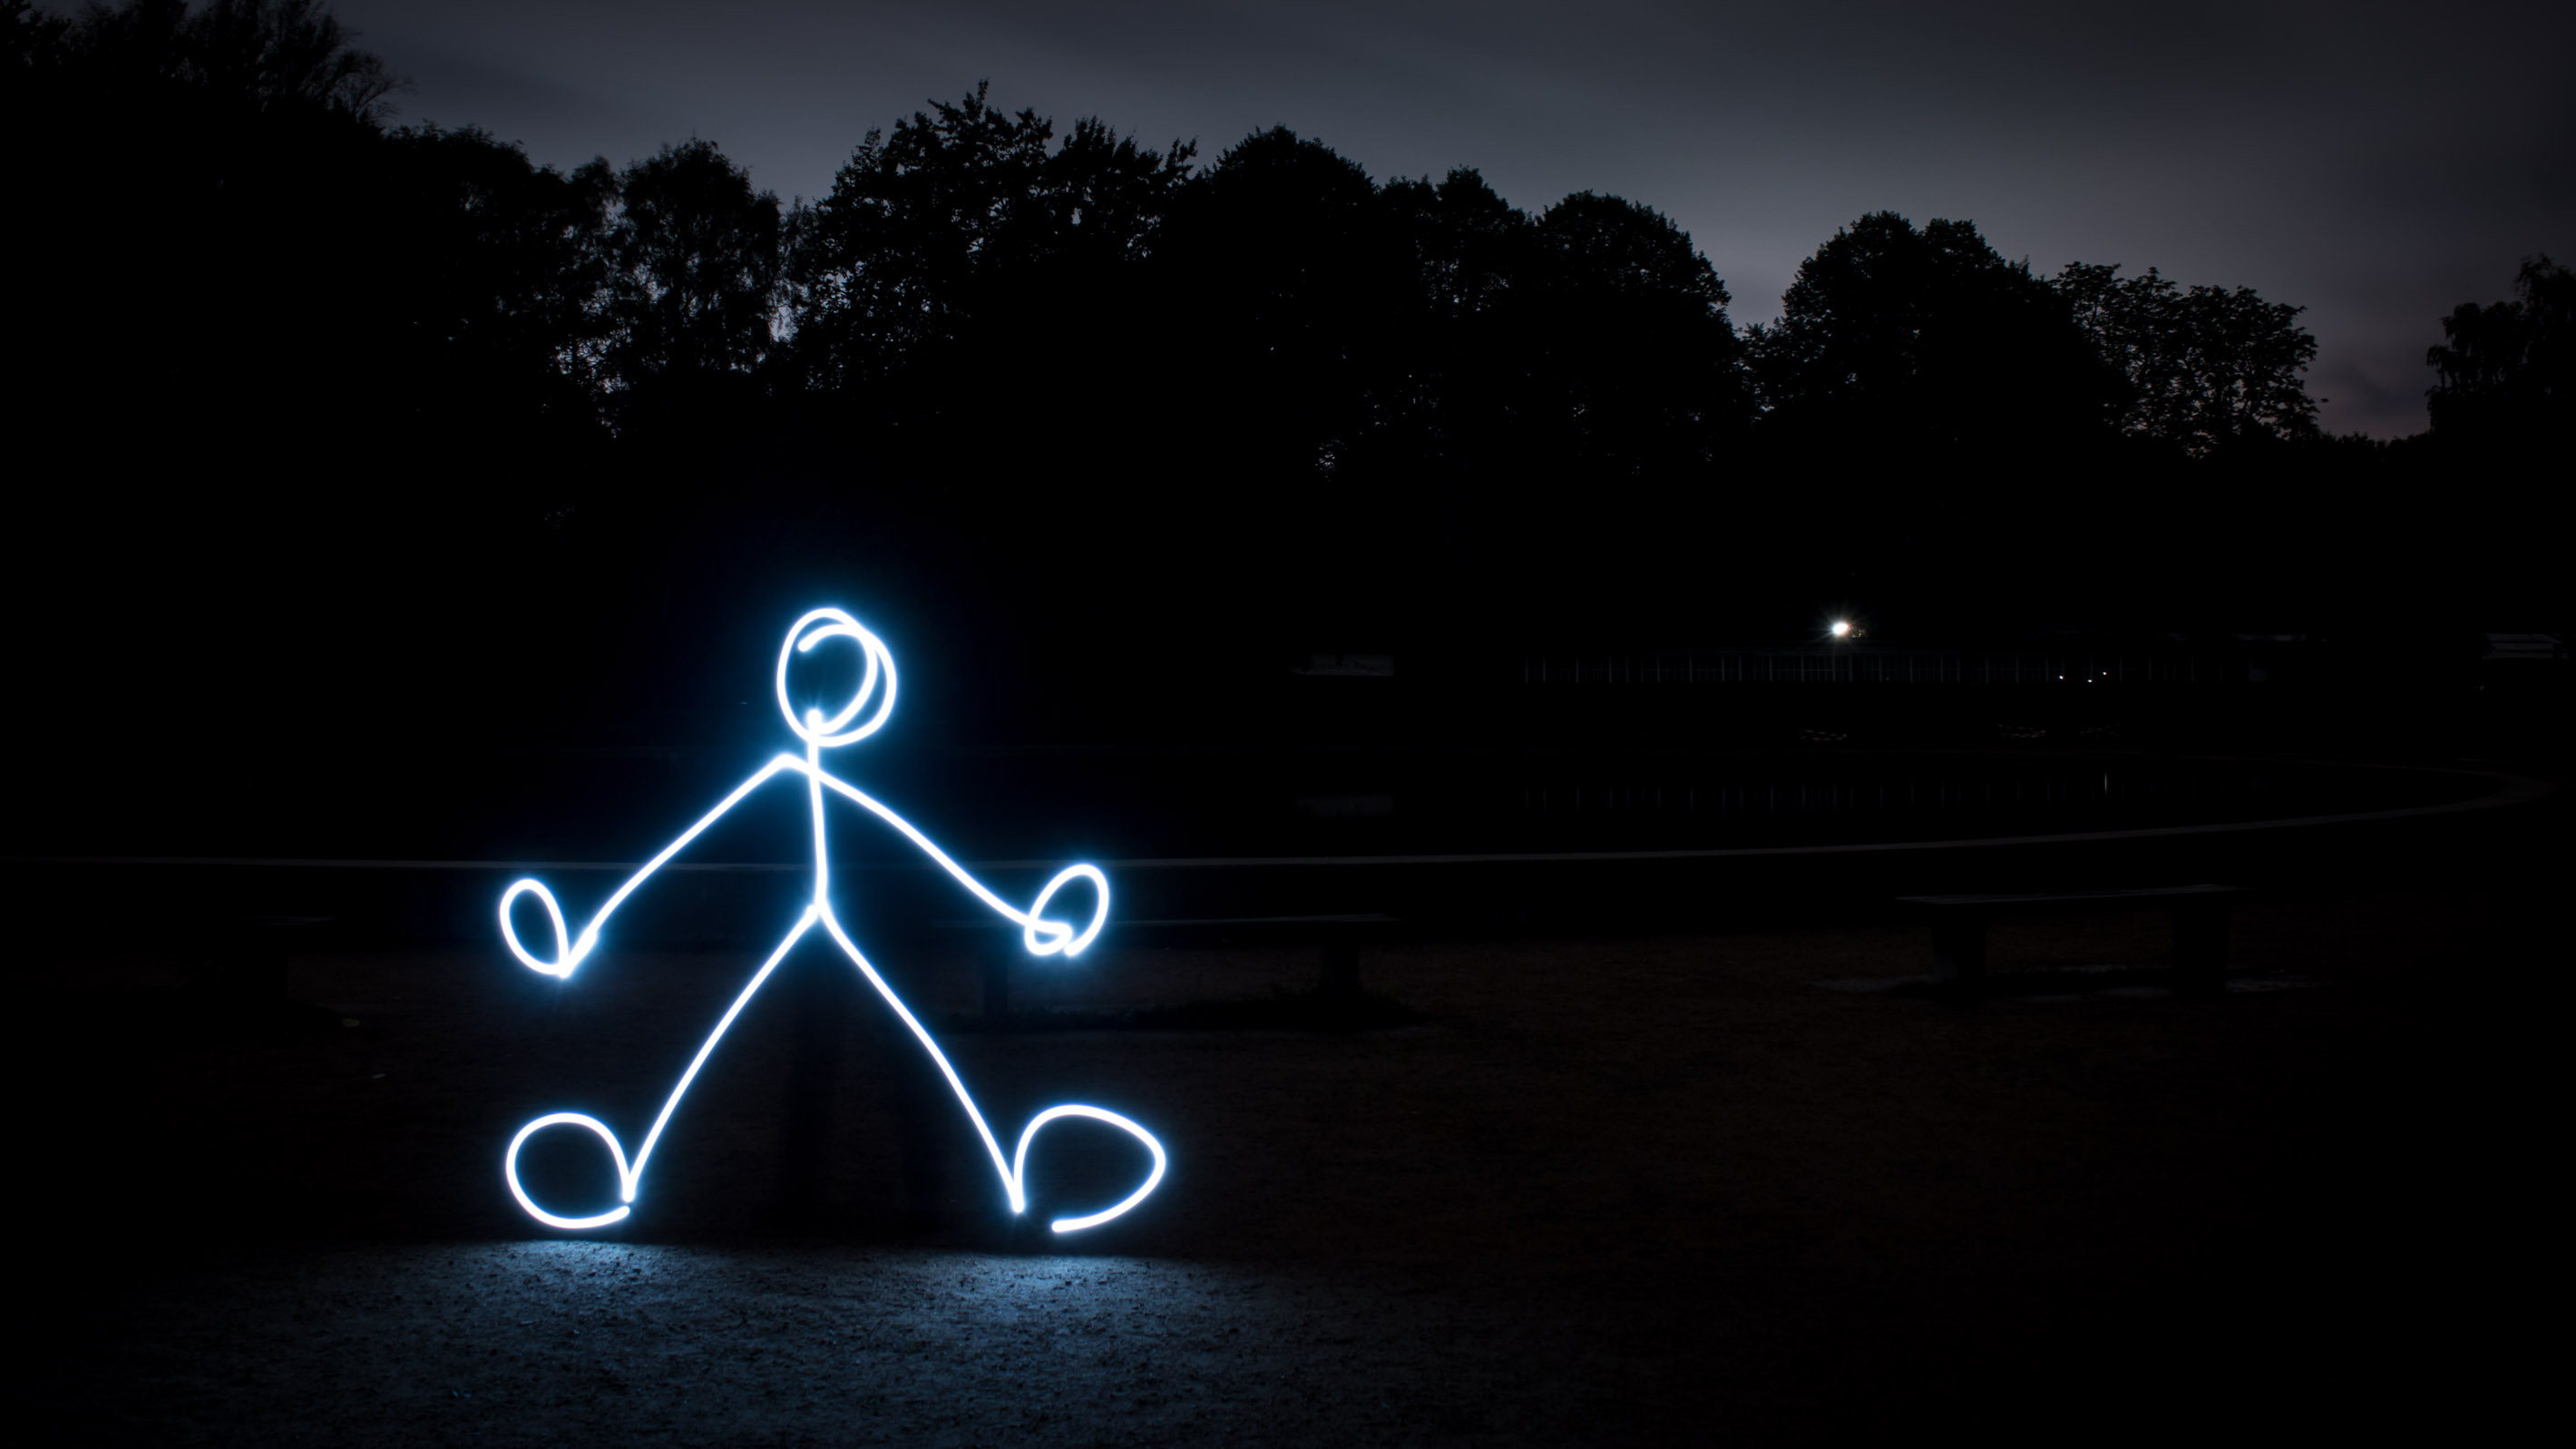

The next level is to follow lines of objects or models. It depends on your speed, shutter speed and environment light if the model is visible in the final photo. You can also use color filters in front of the torch lights to make the result more interesting.

It takes a bit of practice to place matchstick men, women and animals into the landscape. If you need more than one stroke like with the flower above, it can be challenging hit the correct spot to activate the torch light again. Jenja gives useful tips to master this technique.
By themselves these images might look a bit stupid. But if you have several photos of a landscape or a city they can give an additional kick to the whole project.
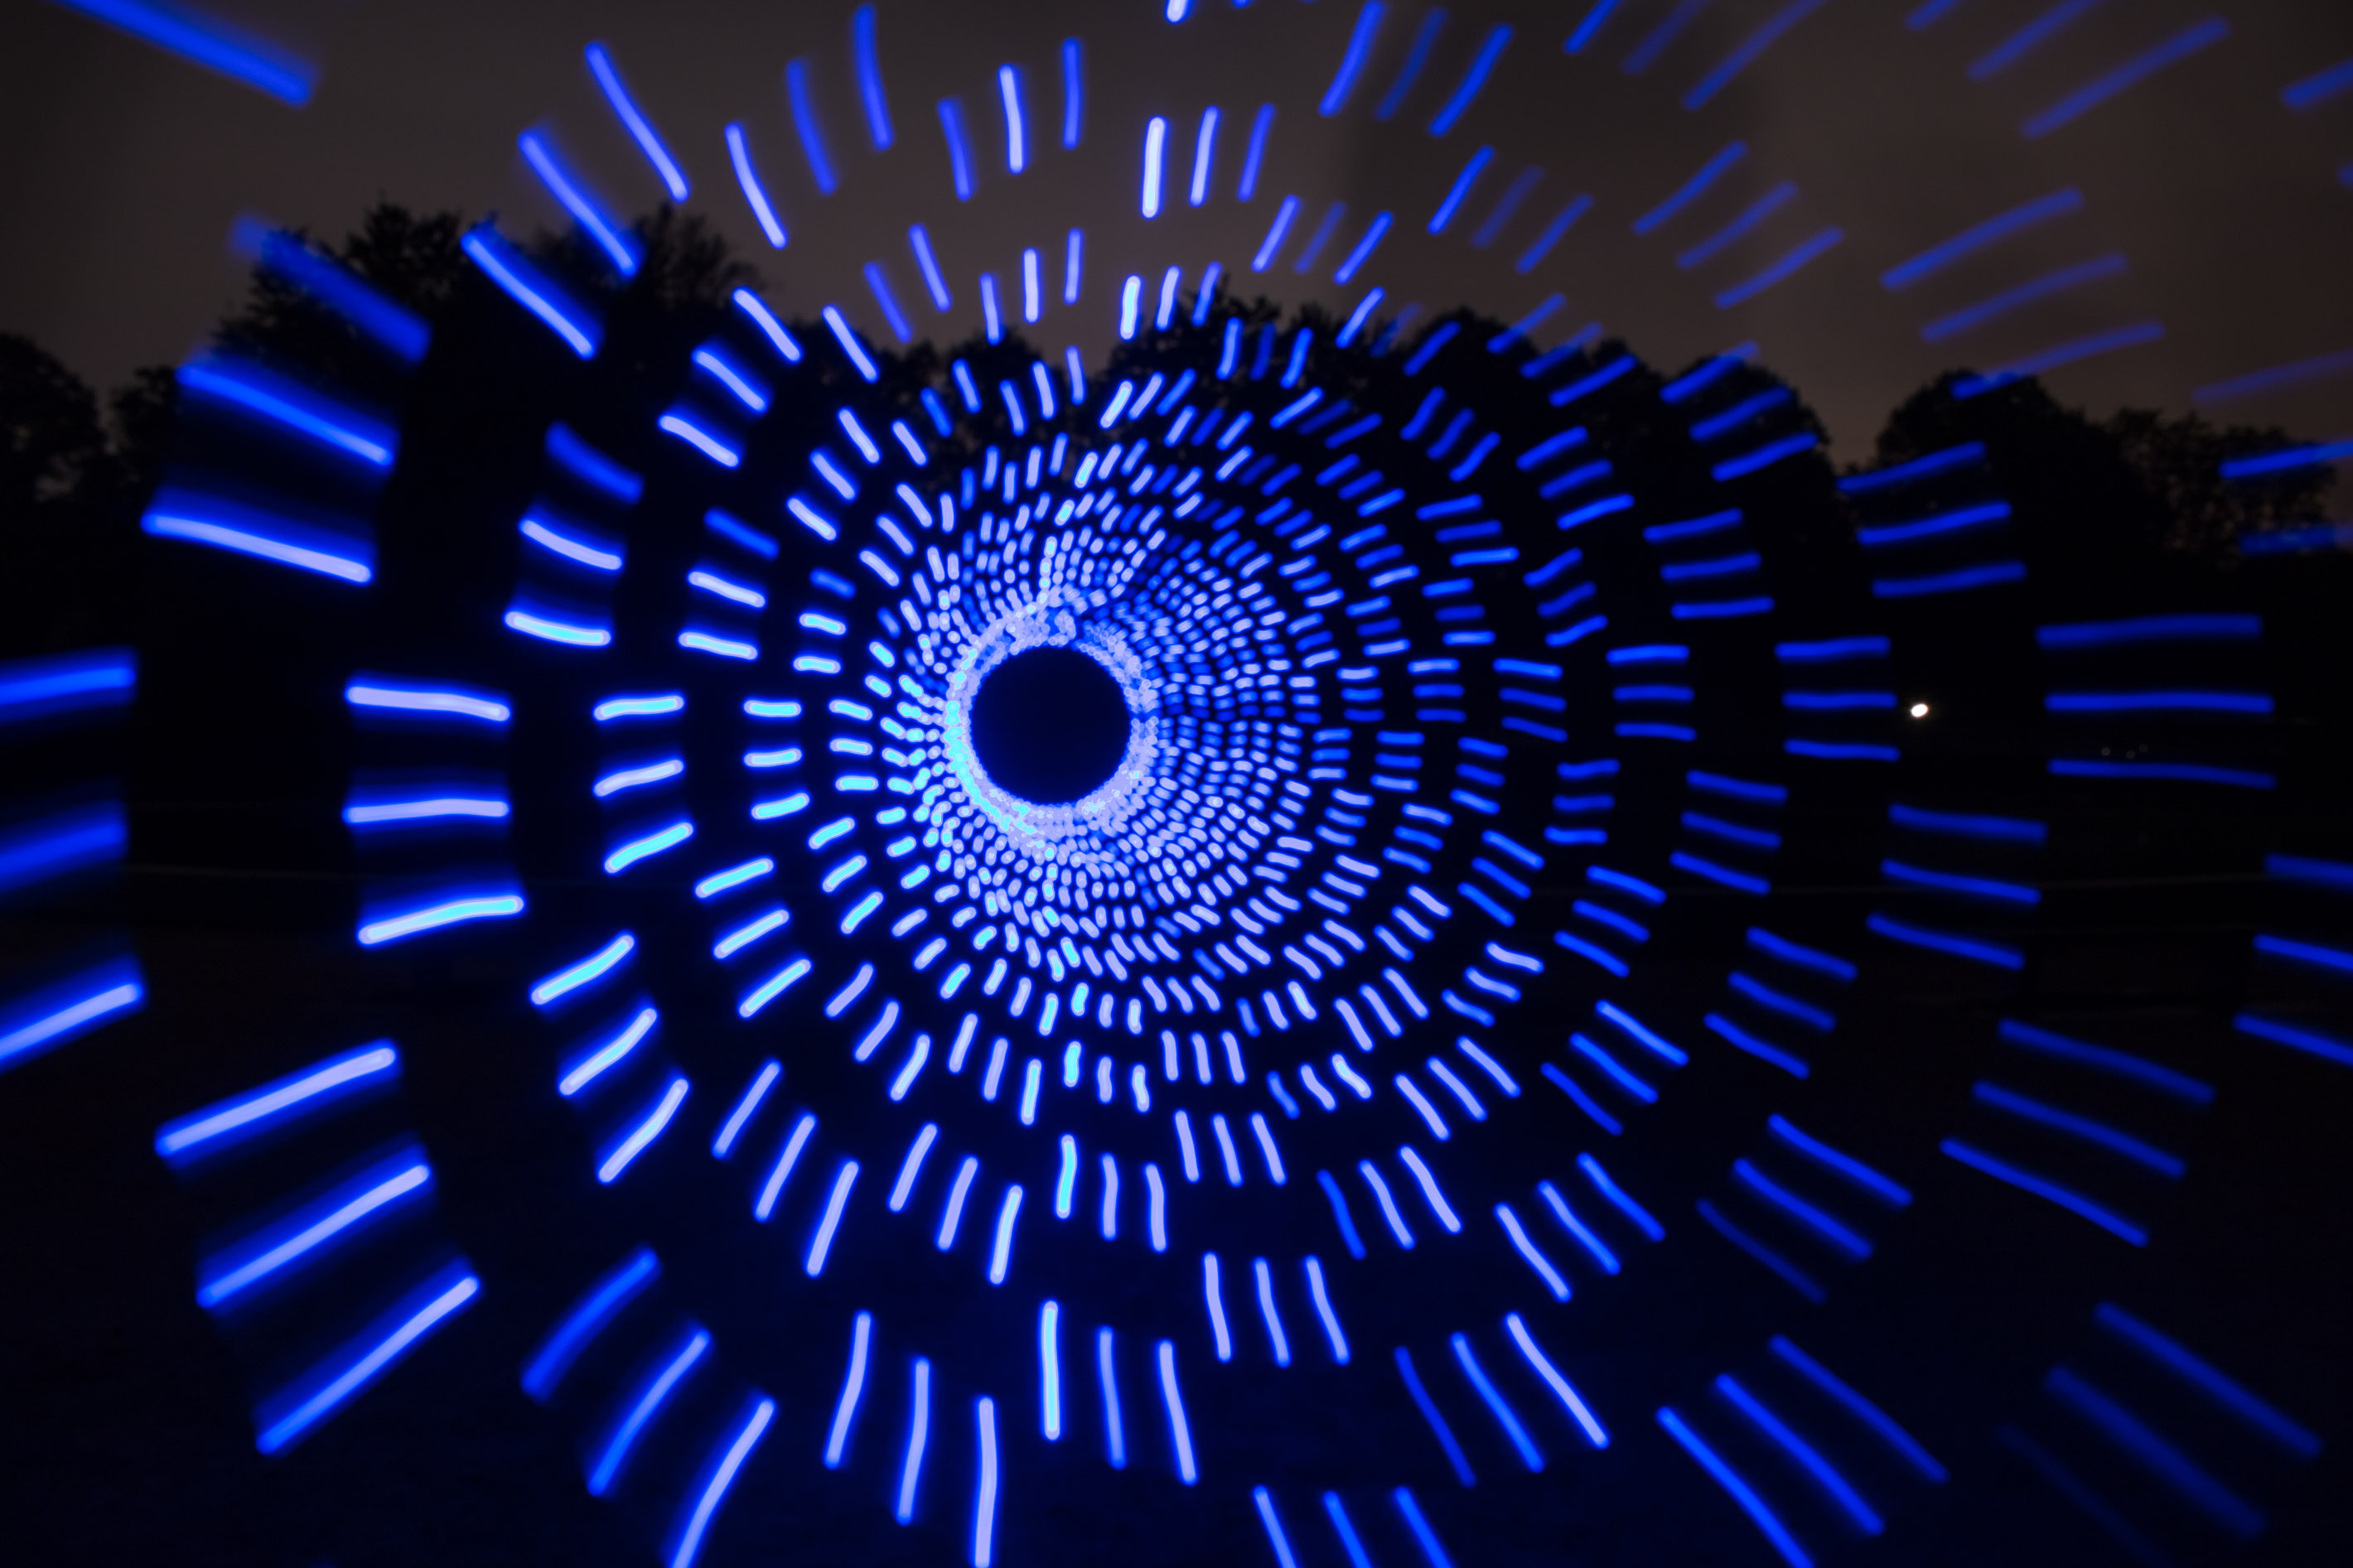
Tunnels, worms and rails
There are several tools to create tunnel-like structures. The first thing that comes to mind is a wheel. But you can also use pole structures to create tunnels, rails and worms.
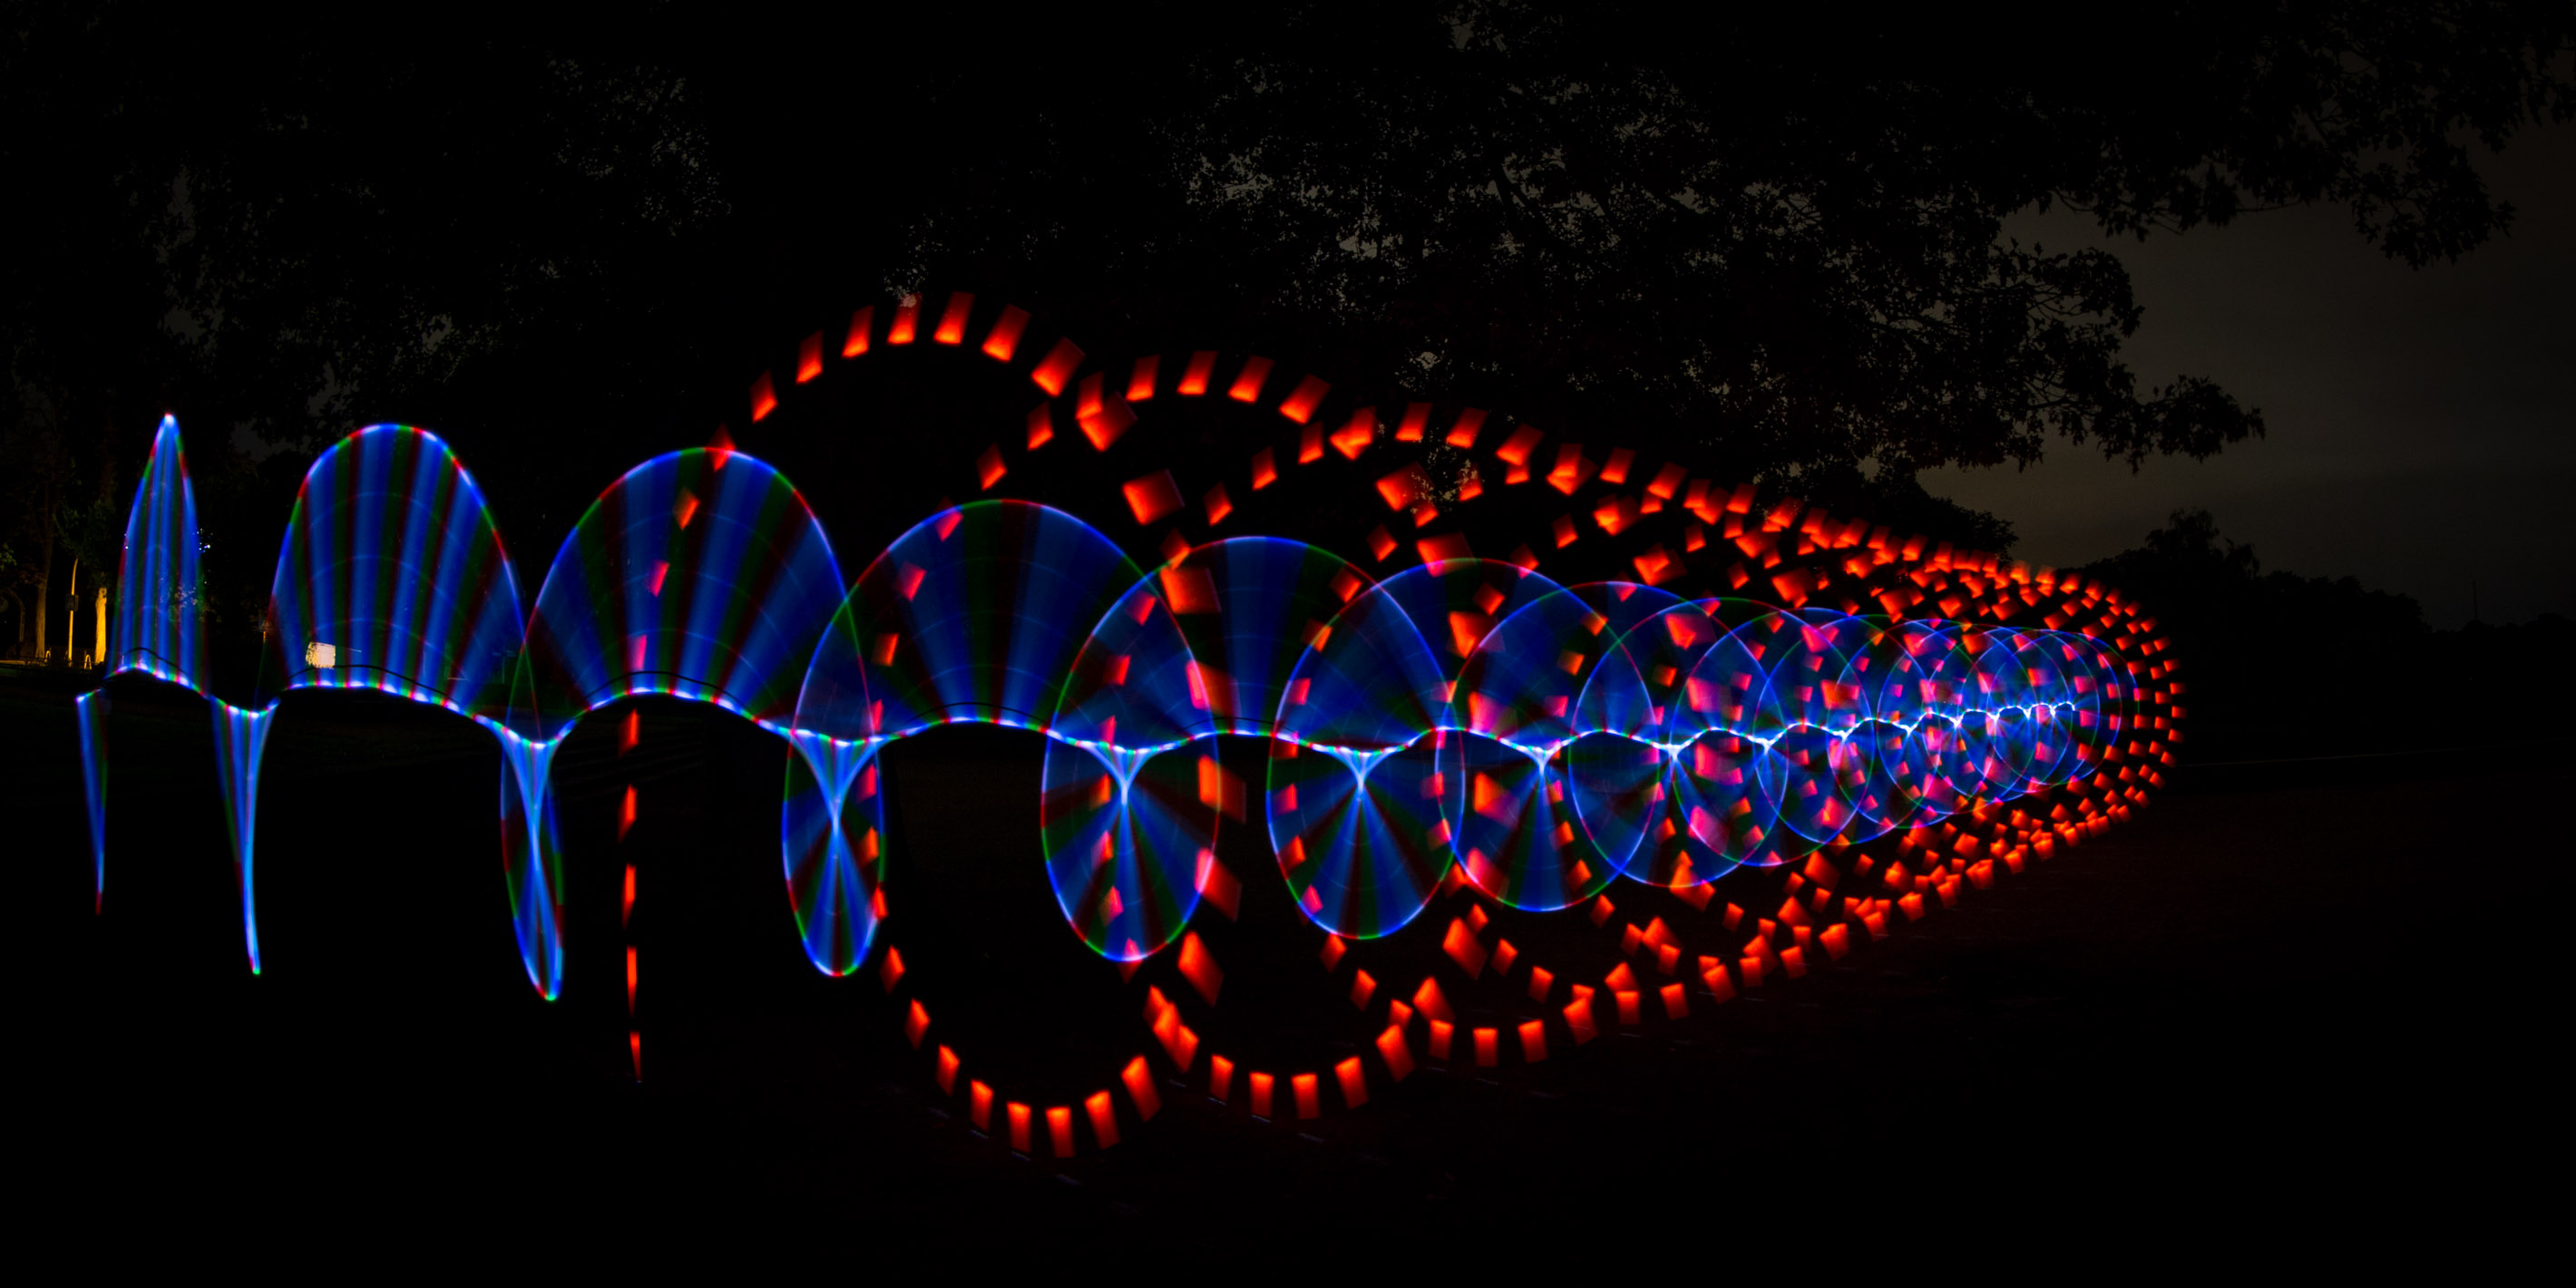
The most important part is to move the tool as uniform as possible. Every little shake will be visible in the final image and can be distracting especially if it’s unintentional.

Environment
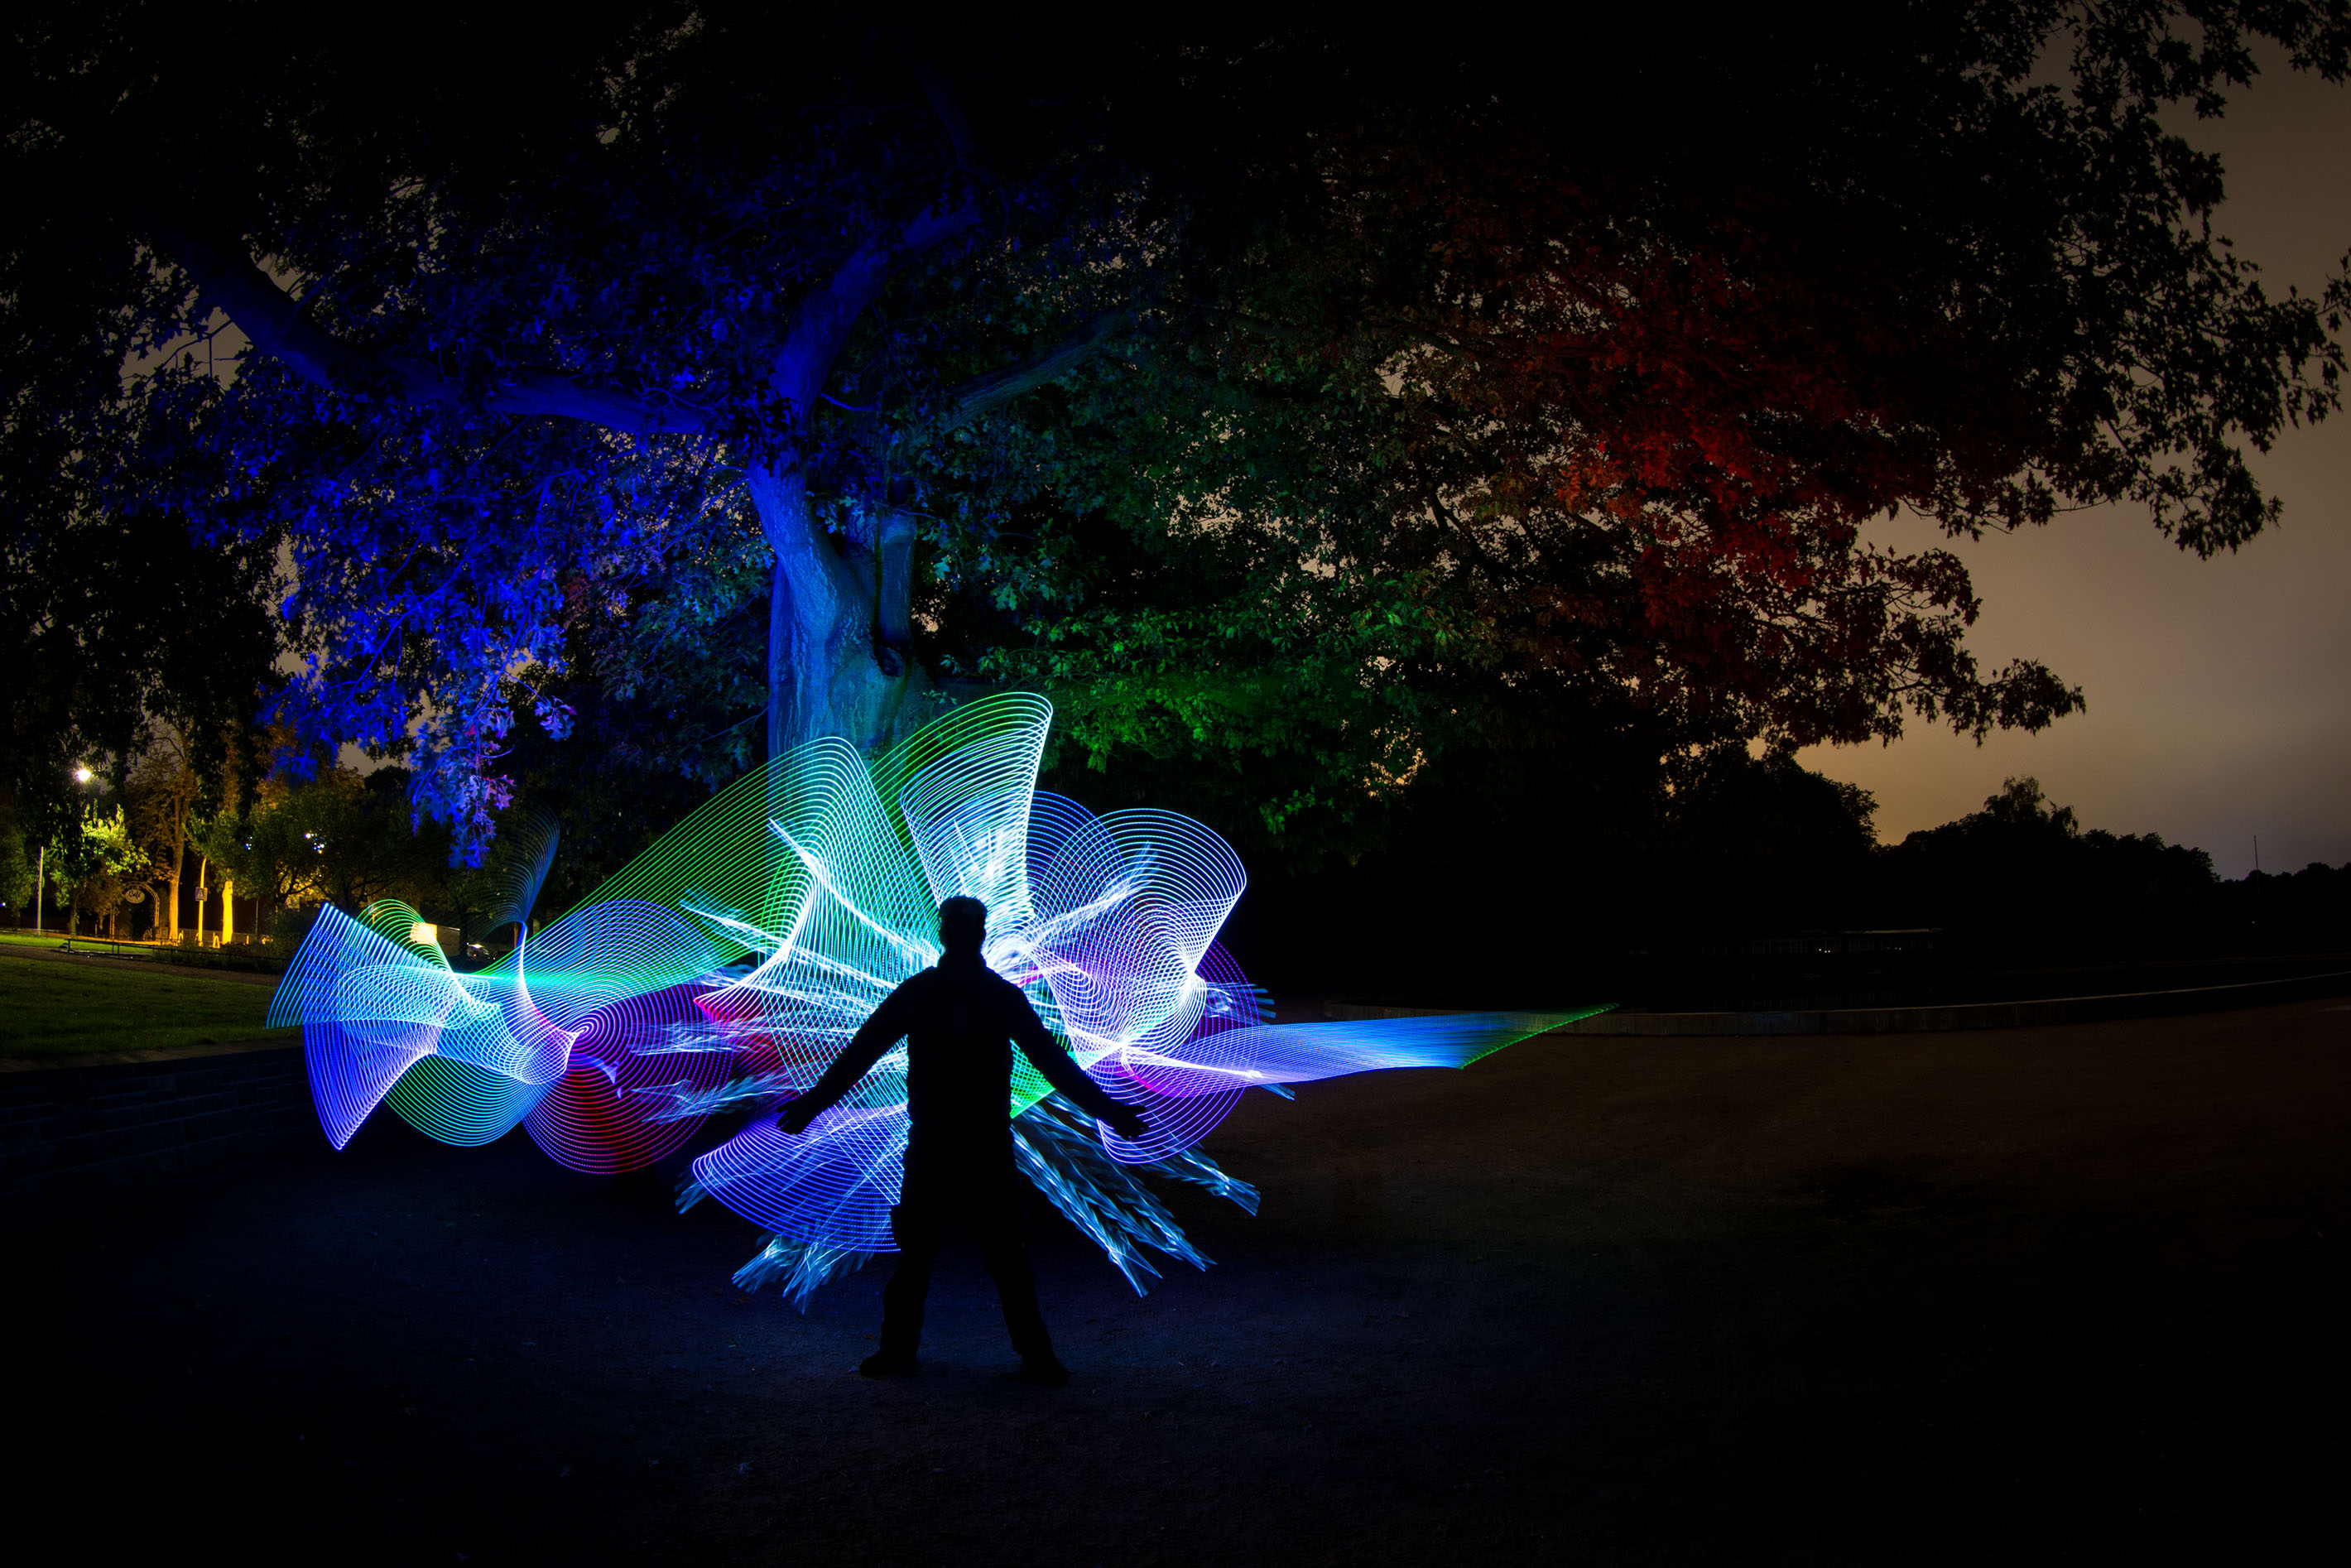
You have many possibilities to include the environment in your images. The simplest one is to illuminate the background. But you can also use a glass fiber frond or EL wires to add light fog or fire-like structures to your image. This is just one example what you can do with illumination and glass fiber fronds.

Abstract
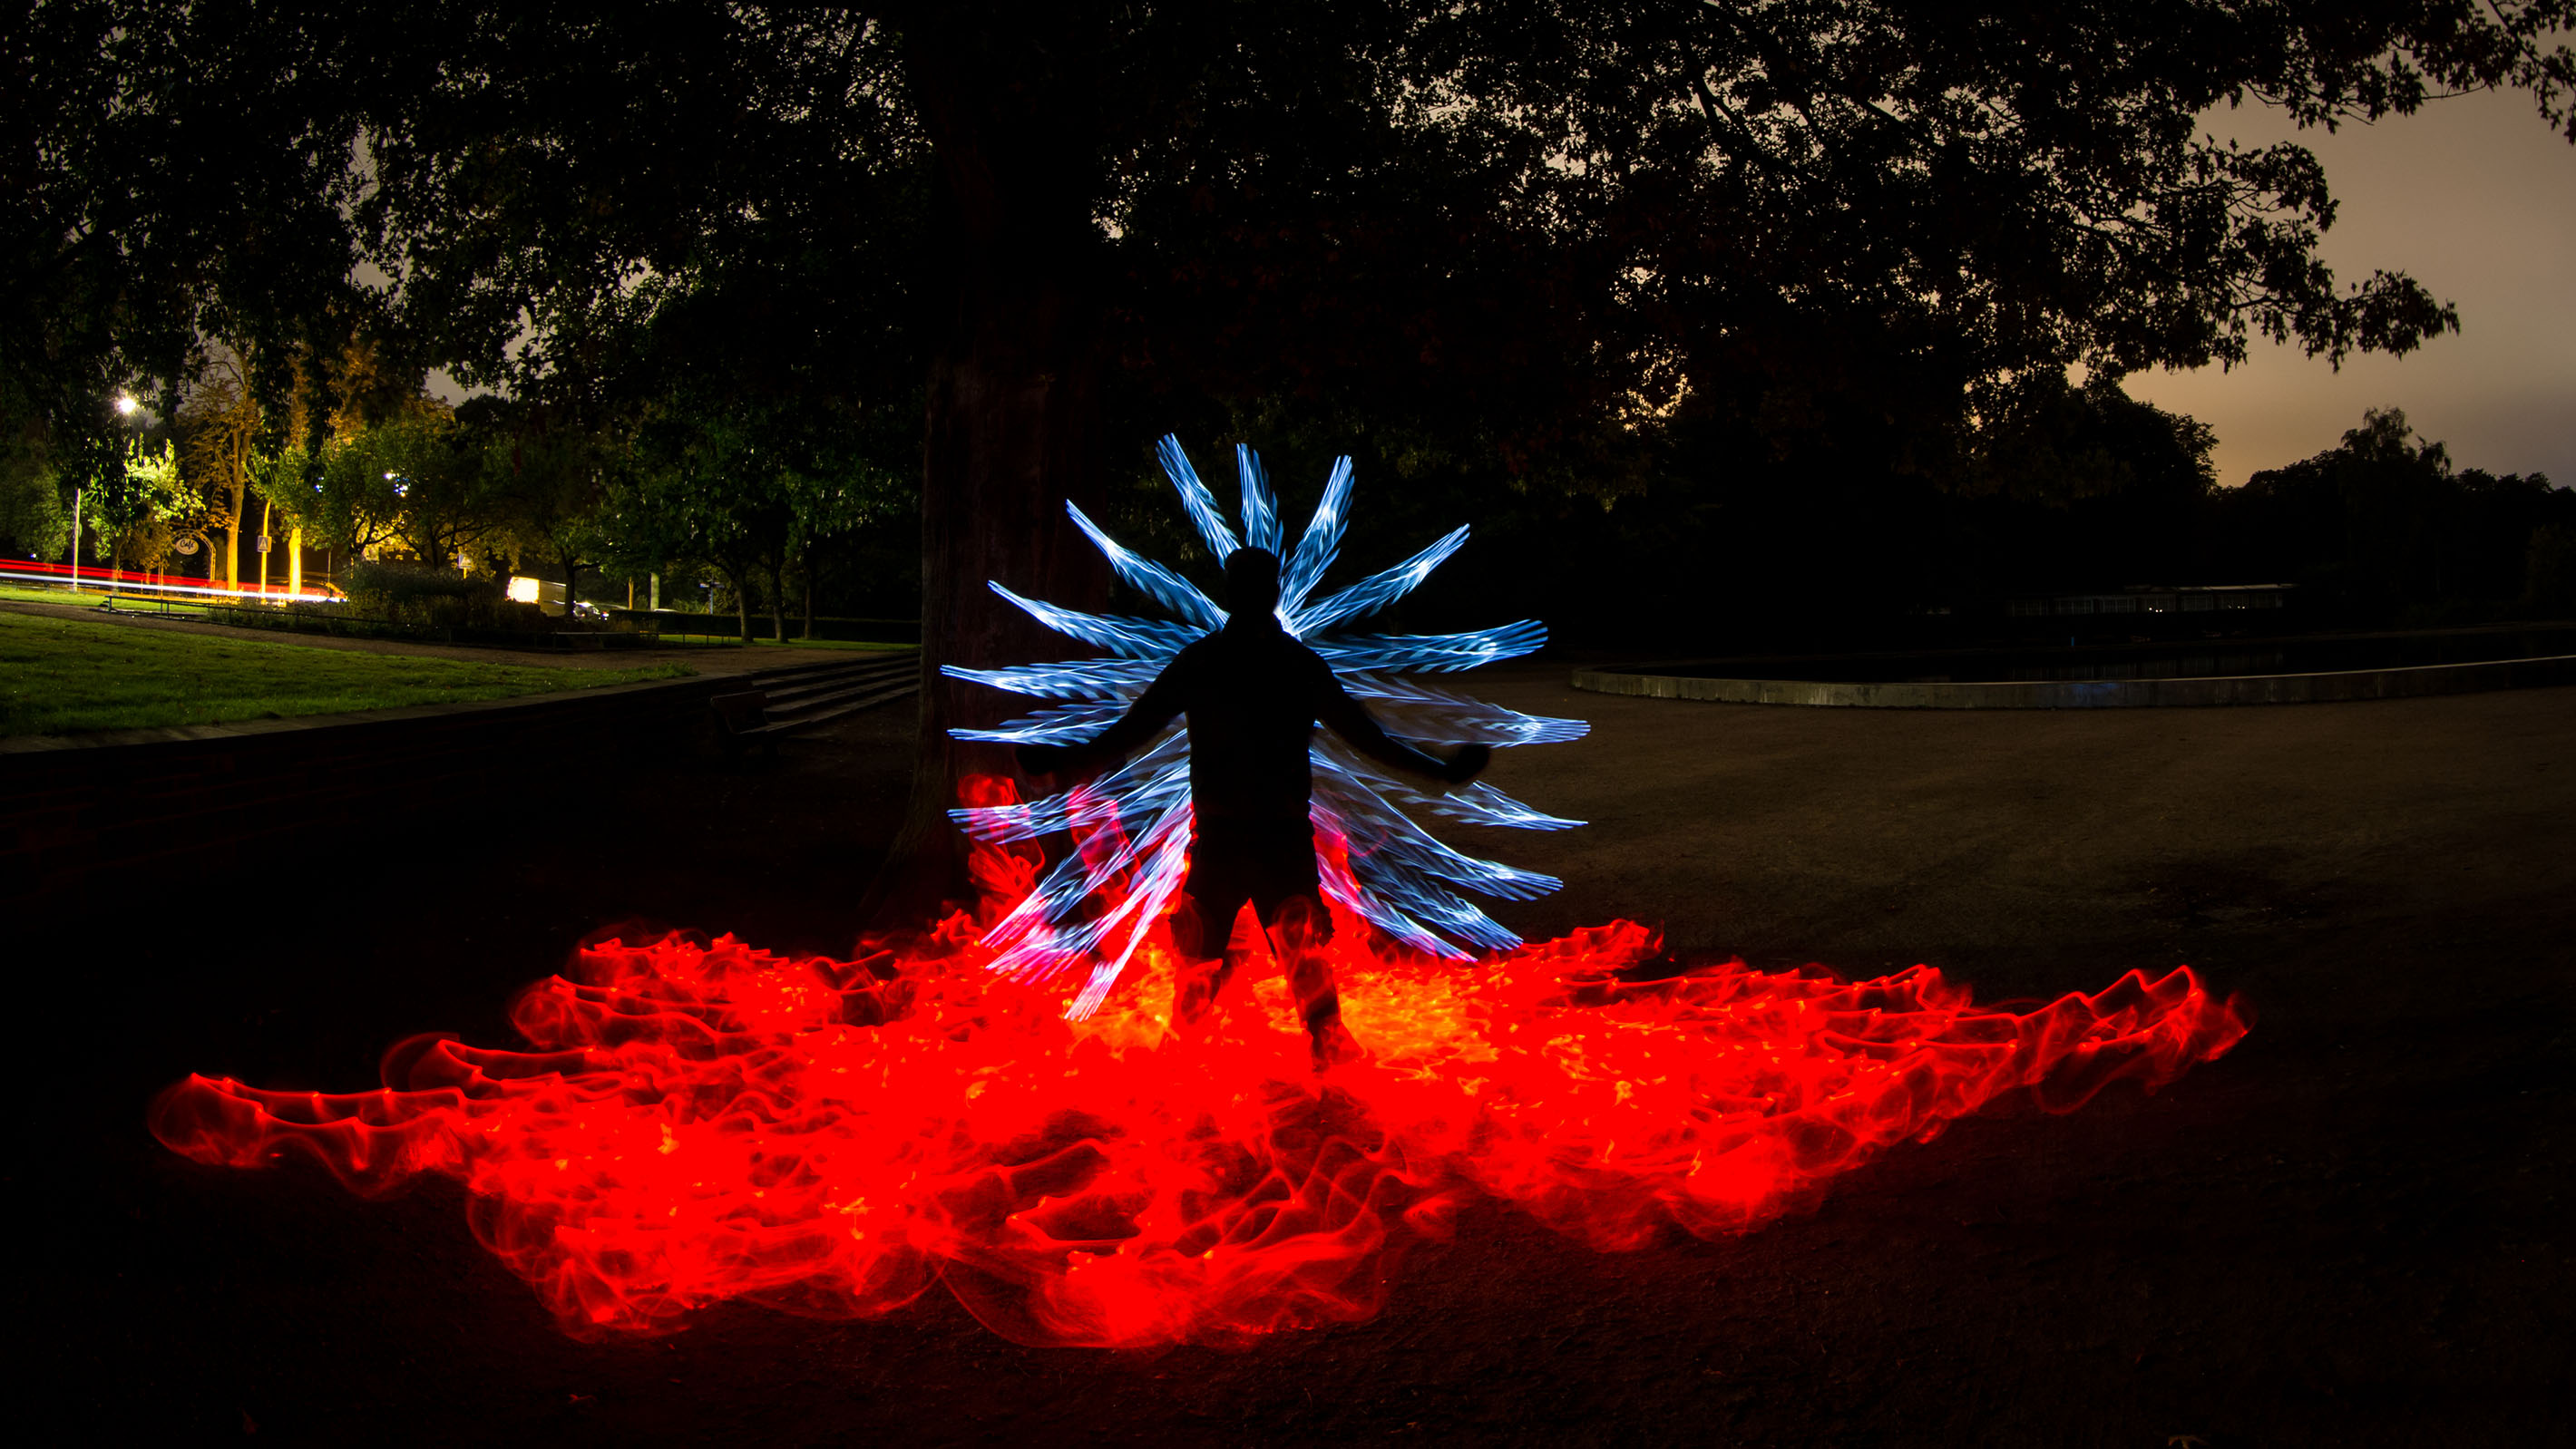
Light blades are very handy when it comes to abstract light structures.
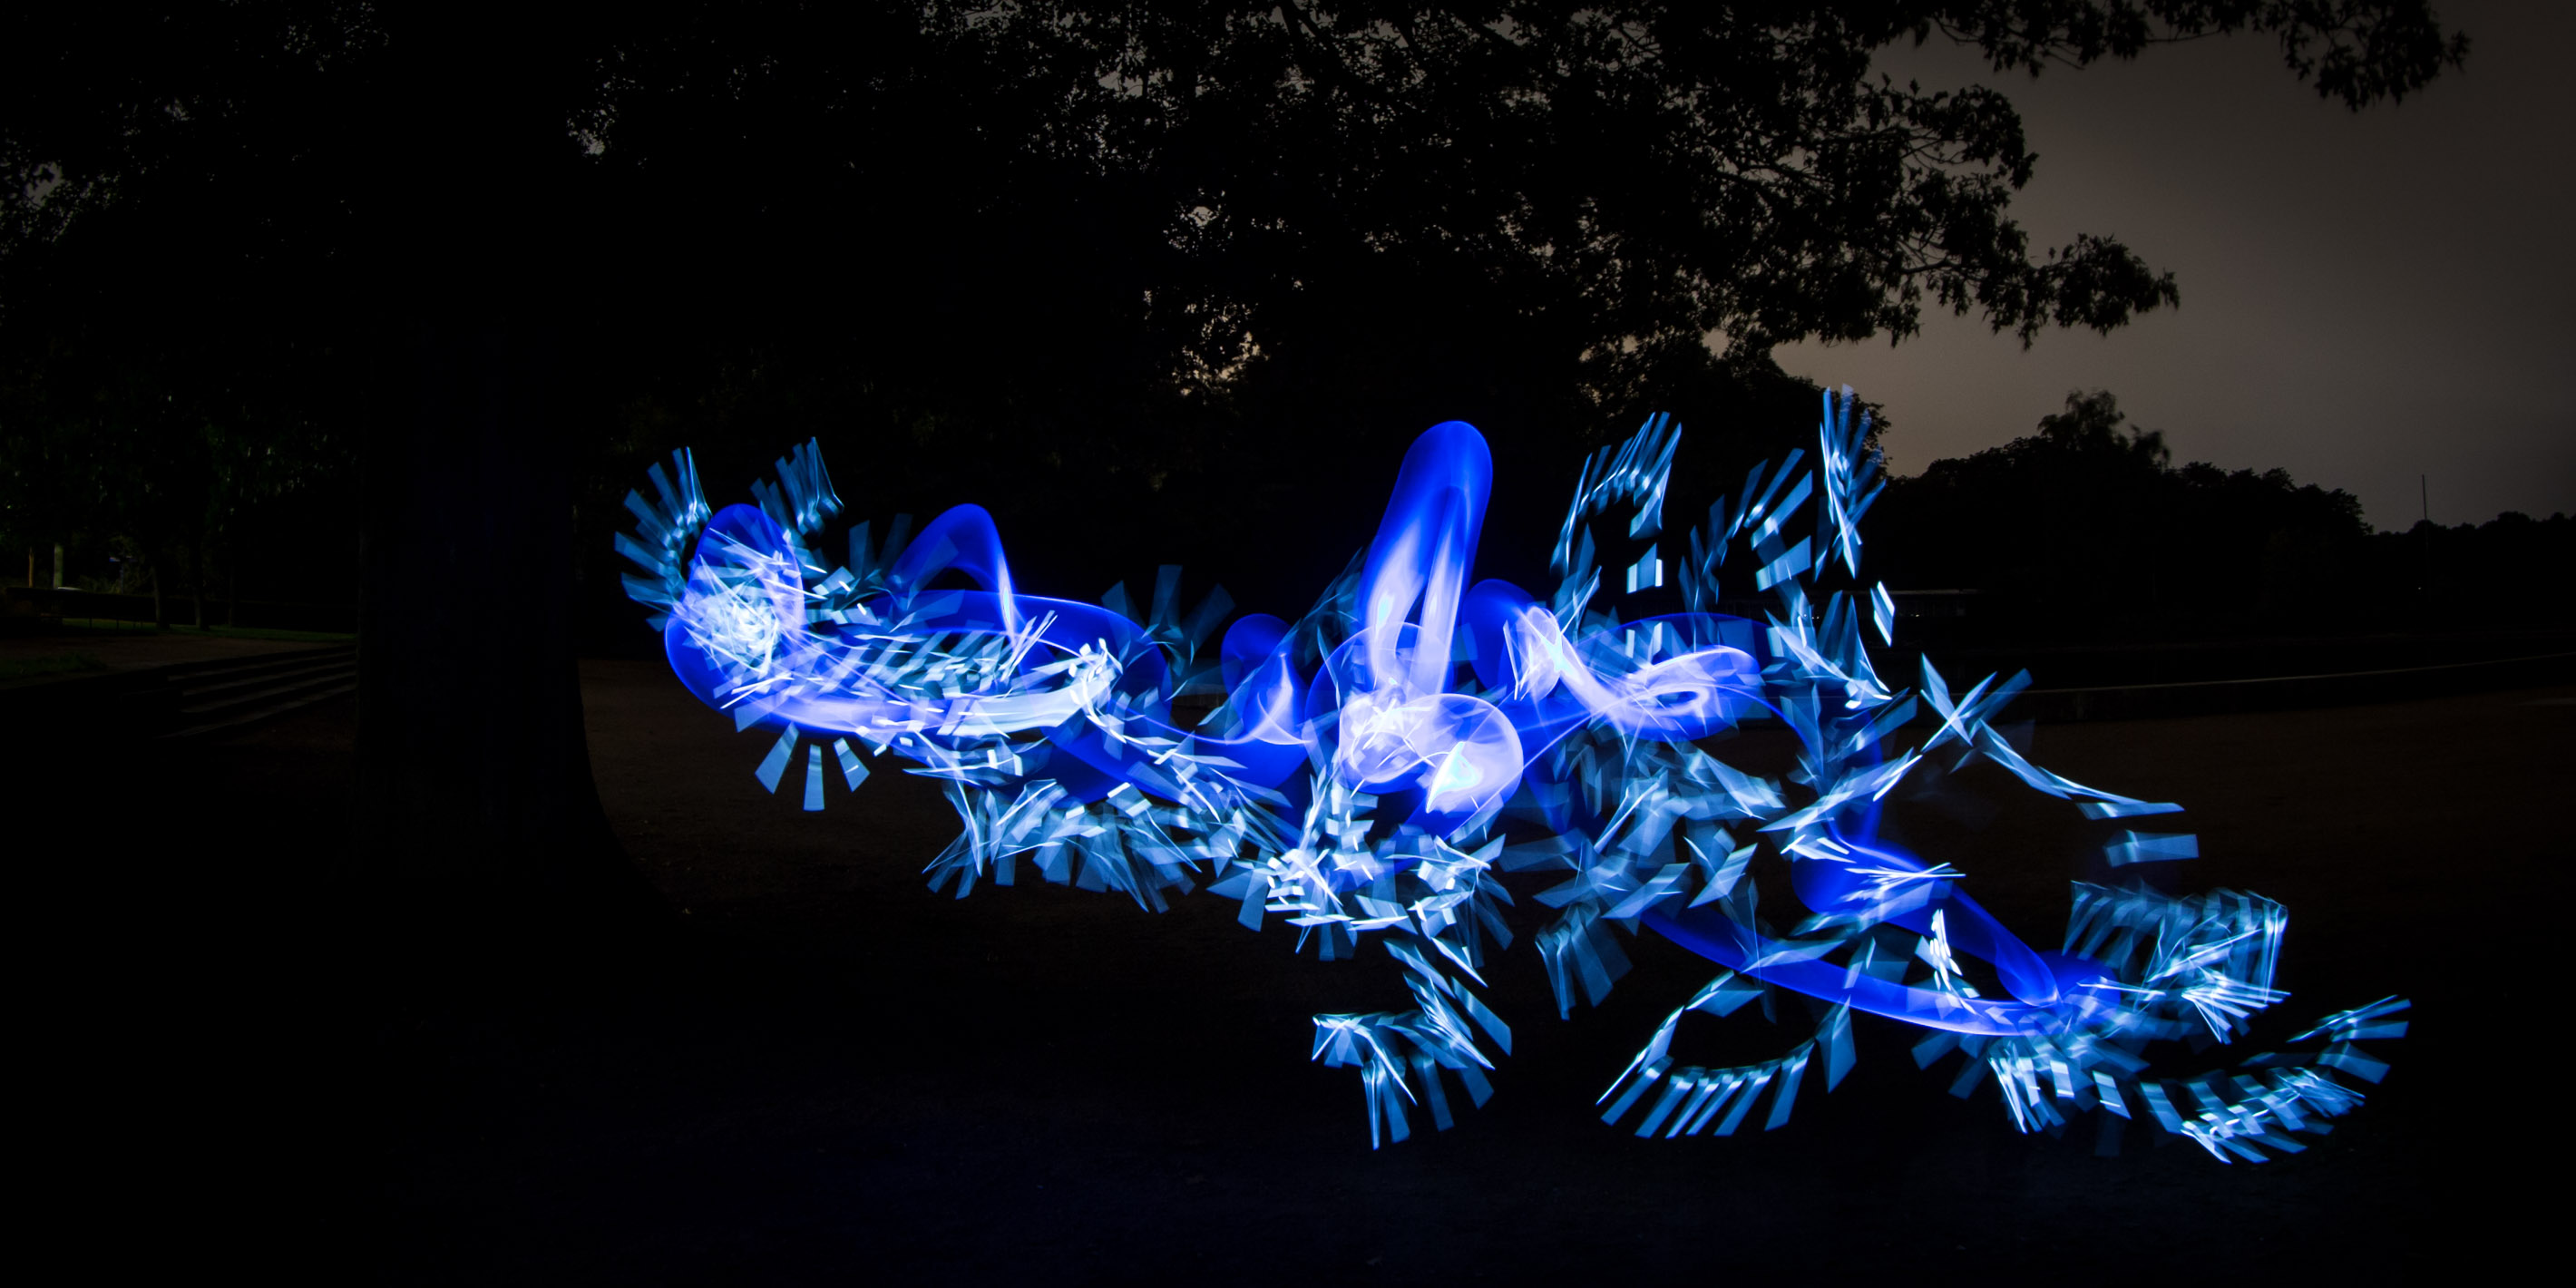
Of course, you can combine light blade elements with other tools like shadow posing, glass fiber fire and background illumination.
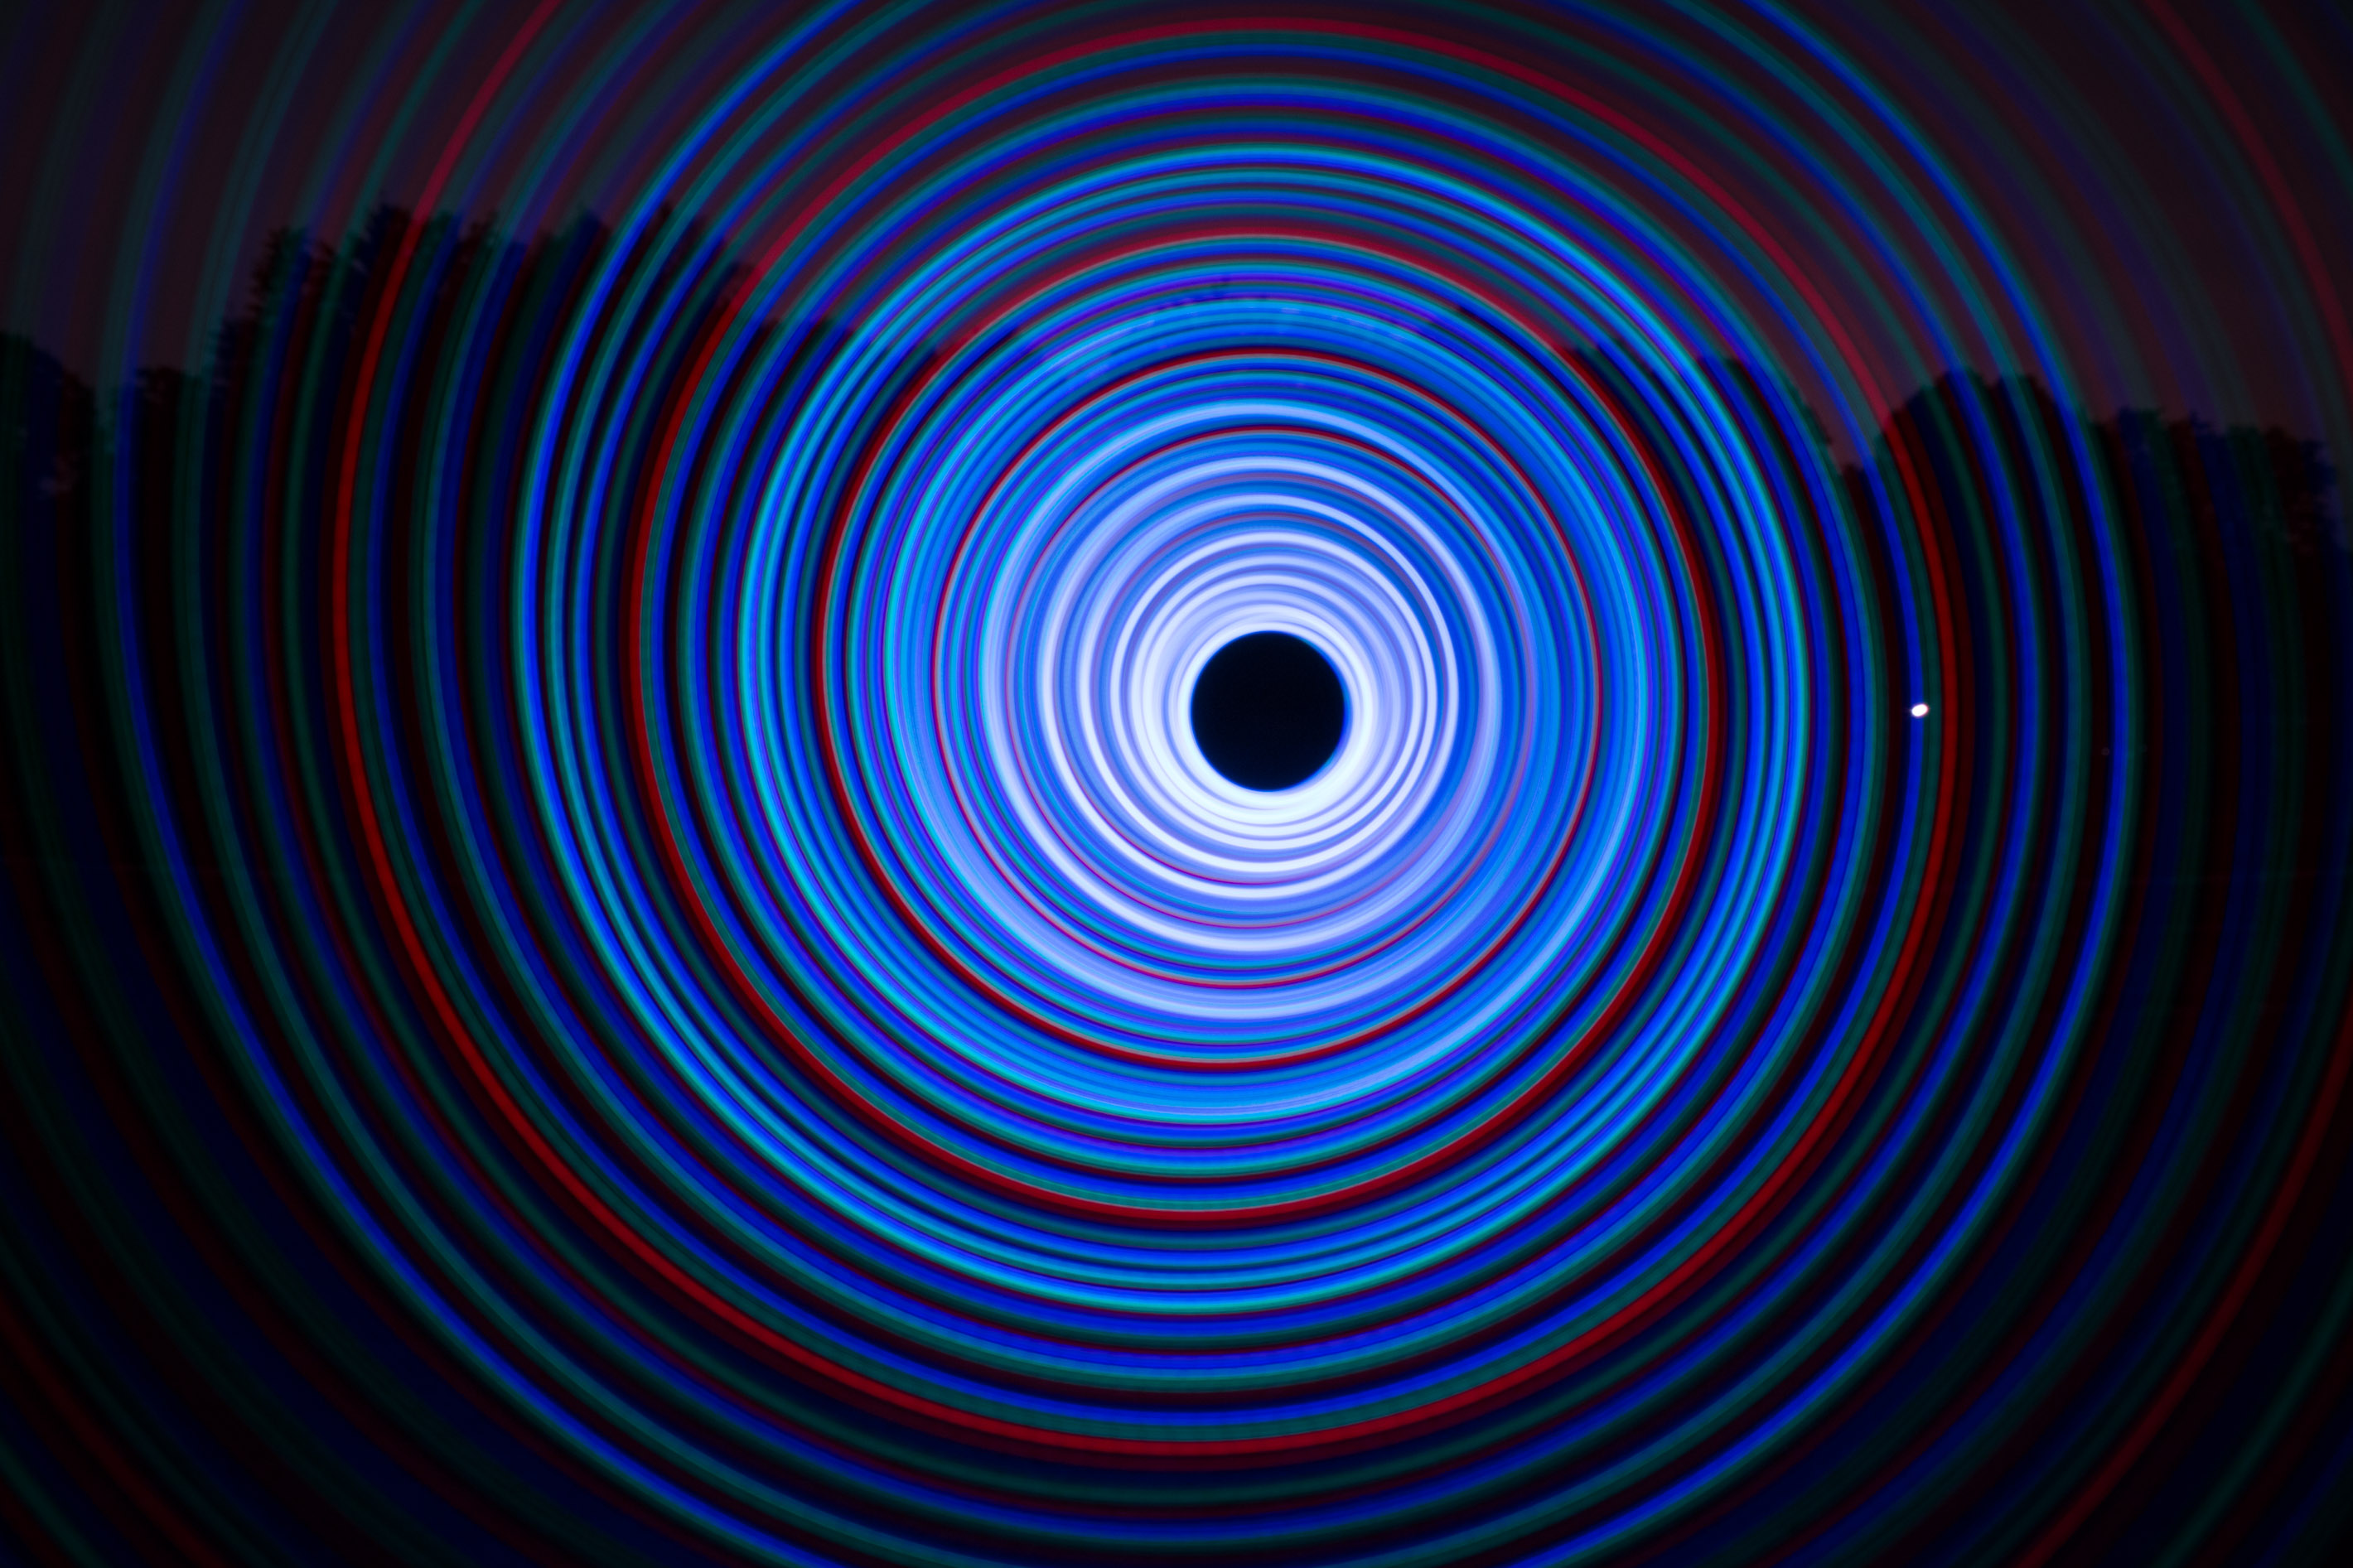
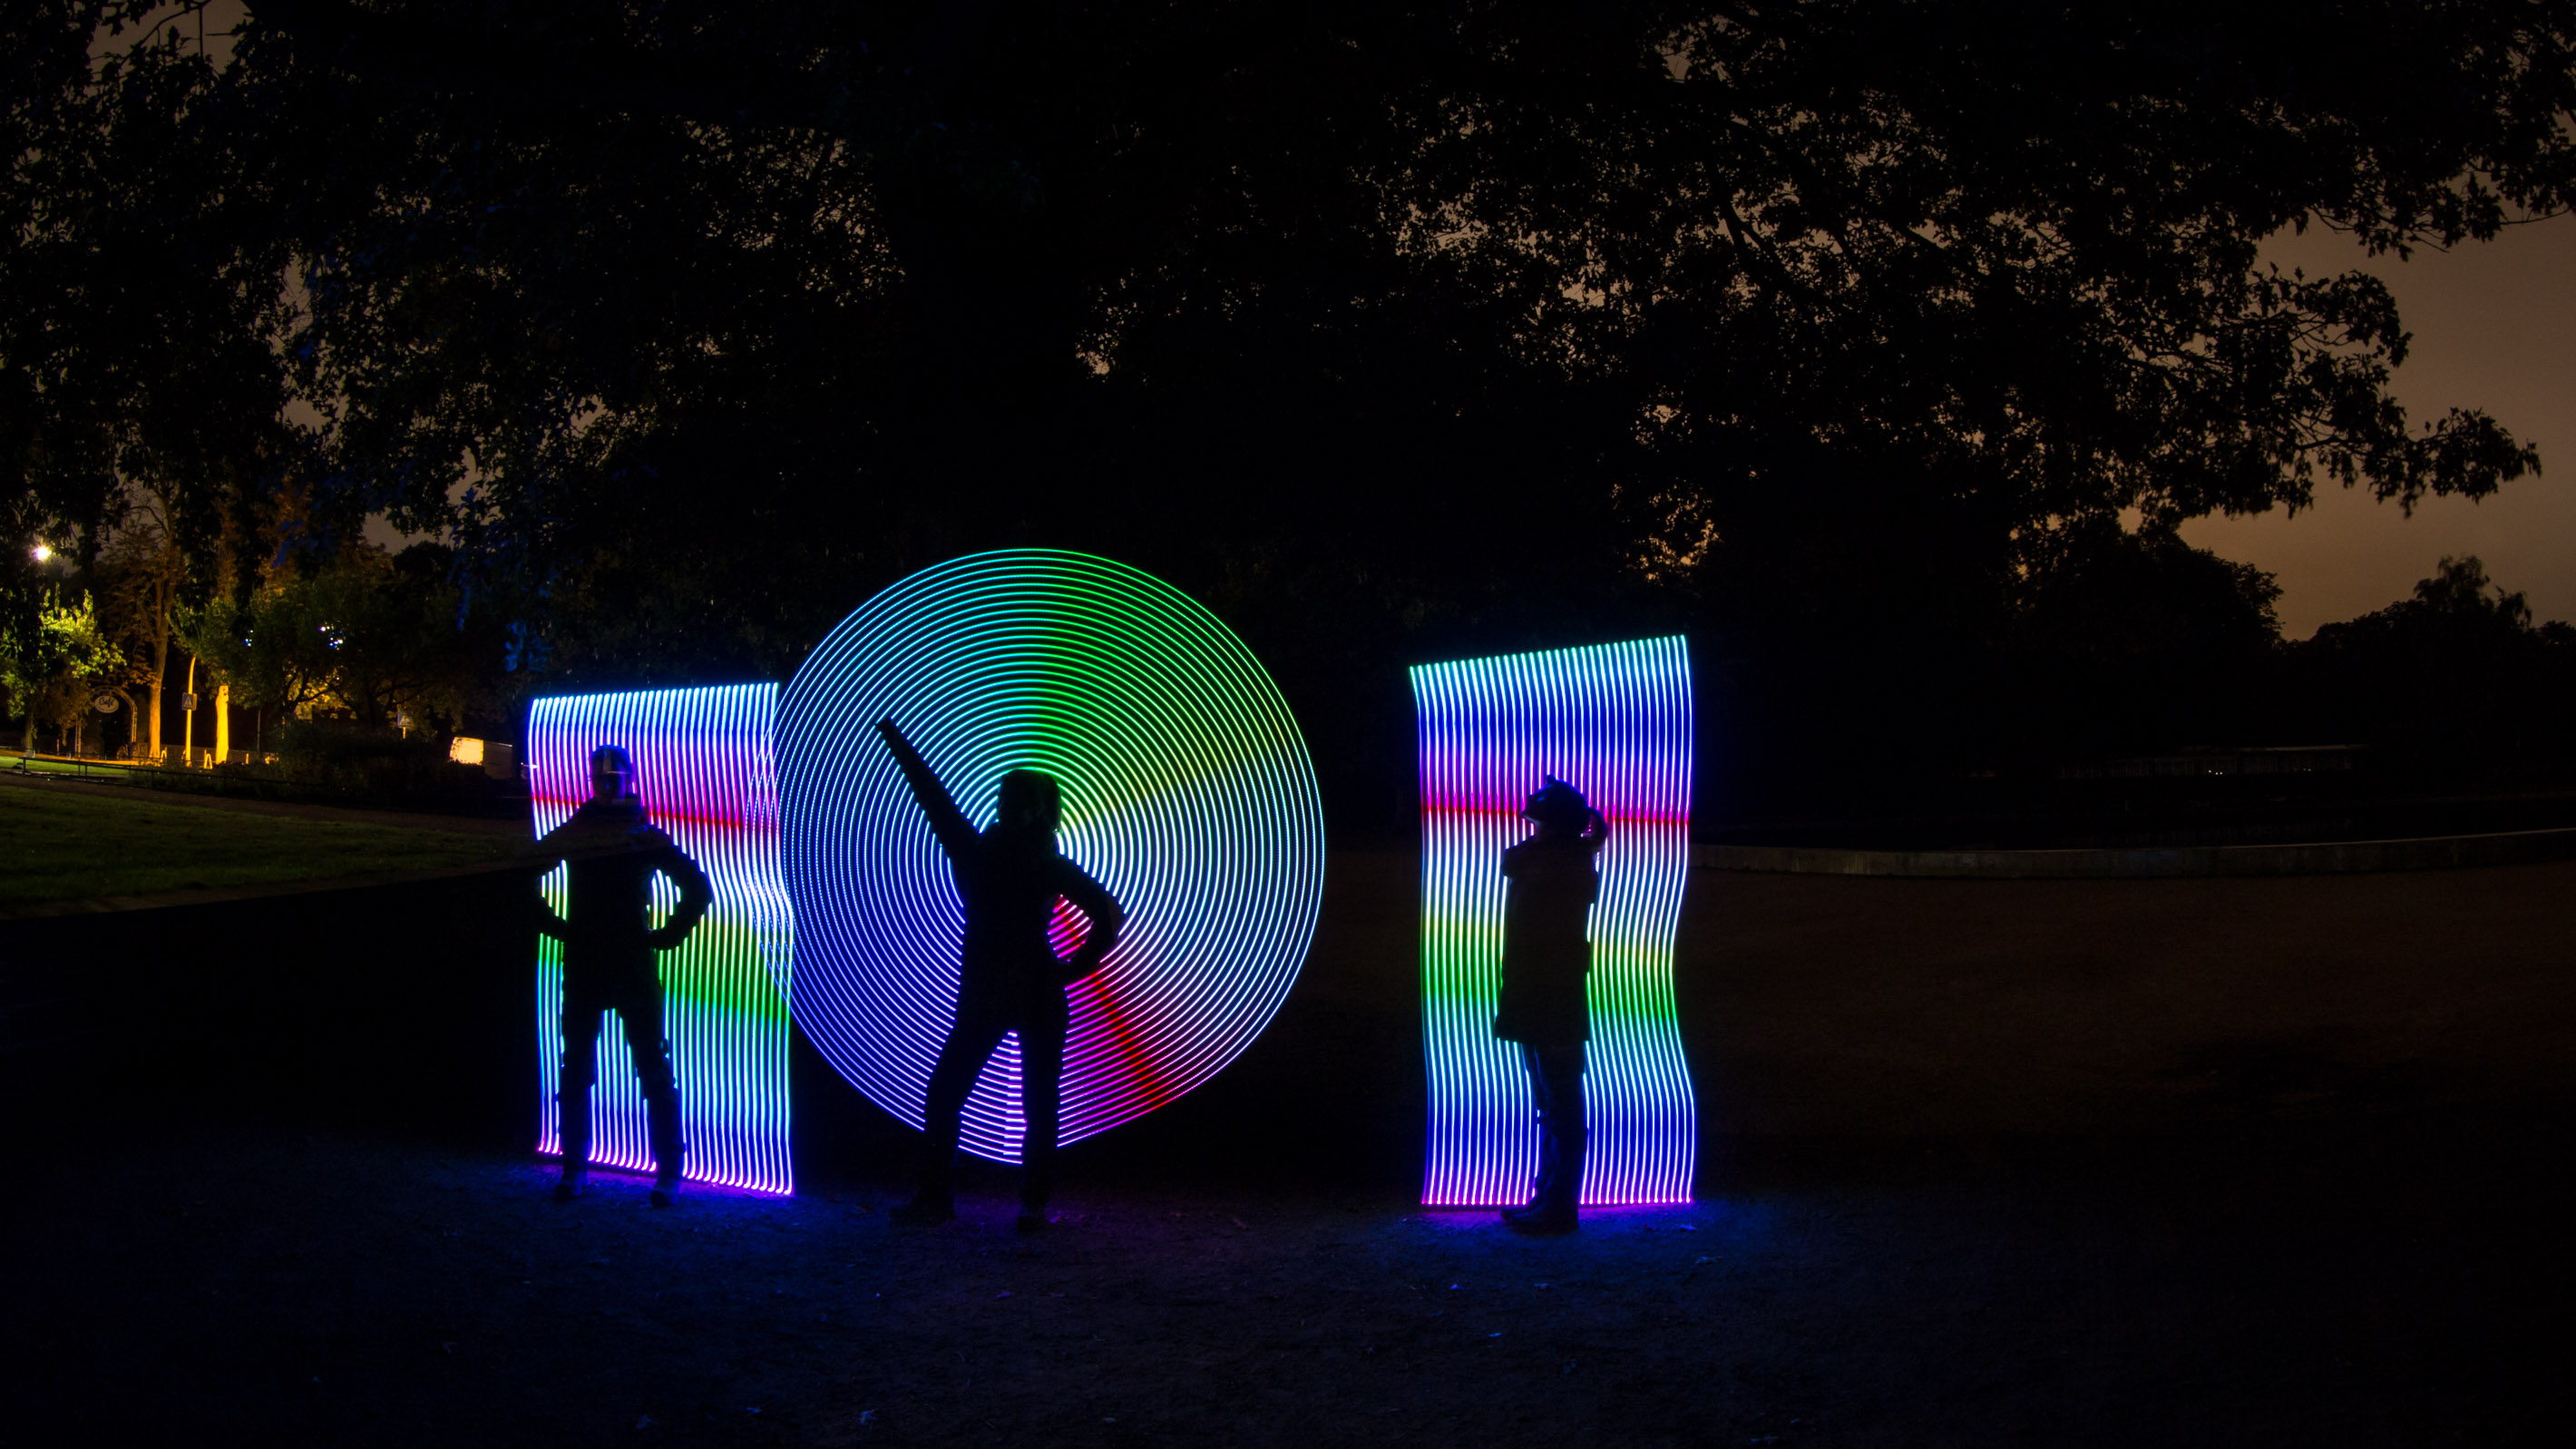
Orbs, domes and fog
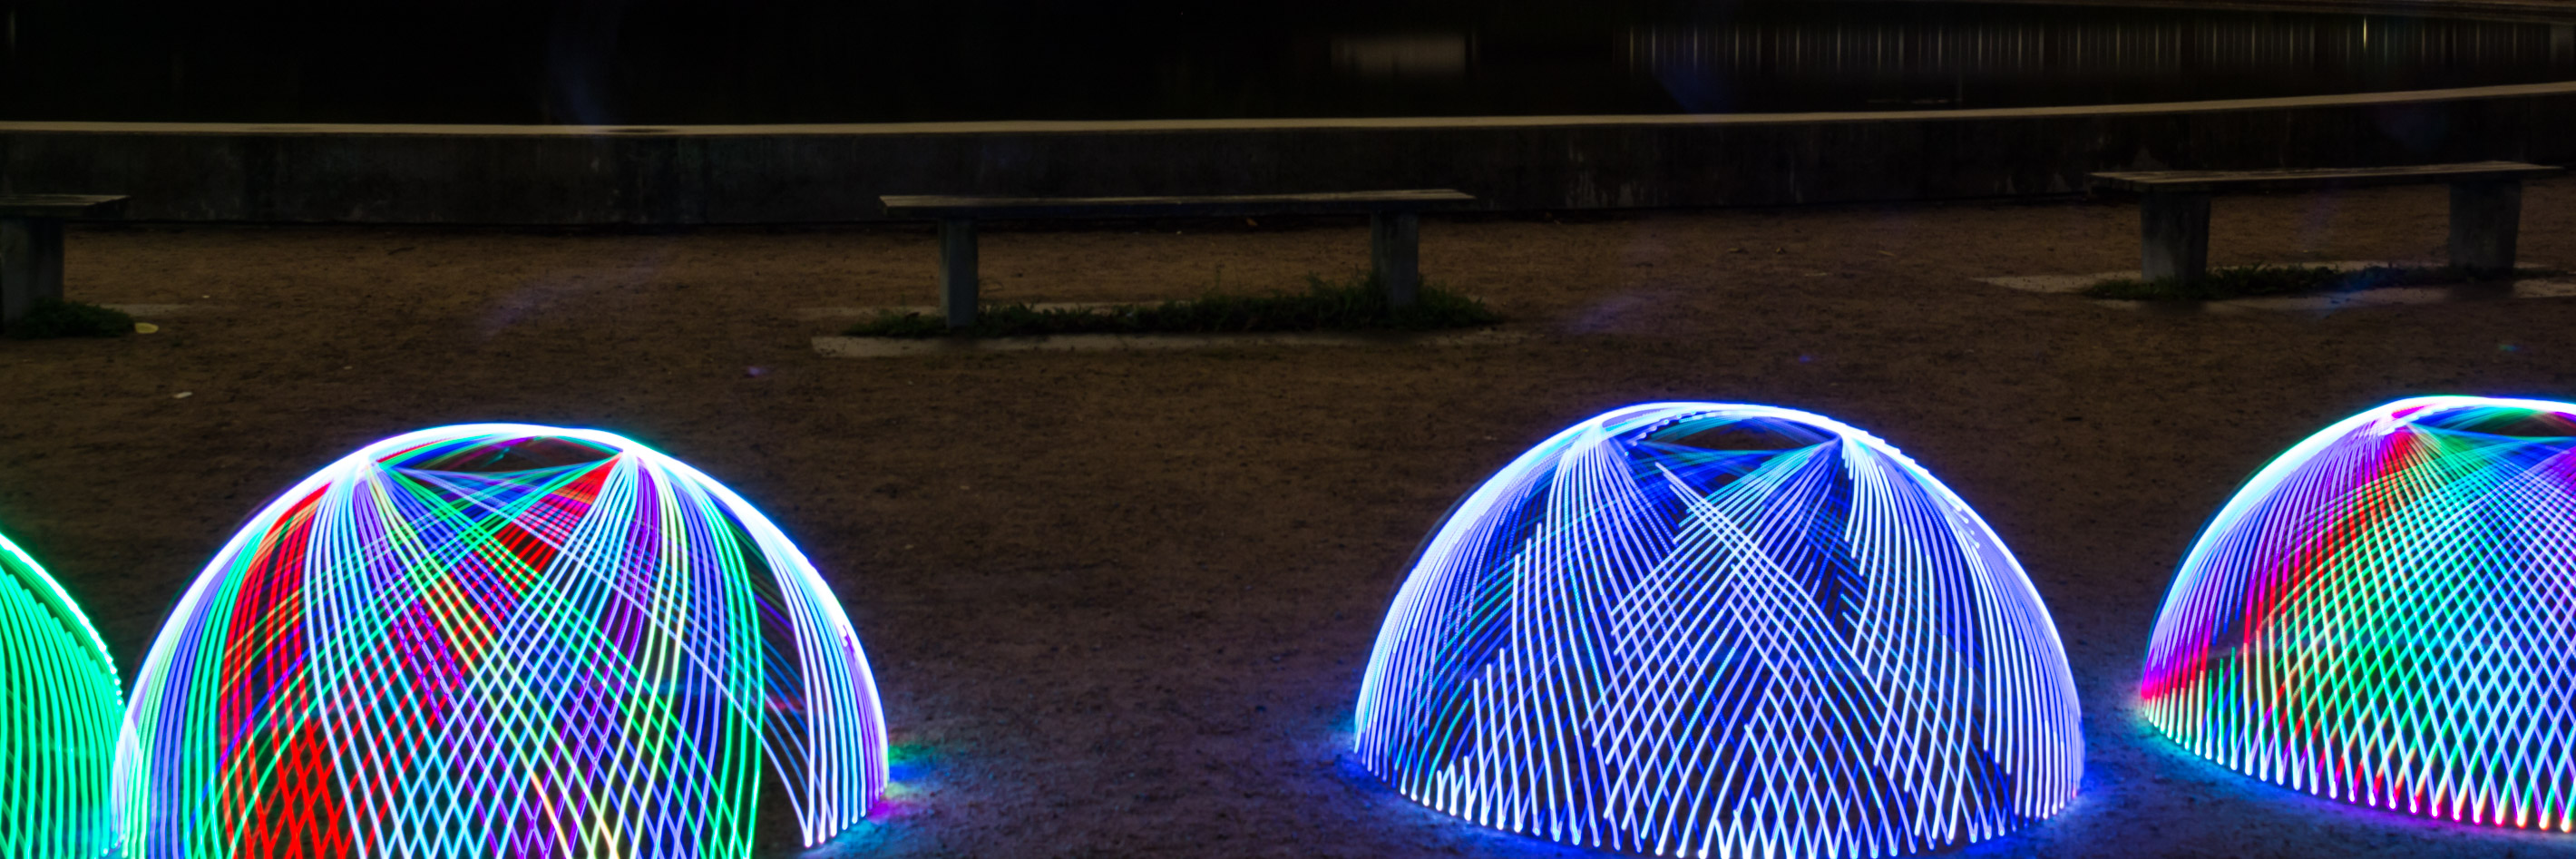
You create a dome with a wheel. Just rotate it exactly one time around a center point. Attach a digital LED strip to be able to create all kinds of different colors and effects. You might need to experiment with the correct timing if you’re after a certain look.
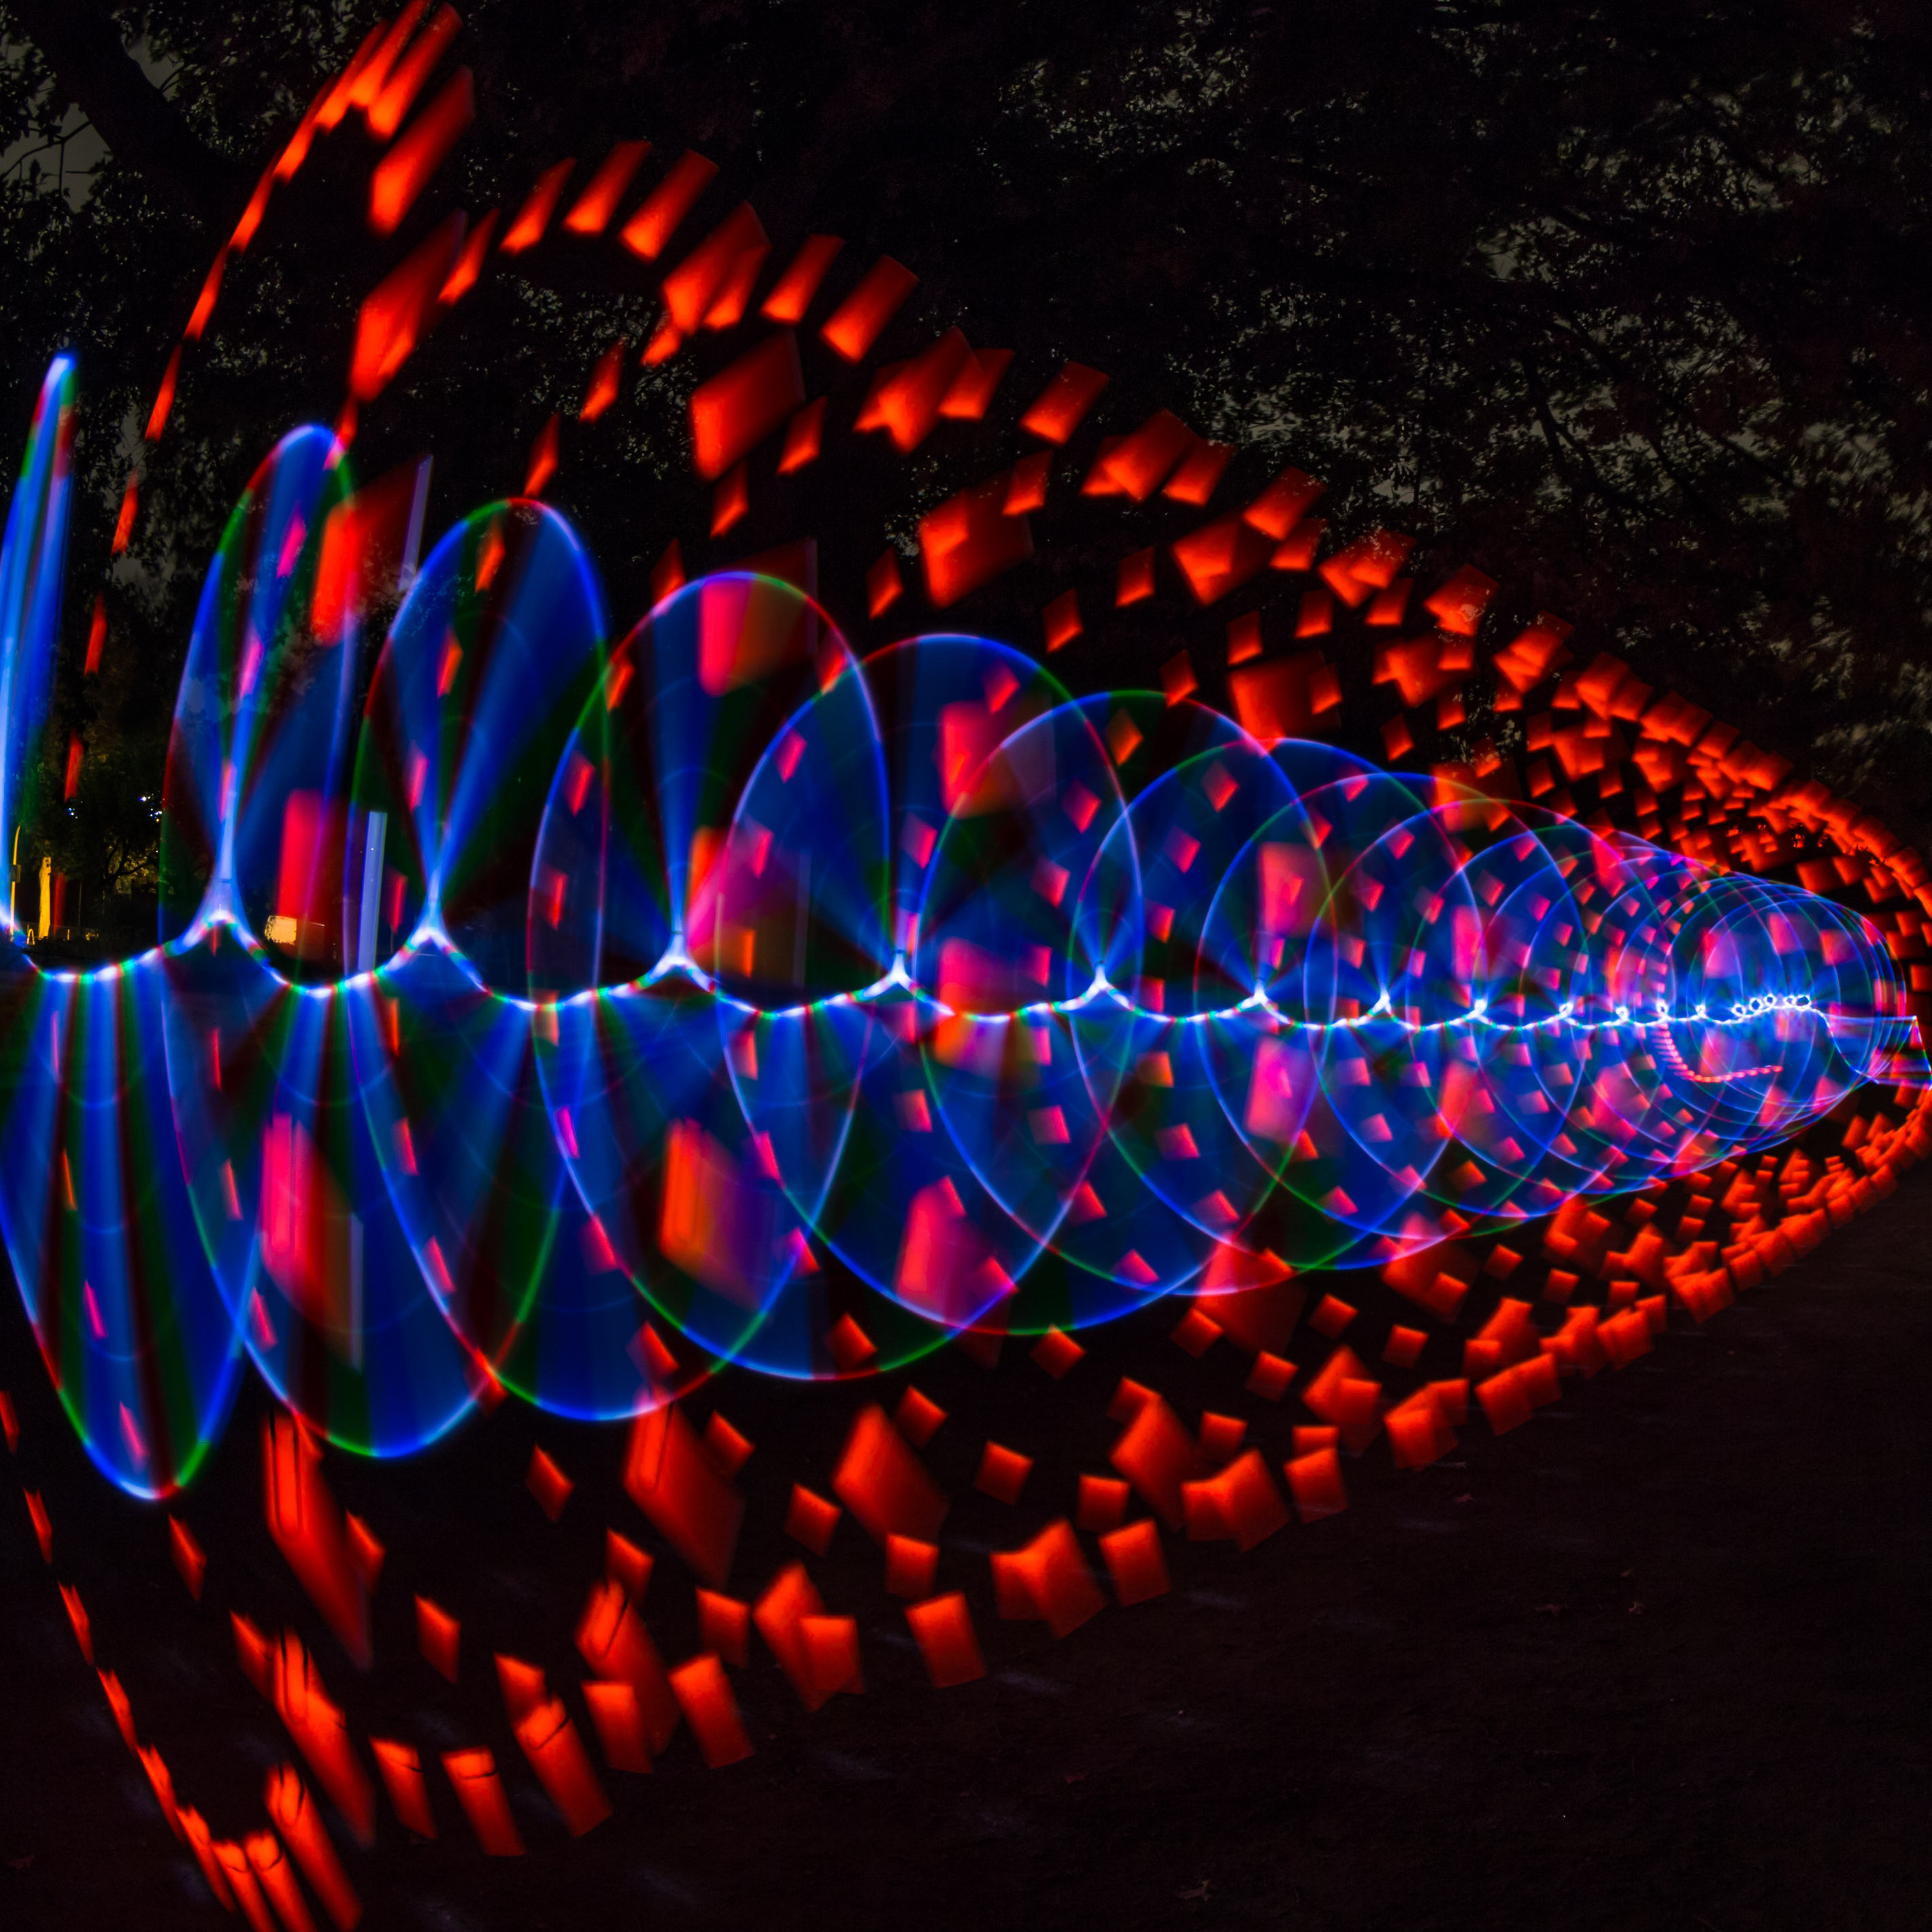
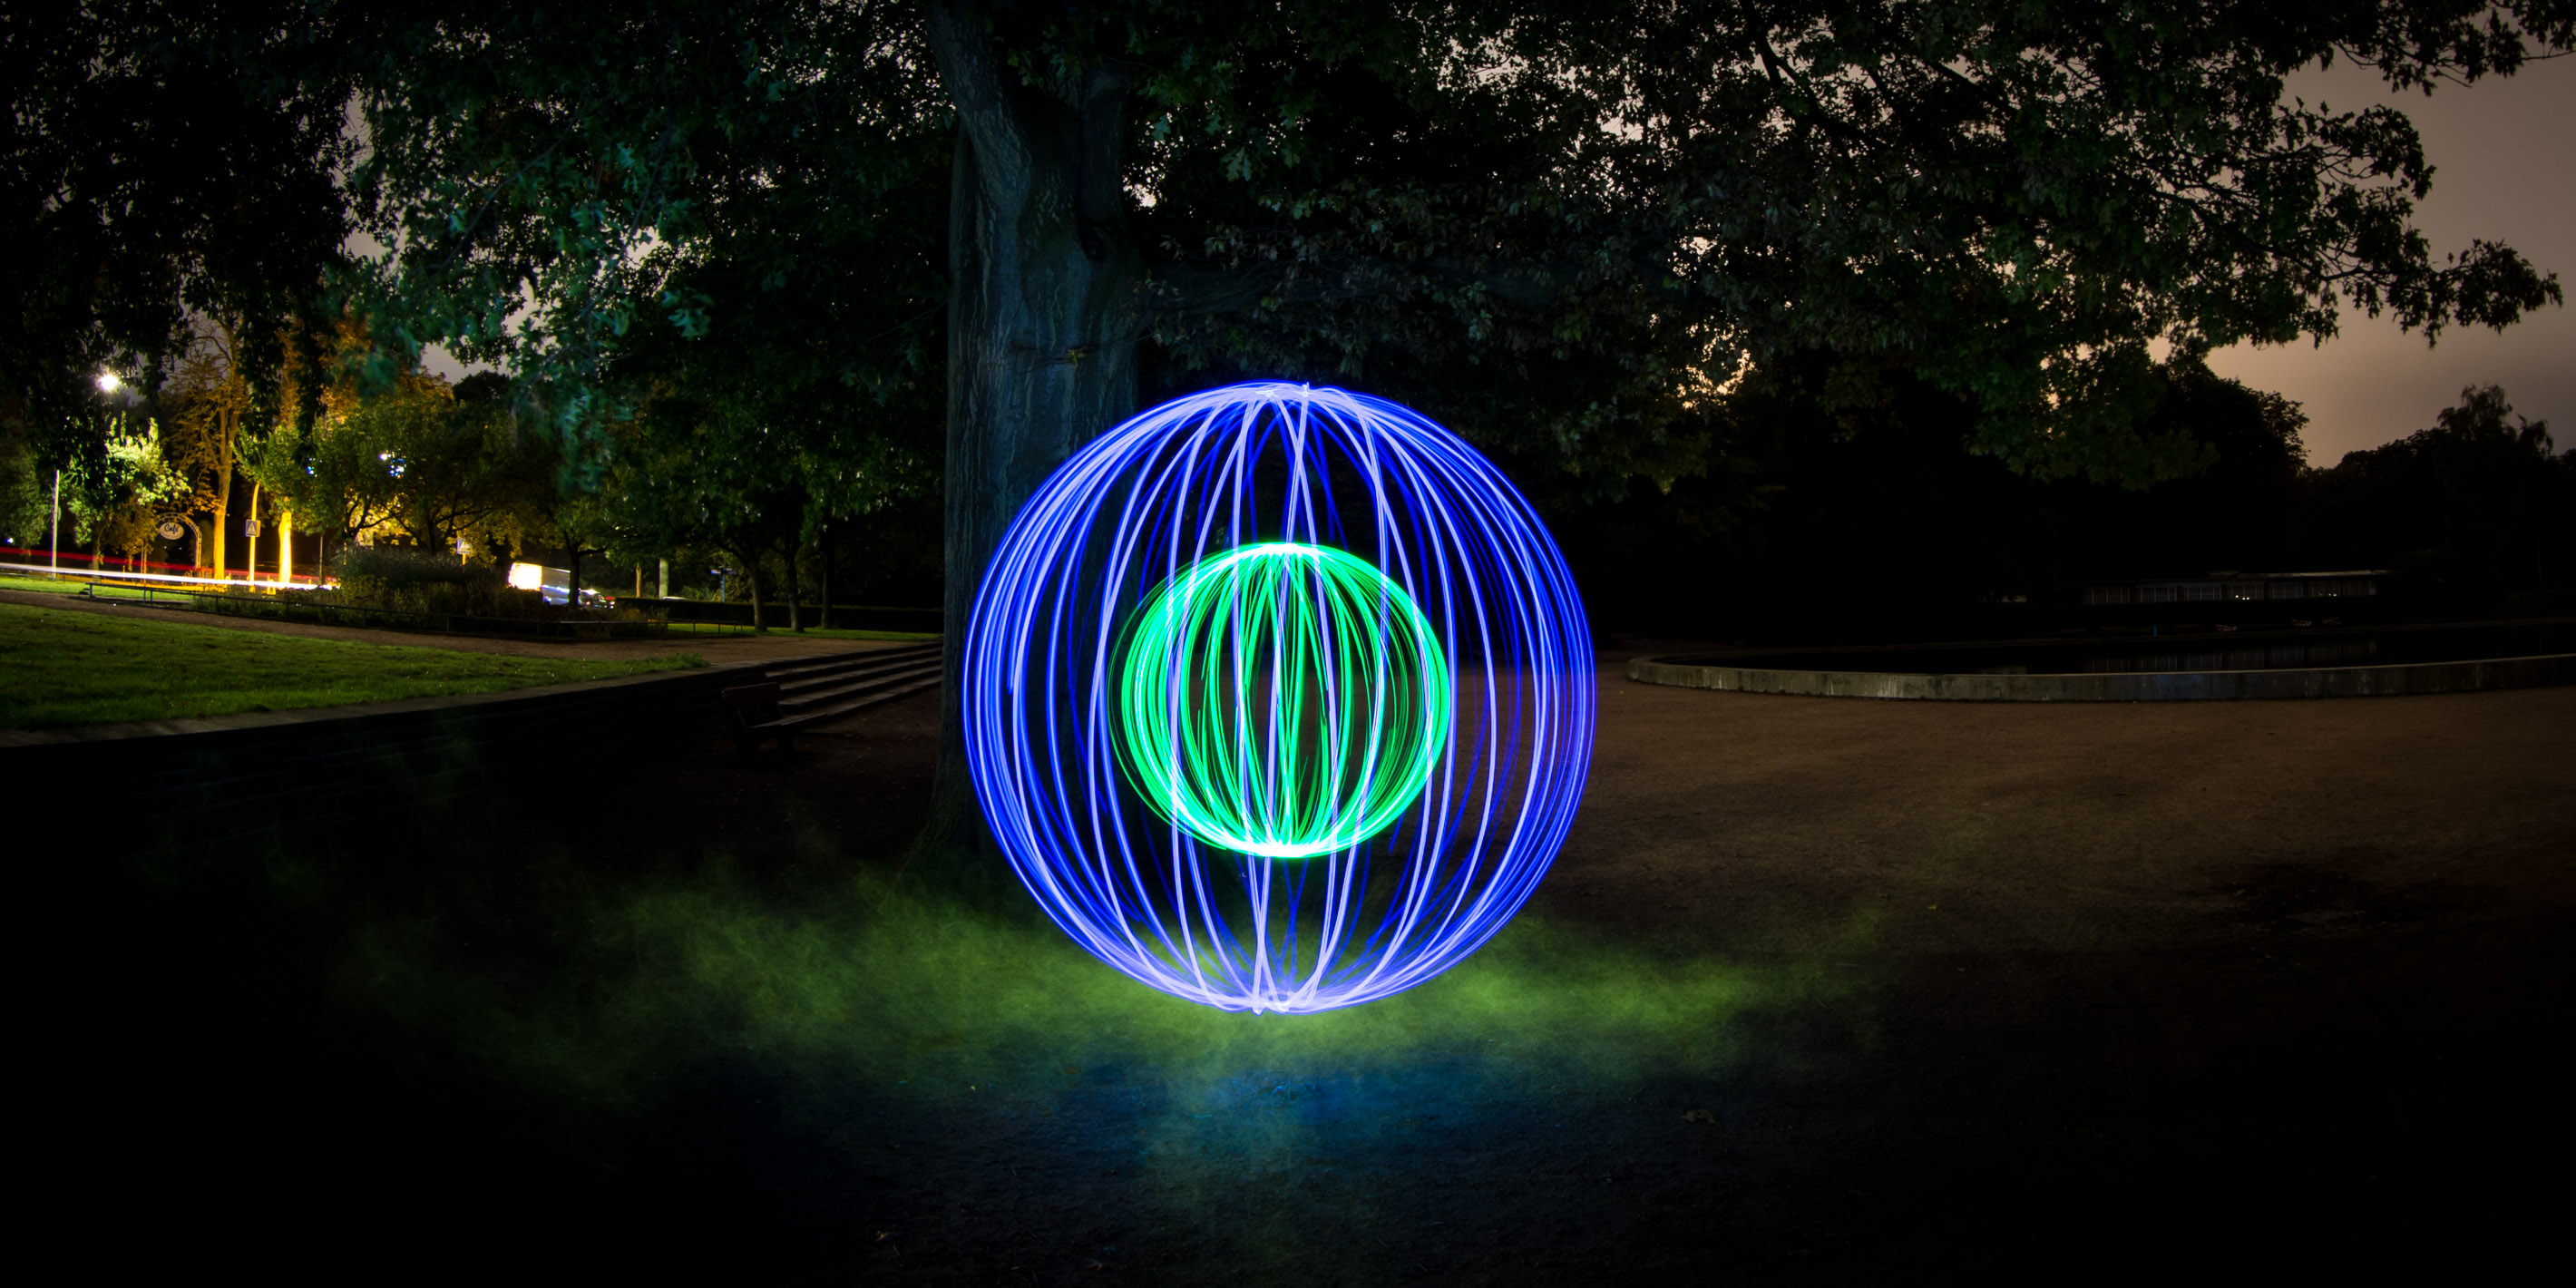
There are three methods to create an orb. You can draw, swing or rotate them. The last technique is the most accurate one. If you add several light sources to a rotatable pole you can create multiple spheres that all have the same center point.
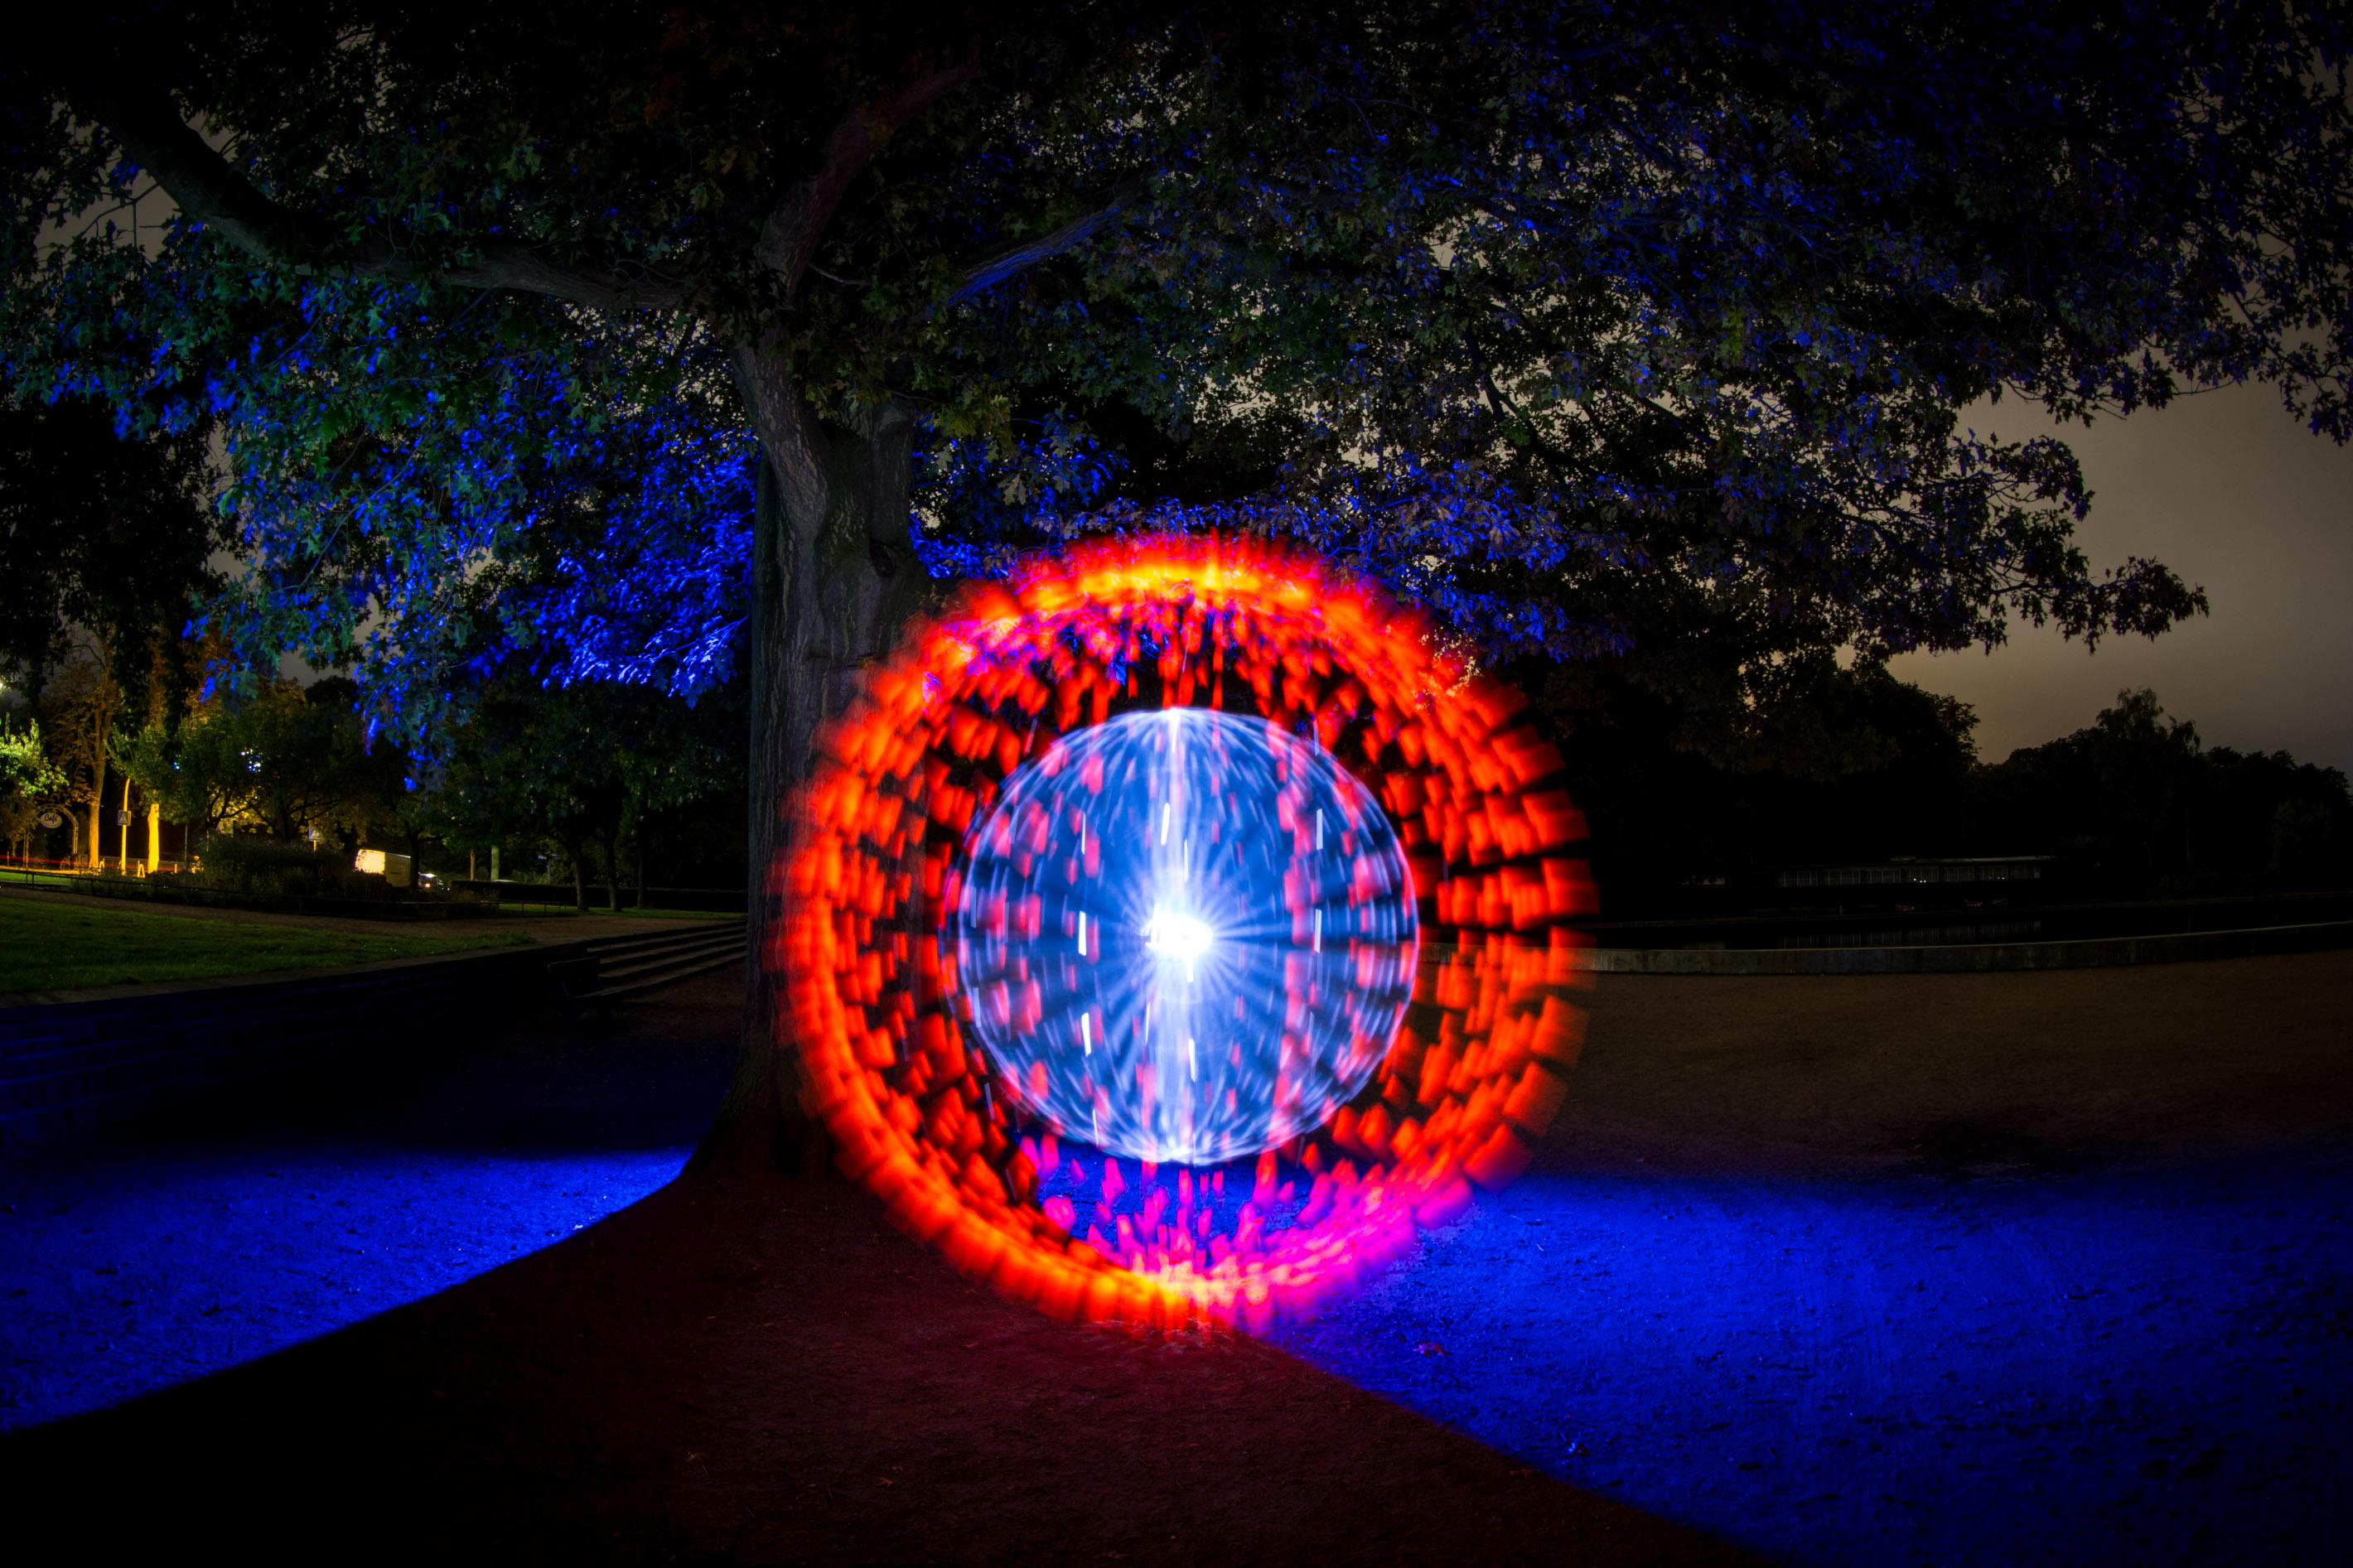
Of course, you can combine orbs with other elements like illumination or EL fog.
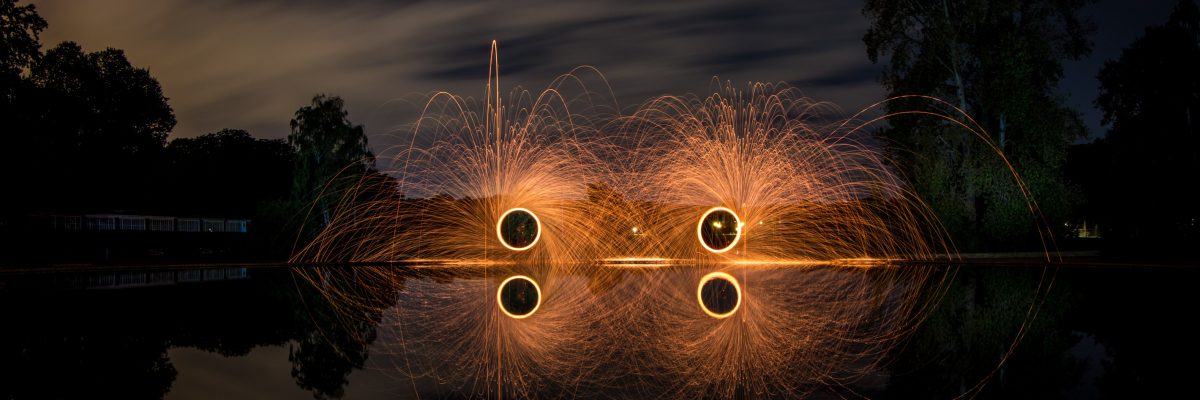
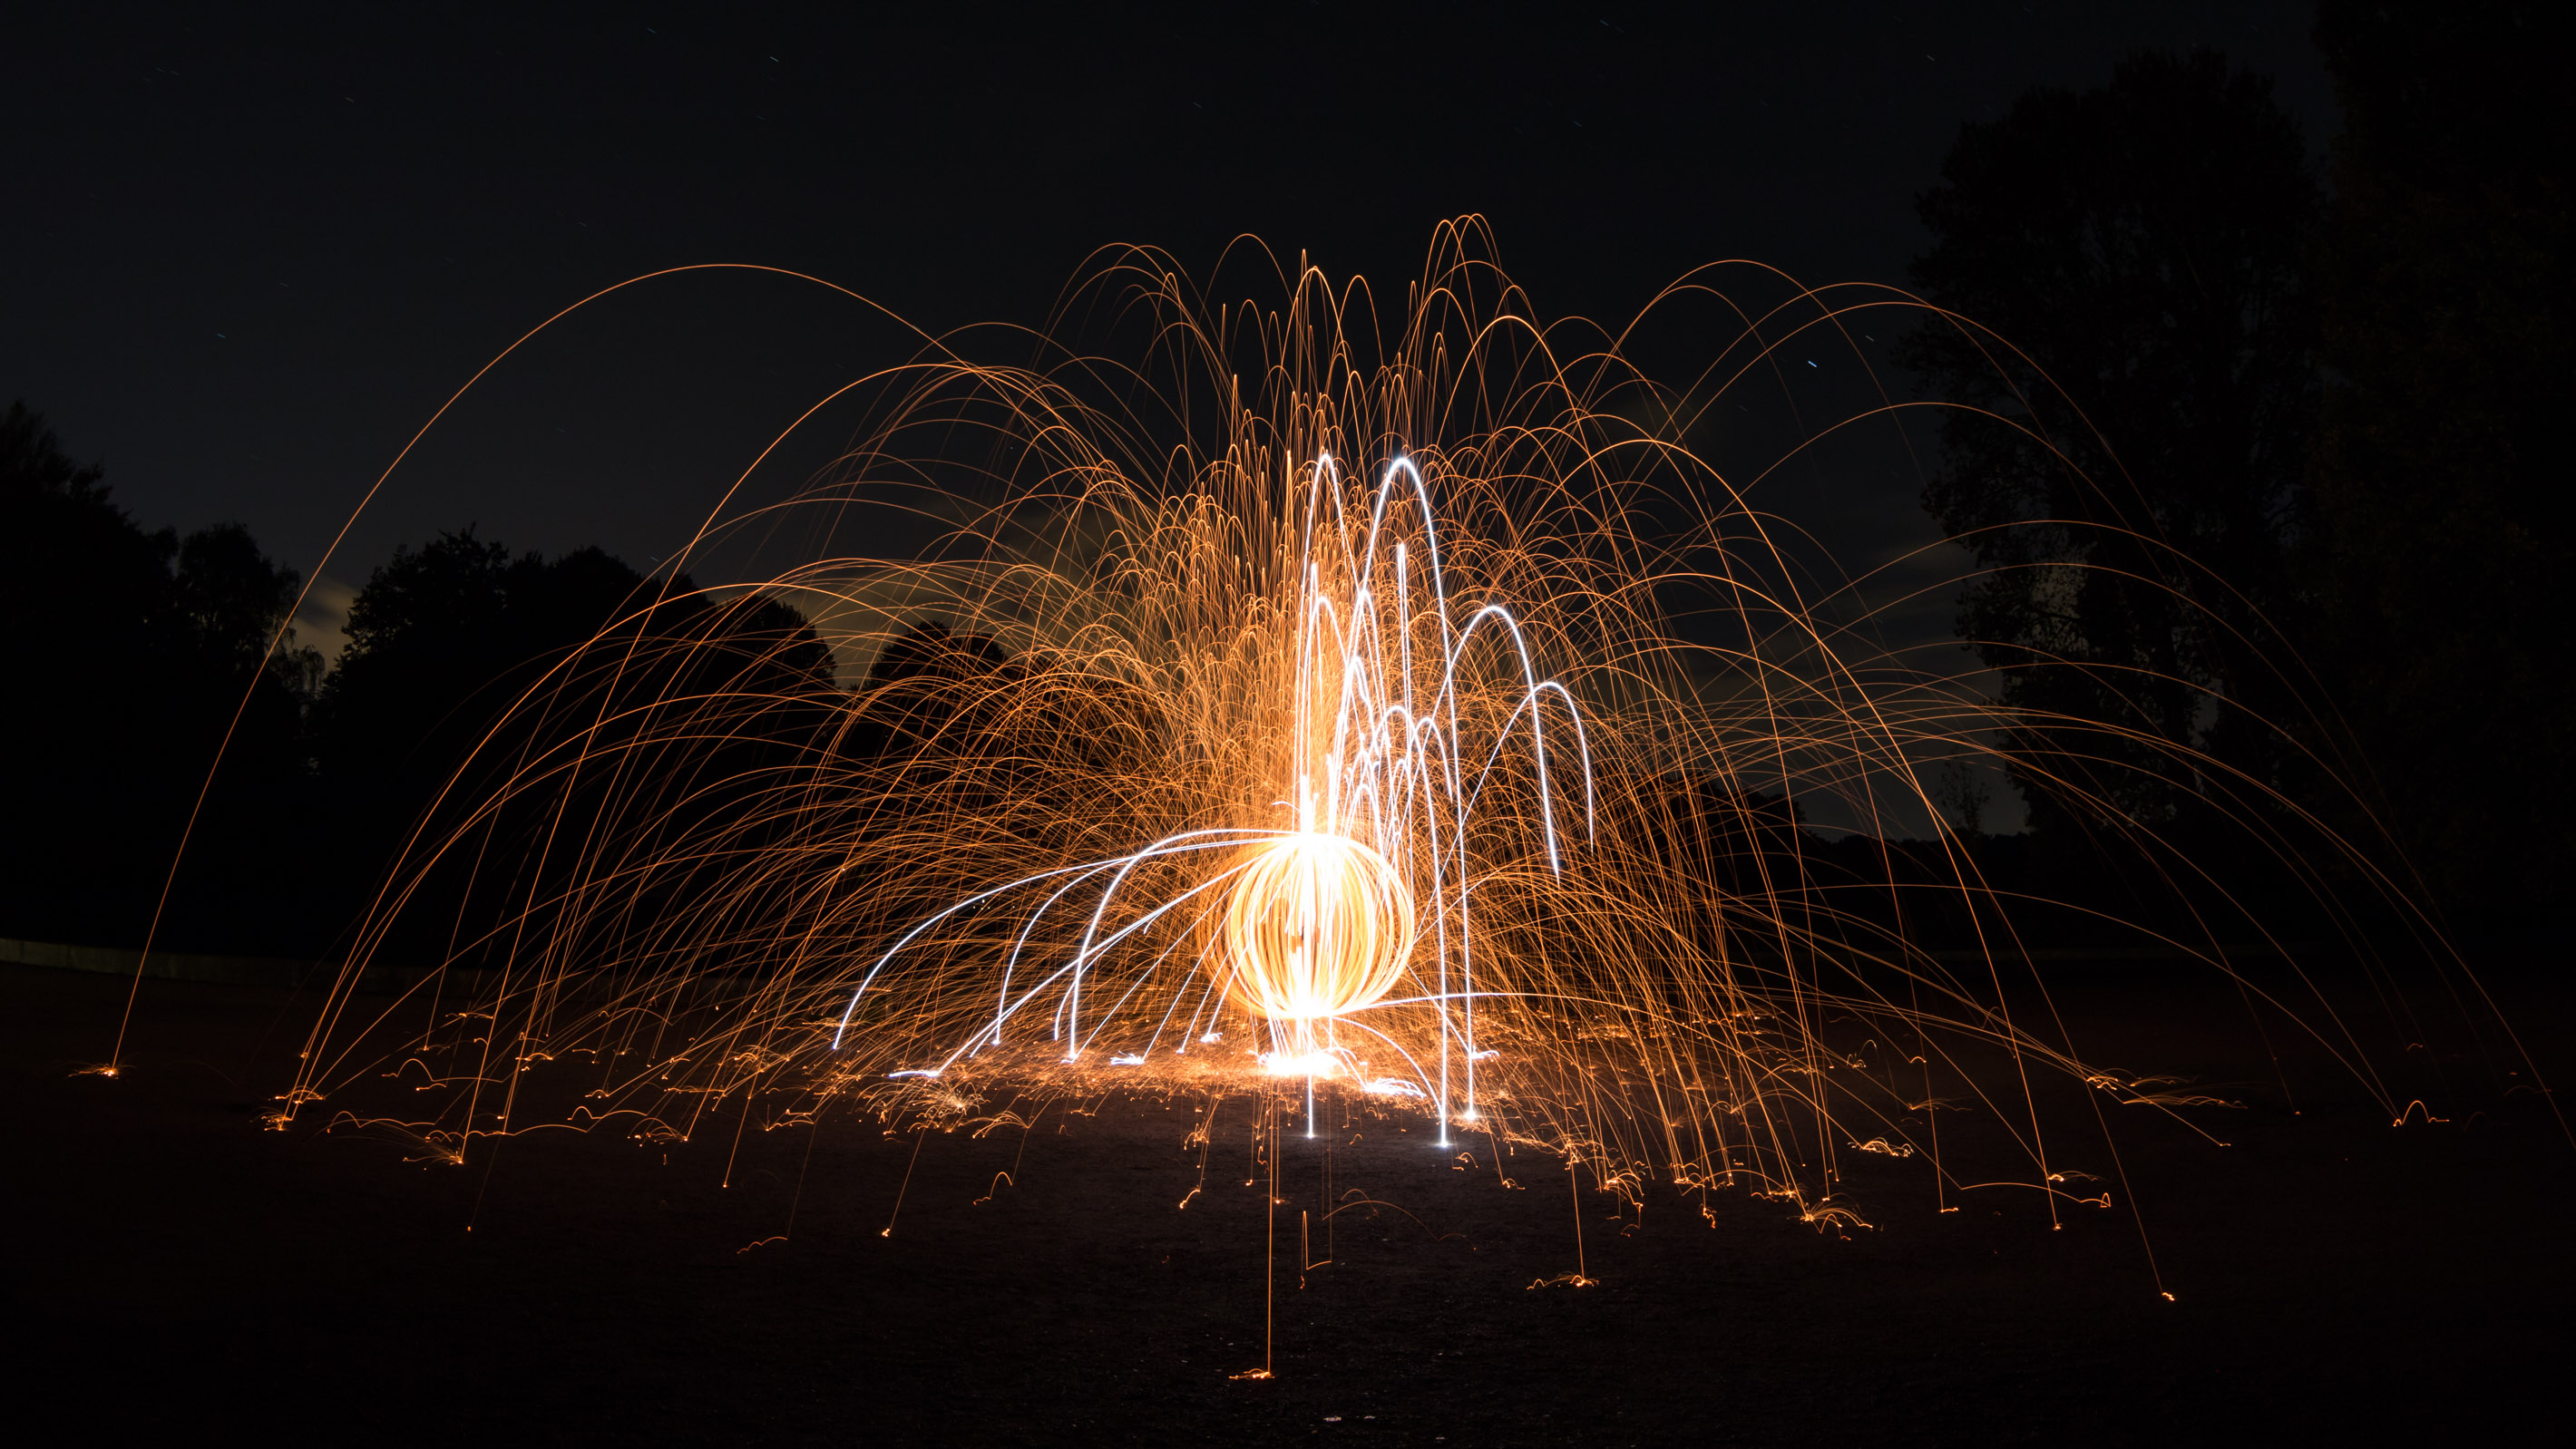
Rings and orbs of fire
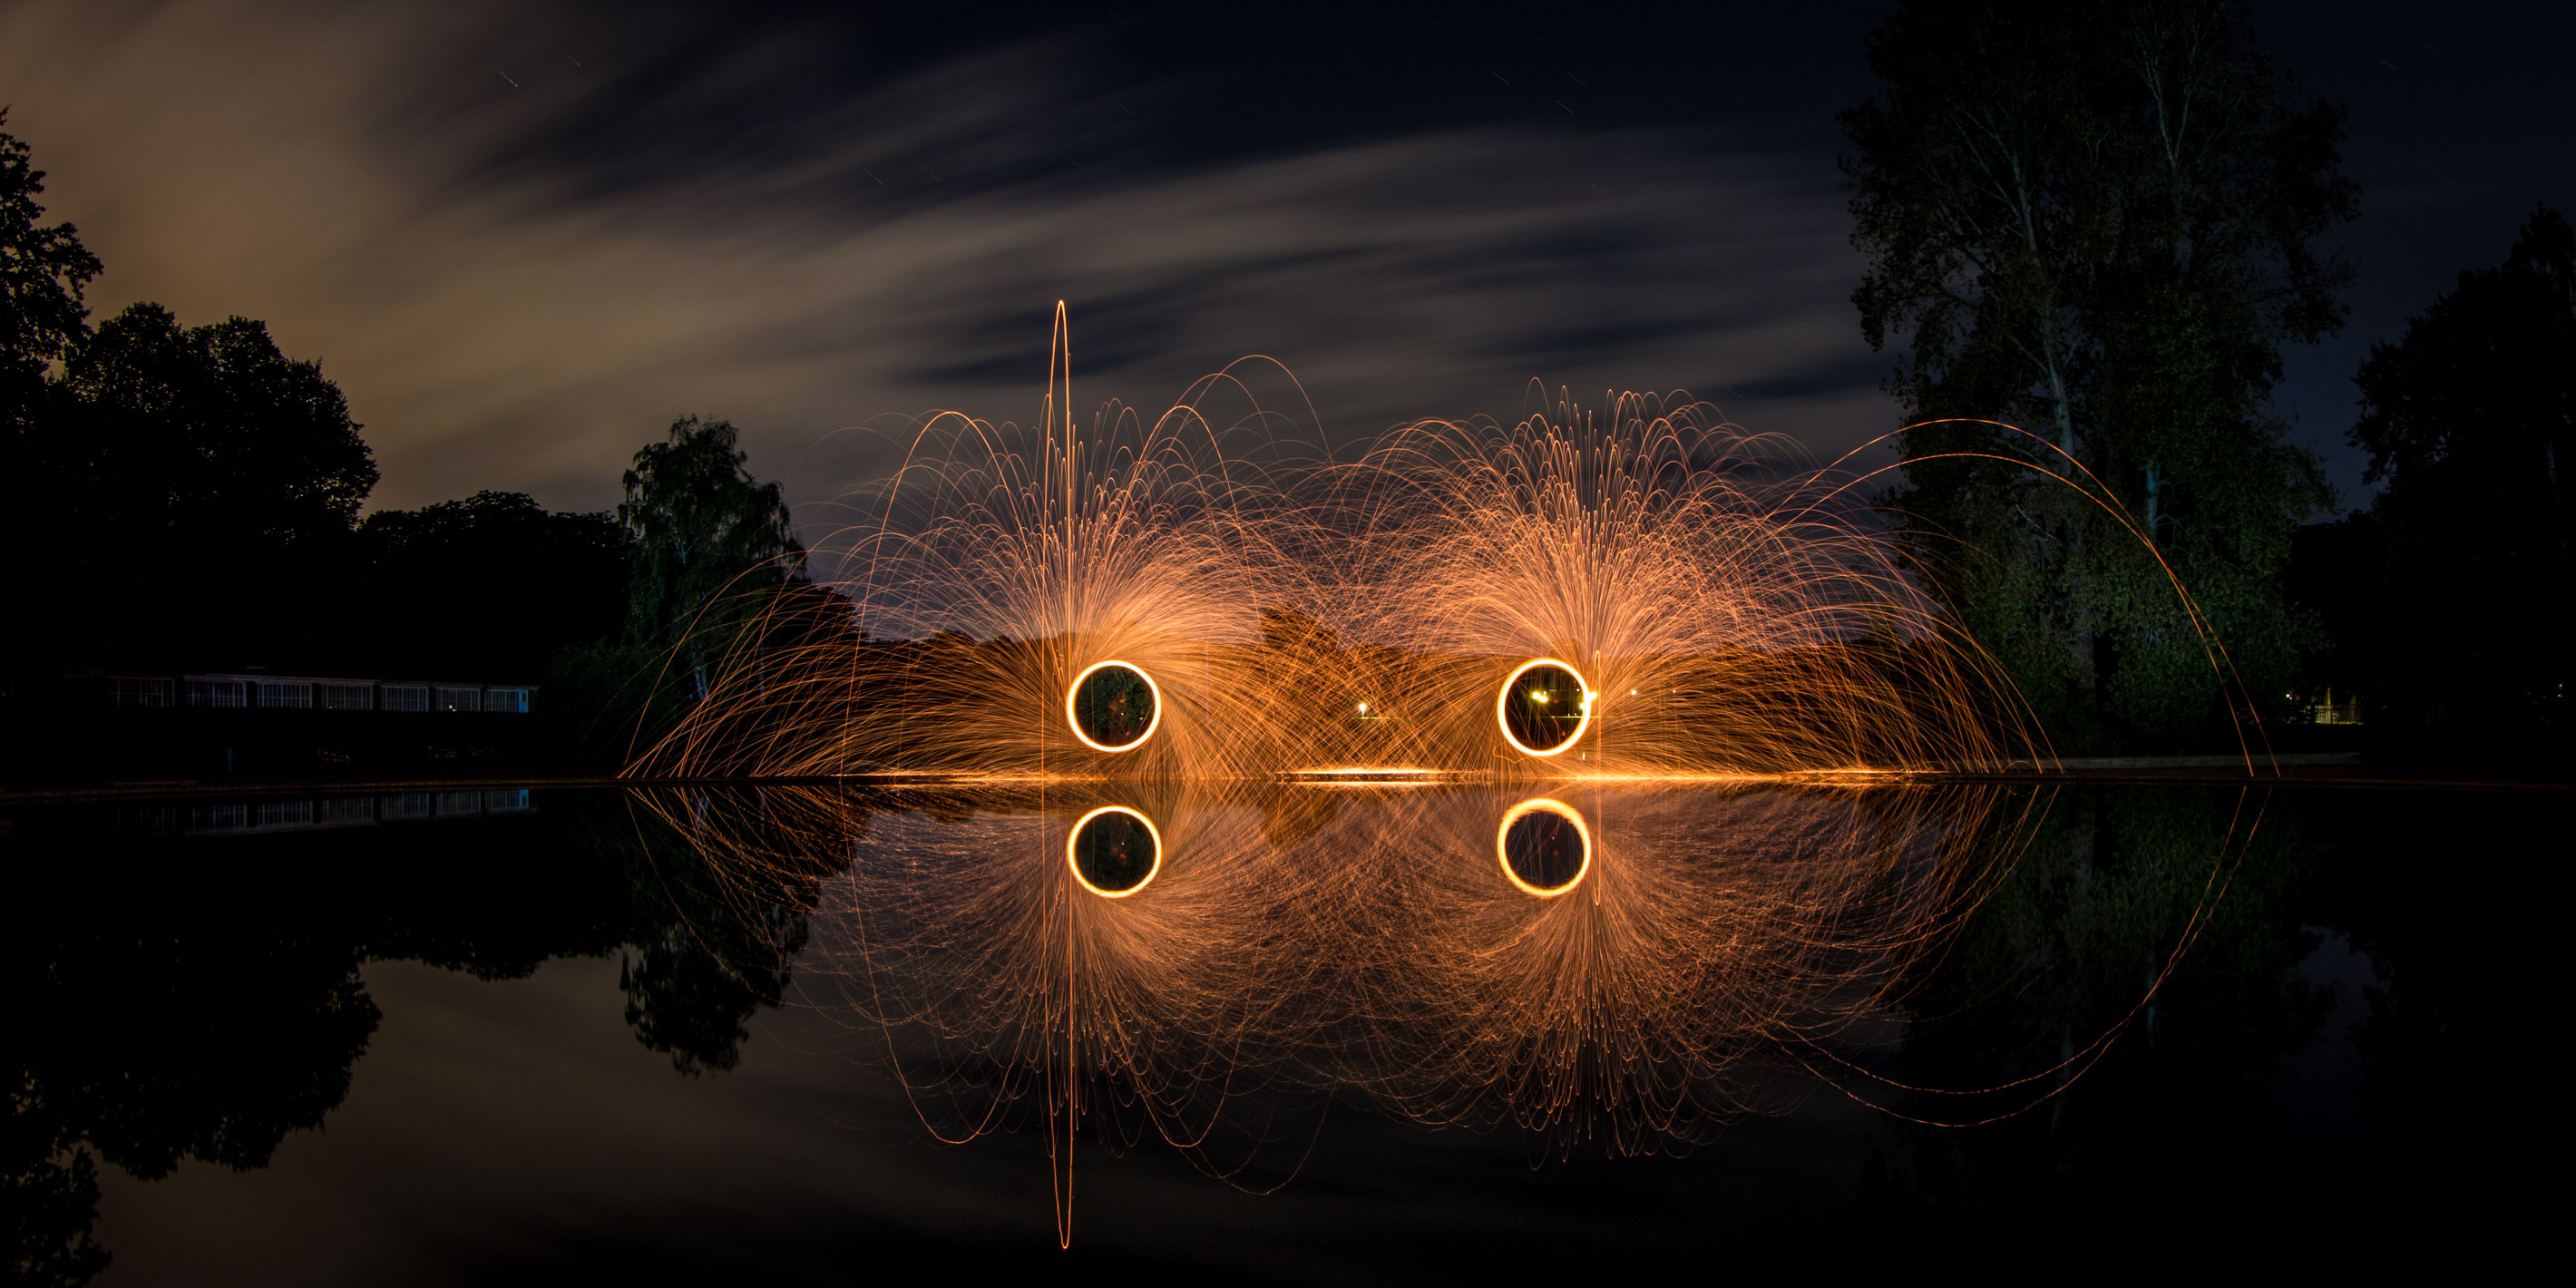
Besides modern electrical light sources you can also use fire. The most popular technique is using steel wool.
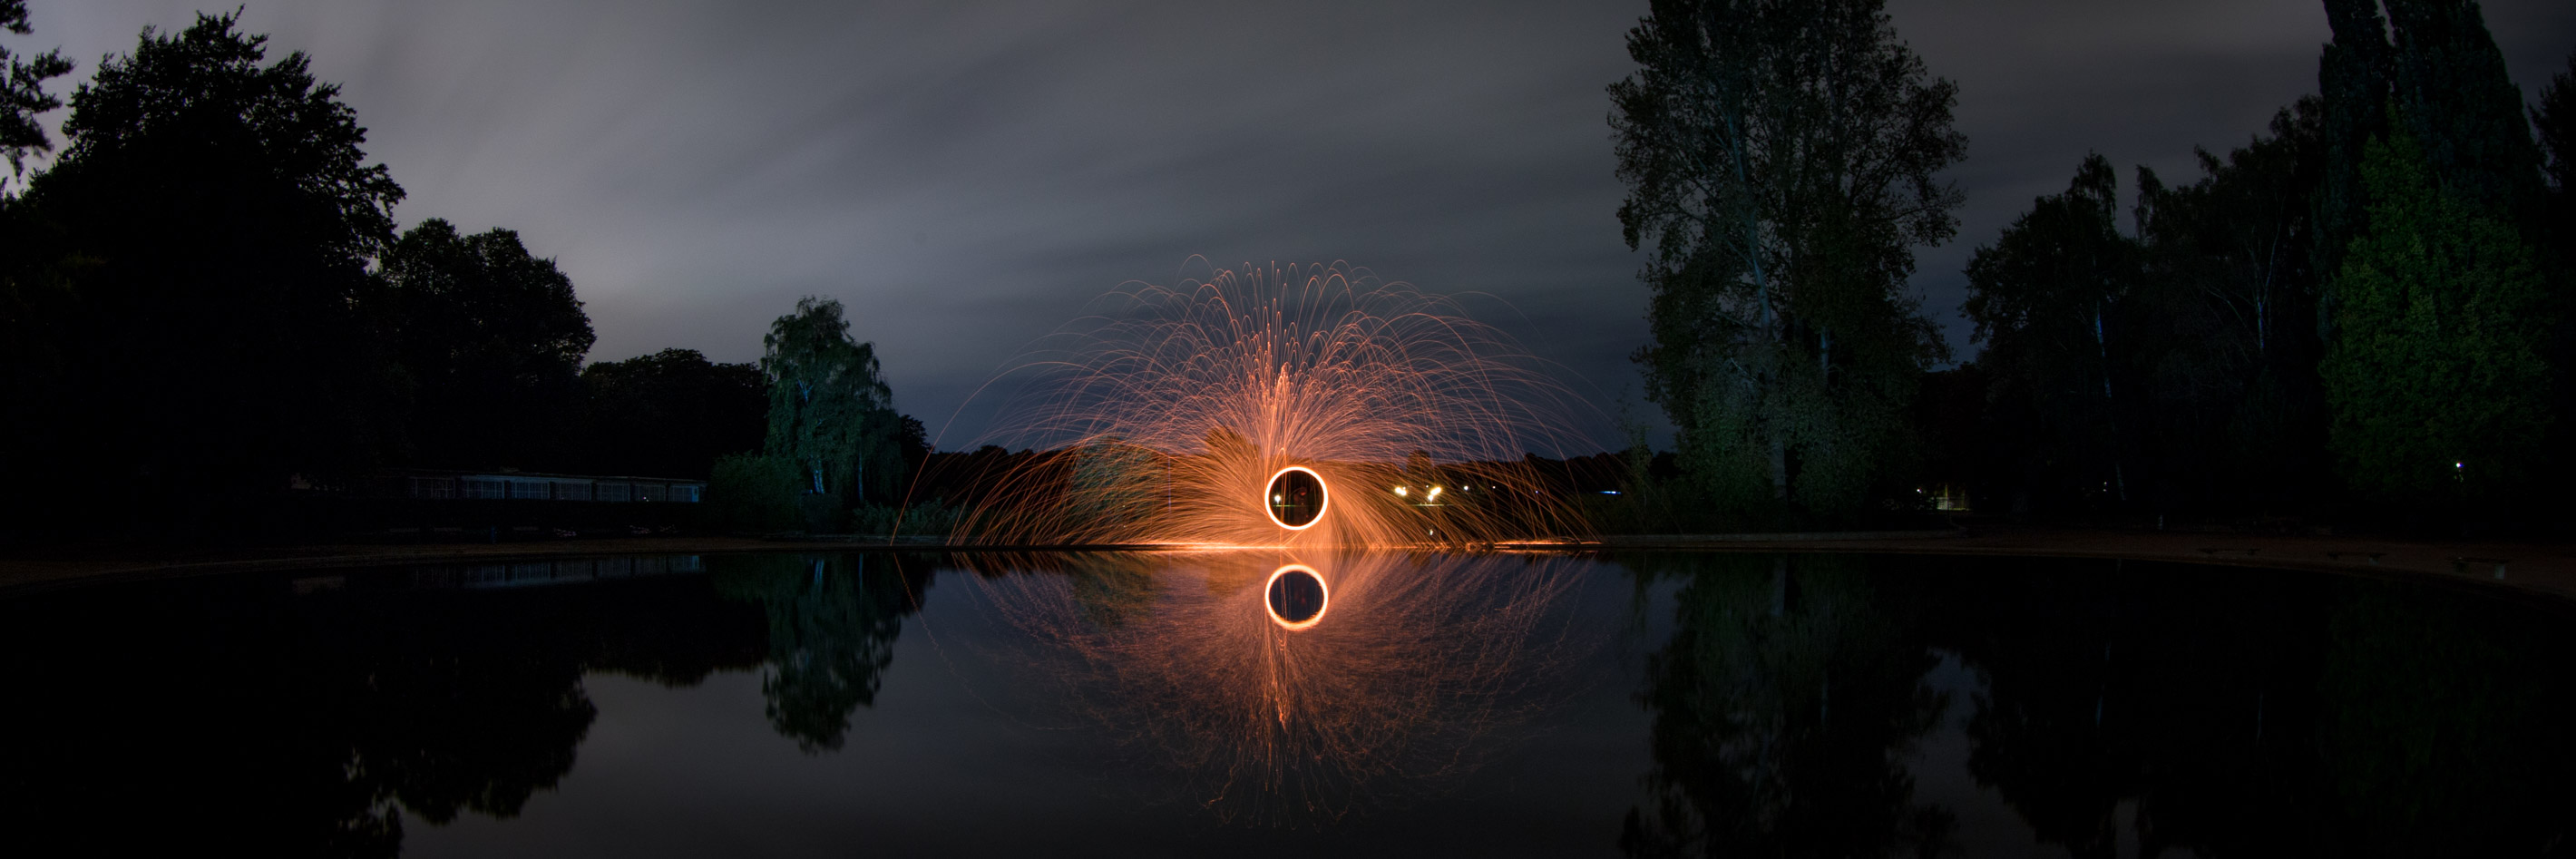
To get very bright light trails you can add a little bit of magnesium to the steel wool.
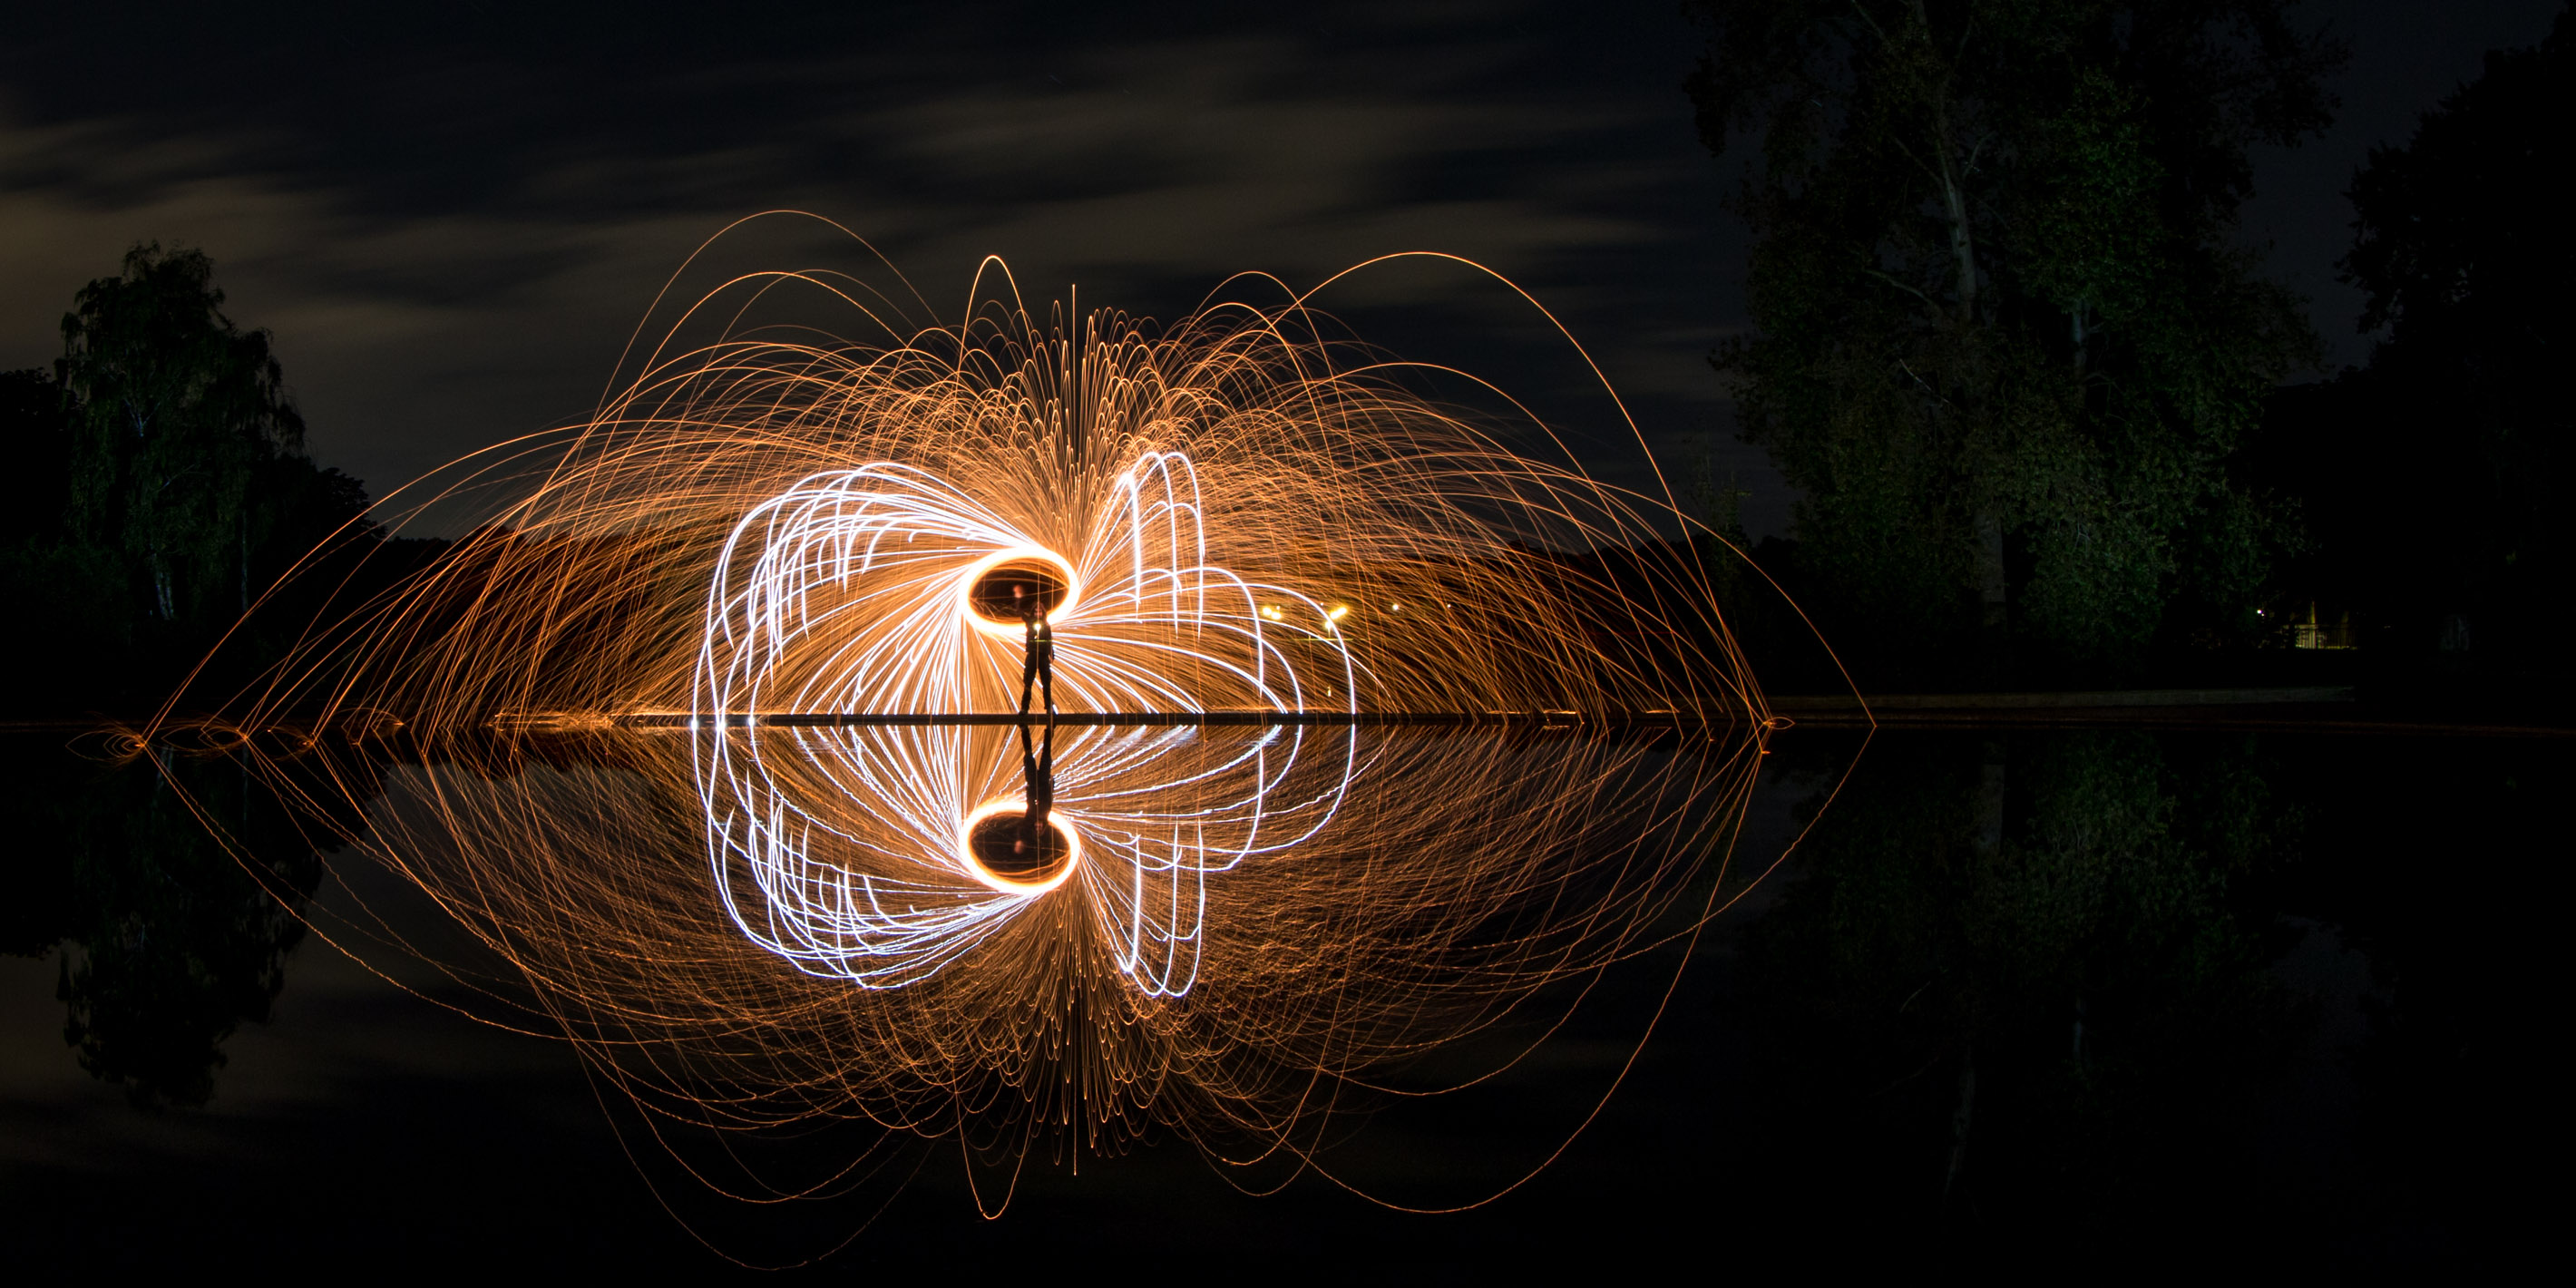
Olaf really liked the magnesium effect and was a little carried away by it. Of course, you can also create an orb with steel wool but you should practice with less dangerous light sources, first.
Conclusions
The workshop was very interesting. It covers simple figures, art work and working with the environment. The hands-on part was a bit short but it’s hardly possible to deliver more content in only 5 hours. Sadly, some of the tools are prone to errors. But this is difficult to improve with the required flexibility of the tools because they are constantly taken apart and recreated.
Jenja and Olaf are very engaged and they know how to carry the students along. They encourage experiments with all kinds of light sources, light shapes, tools and techniques. If a certain idea can’t be created with the available tools just invent a new tool that gives you either more flexibility or can be used only for a single photo. Essentially it’s all about having fun with the experiments and if one or two great images are the result of a complete night that’s great.
I can only encourage everyone who is interested in the topic light painting to book a workshop with ZOLAQ. This workshop was in German but in principle they can also deliver it in English. Just get in touch with them and see if you can book them. This beginner workshop can also be useful if you made your first experience on your own. It is likely that you get some new ideas when working with Jenja and Olaf. But they also offer advanced workshops that focus more on image composition, fireworks and party equipment.