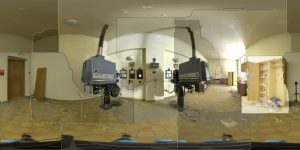
When you check the images from the last posting you can find many errors. I didn’t place the camera correctly on the panorama head for the complete shooting. Therefore, it’s not possible to blend between the images at arbitrary positions. The closer objects are to the camera the larger is the error. This can even lead to completely useless panoramas.
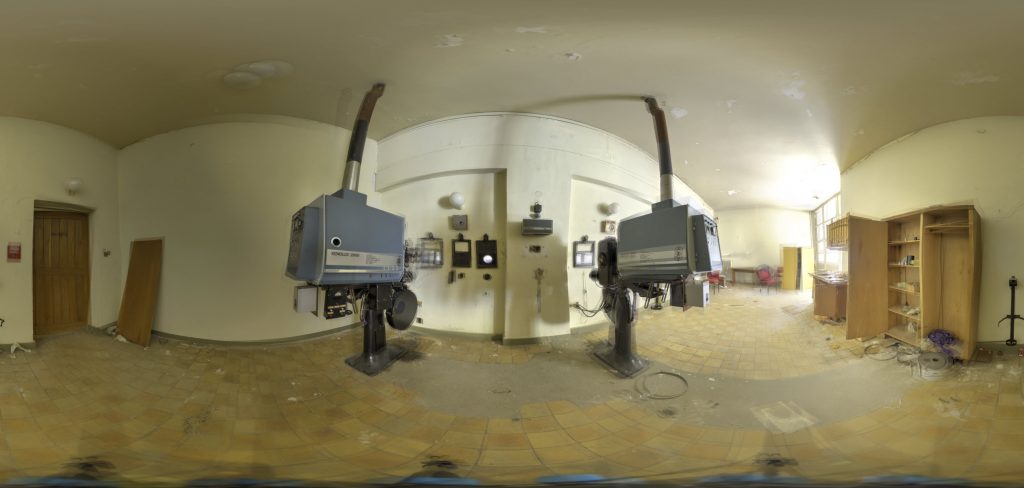
However, it can be possible to avoid such catastrophes by choosing the segment carefully.
For intense issues like in this shooting it’s almost impossible to fix all the issues during stitching. Sometimes there are just small issues that are hardly notable. But often it’s a very disturbing misalignment of straight lines or even ghosts.
So far I corrected such errors in Adobe® Photoshop®. This time I missed many of these errors. So I wanted to edit the finished OpenEXR files again but I stumbled upon a mean issue. Working in the 32-bit color mode of Photoshop was always a challenge. Somehow it worked out in the end most of the time. But not this time. It took me many hours until I found the obvious source of the issue and the solution.
You’re probably used to work with 8 or 16 bit for each color. This results in a raster of 256 (2^8) or 65536 (2^16) color increments for red, green and blue. But even with 16 bit it’s still fixed to the specified color space.
In 32 bit mode this is no longer the case. Instead of a fixed raster or integer increments in a fixed color space it defines the color as floating point numbers. In fact, it’s not necessary to use full 32 bit accuracy. 16 bit would be sufficient as long as it’s an unrestricted floating point number for each color. As a result you can change brightness and saturation of each color without restriction. Color banding or blank areas in the histogram are history when working with floating point numbers. But there are also two critical drawbacks.
First, there is no display device that can output unrestricted brightness values. All details exist in the image file but it’s impossible to show everything at the same time. As a workaround Photoshop has a 32-bit-exposure slider in the lower left corner.
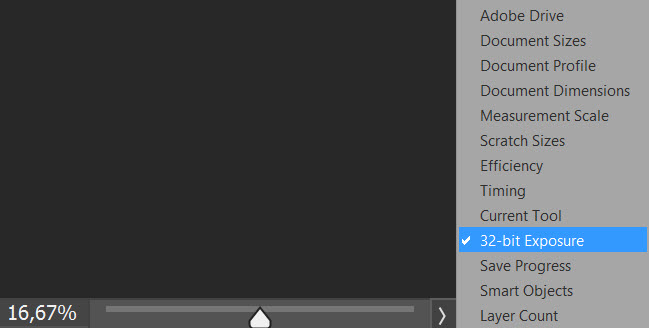
Now you can work in all exposure ranges even for extreme cases.
The second drawback is extremely painful. Most tools don’t work when using the 32-bit mode. This didn’t change much since this mode was introduced about ten years ago.

This is painful but what I struggled with the most is the color management. Color management doesn’t make sense when working with unrestricted floating point numbers. Photoshop ignores this and asks you which color profile to use when opening a 32-bit OpenEXR file. And the default setting is completely useless and can destroy the image.
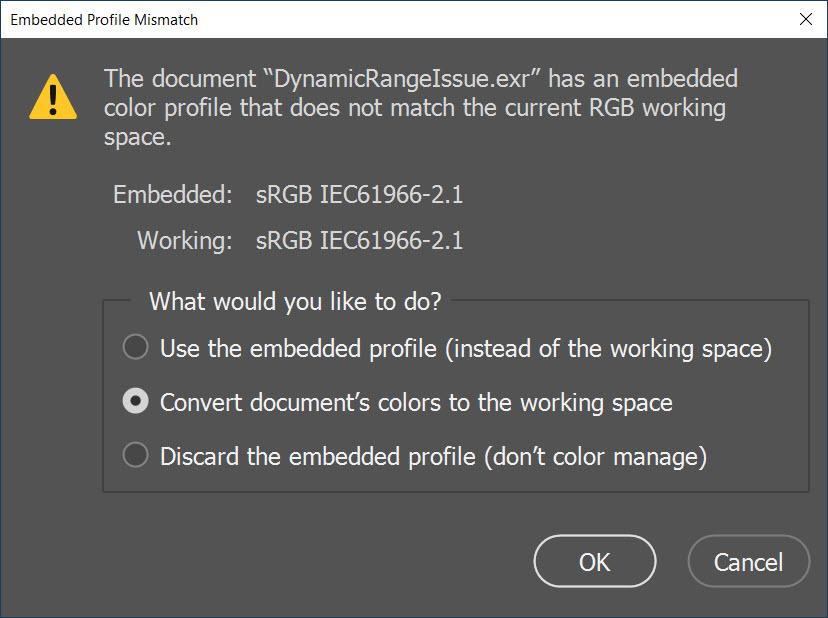
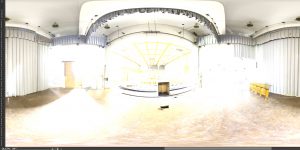
It is extremely important that you choose the last option to disable the color managment. Otherwise you can notice some color shifts when saving a file for the first time as OpenEXR. Note: You have to save and then open the saved file to see the changes.
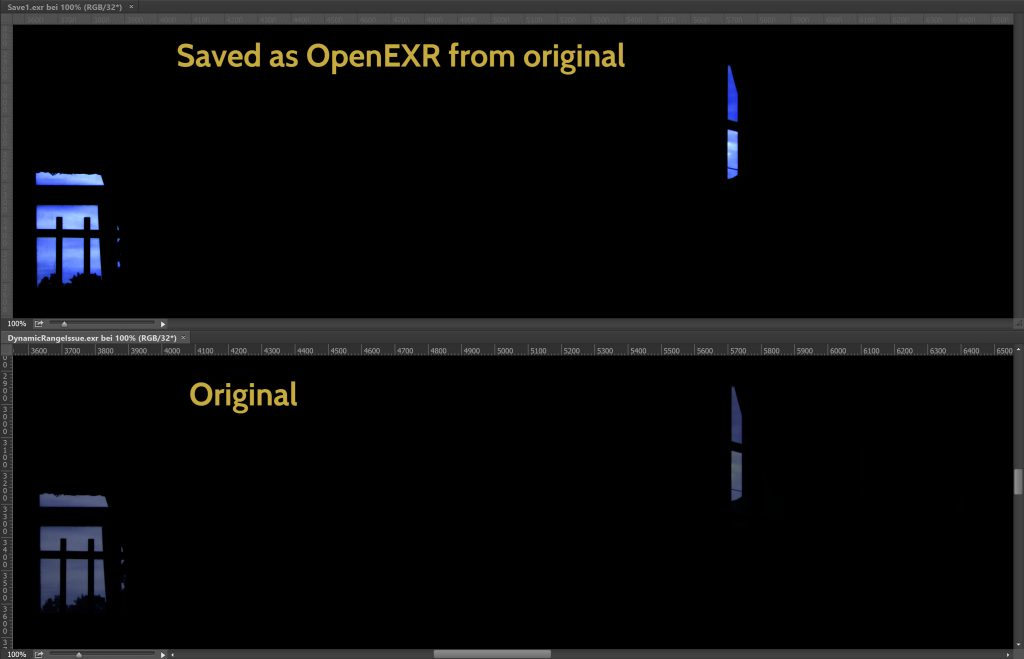
When you save that file and open it again, you can see that all the dynamic range is destroyed.
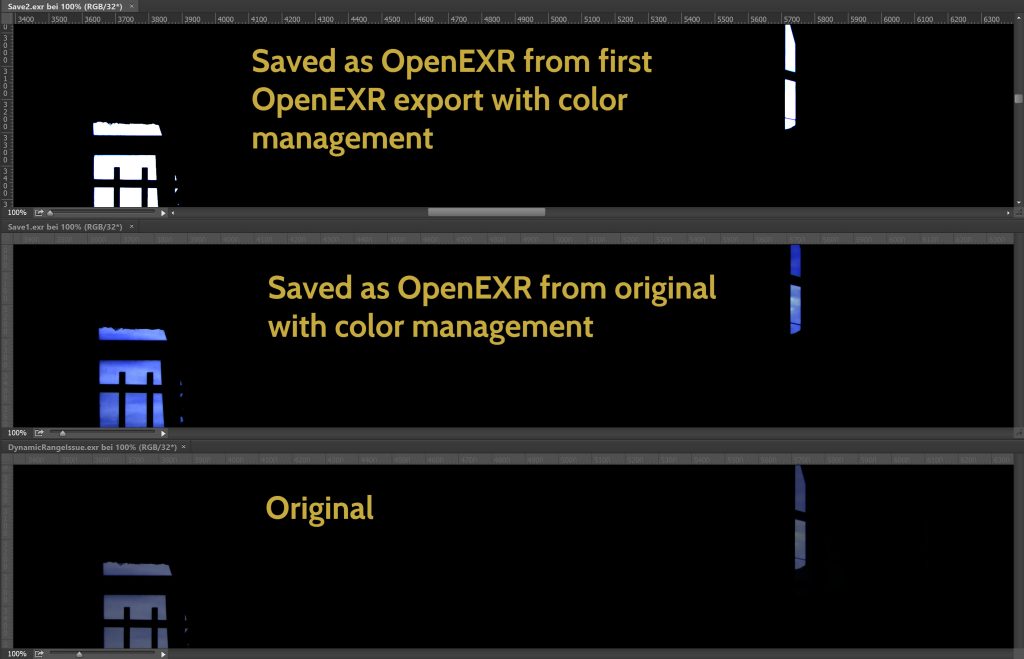
To avoid such a catastrophe it’s extremely important to disable color management when working with 32-bit images. You can change the default behavior under Edit > Color settings.
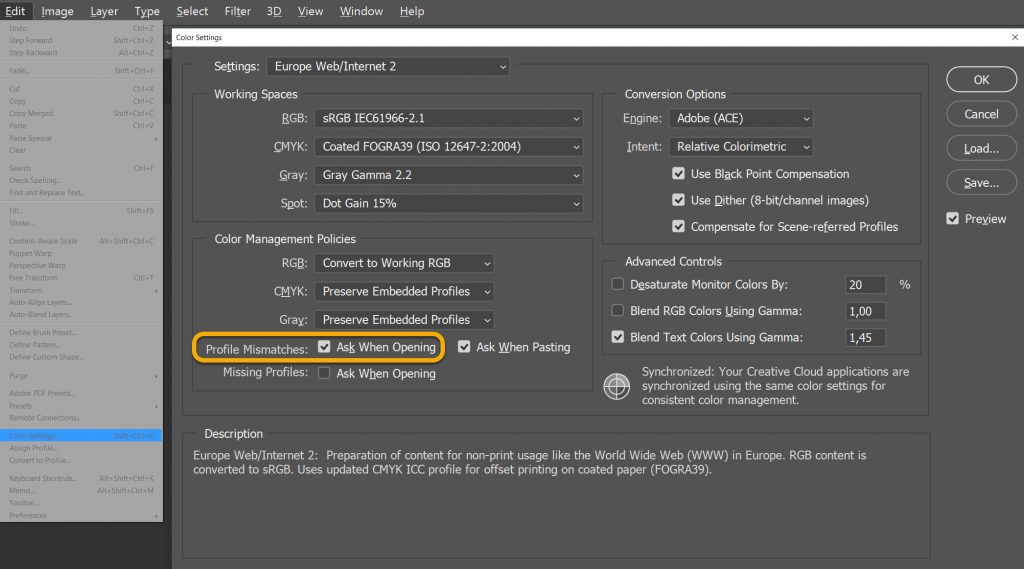
Make sure that you enable “Ask When Opening” for “Profile Mismatches”. This is the easiest way to work without color management in 32 bit but with color management in 8 or 16 bit.
This is just one of many issues when working with 32-bit images in Adobe Photoshop. Therefore, I’m shifting towards Affinity Photo from Serif for 32-bit image editing. My first experiences with this program are promising. Most tools are working and you don’t have to think about color management anymore. And it’s even possible to use filters. I will probably write more about Affinity Photo in a future article.


